Magical Marker Techniques-Altenew’s Academy
July 18,2019


I am greatly am enjoying my Altenew Academy classes.! I just completed Magical Marker Techniques Class, taught by Sara Naumann. The class sure got my creative Ideas flowing. I have to admit I never had thought about stenciling with my alcohol markers. Once I got started I made a total of five cards using different techniques.
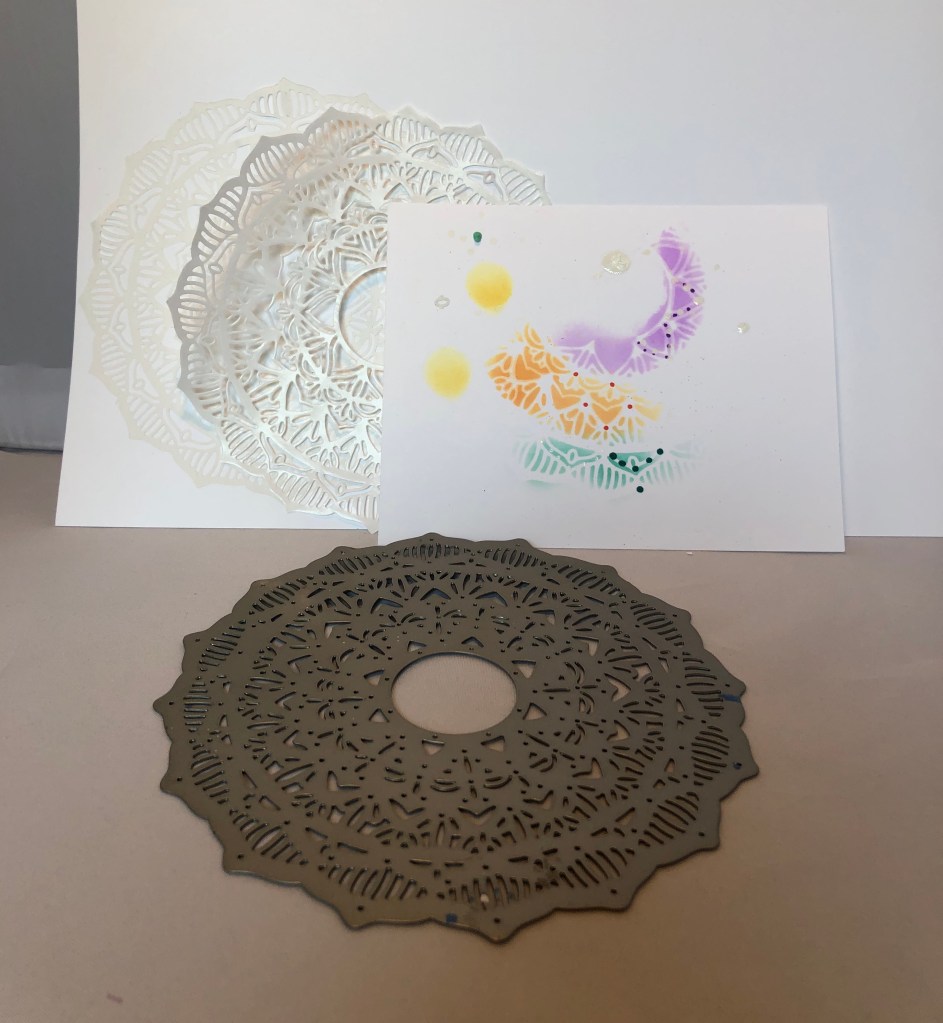
The above photo shows my delicate mandala die. I used the beautiful Altenew die for this project. I cut out a die with freezer paper and ironed it on card stock. In photo above you can see my sample of stenciling. I really enjoy stenciling; I once stenciled a flower pattern around the ceiling of whole room.
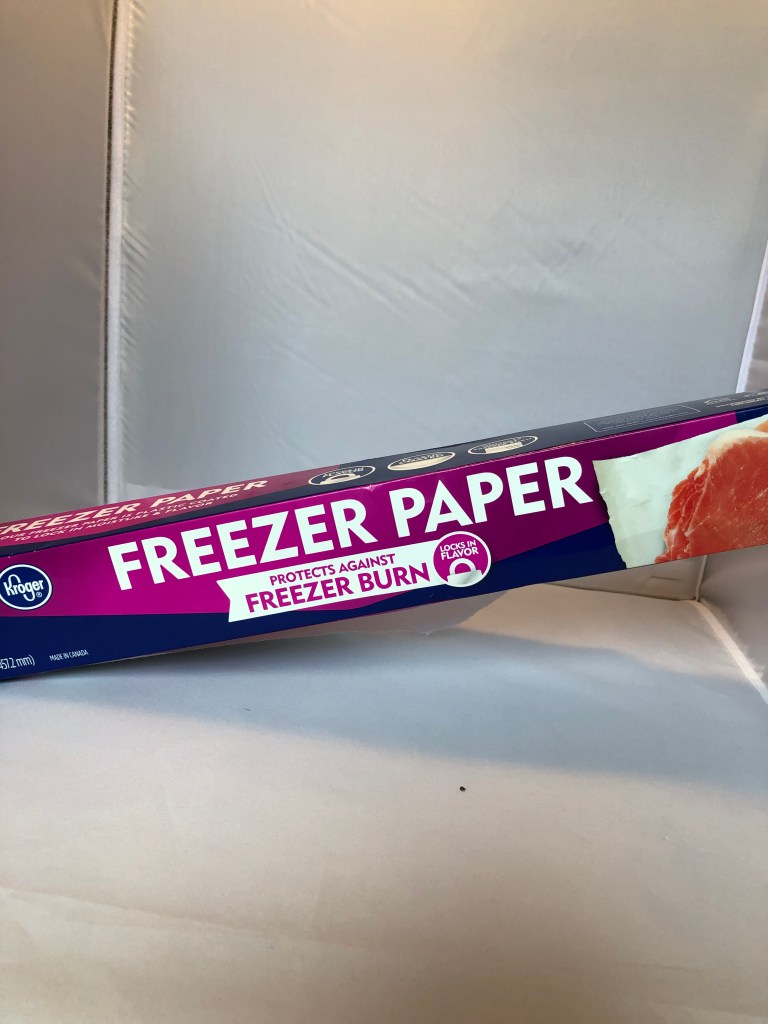
I took a photo of the type of freezer paper I used. I picked it up at the local grocery store.
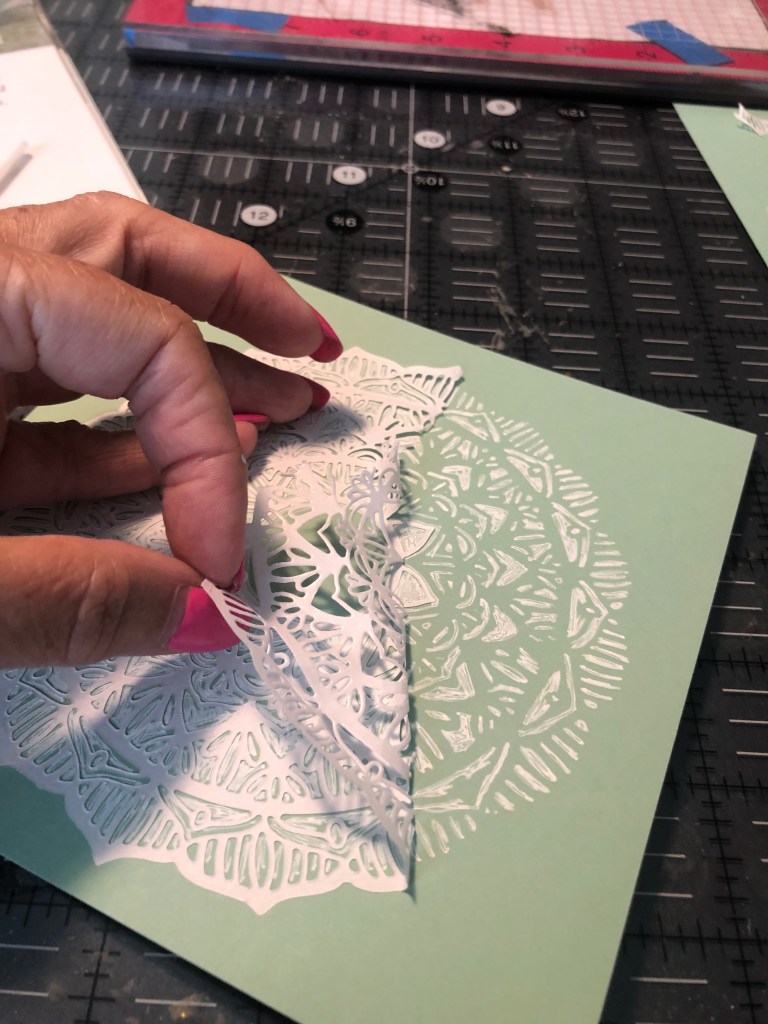
For my green and white card I traced the lines in the stencil with Edding paint marker. When I was done, I pulled off the freezer paper.

I really like the Idea of this but it was not totally the result I wanted. I added white dots to the image and finished it and I felt it was a bit better.

Above is the finished image with the white dots and a sediment for Altenew’s Sediment strips stamp set.
This is how I came up with the idea to try stenciling. I completed this whole card with out one photo of the process. I was not sure if it would work. When I finished stenciling, the paper did not pull off as easy as the first time. Using a iron I must of got different temperatures. A laminator would work wonderful for this. unfortunately I don’t own one.

For the next card I used Scotch adhesive. I sprayed it on to the back of the stencil I made from the die.
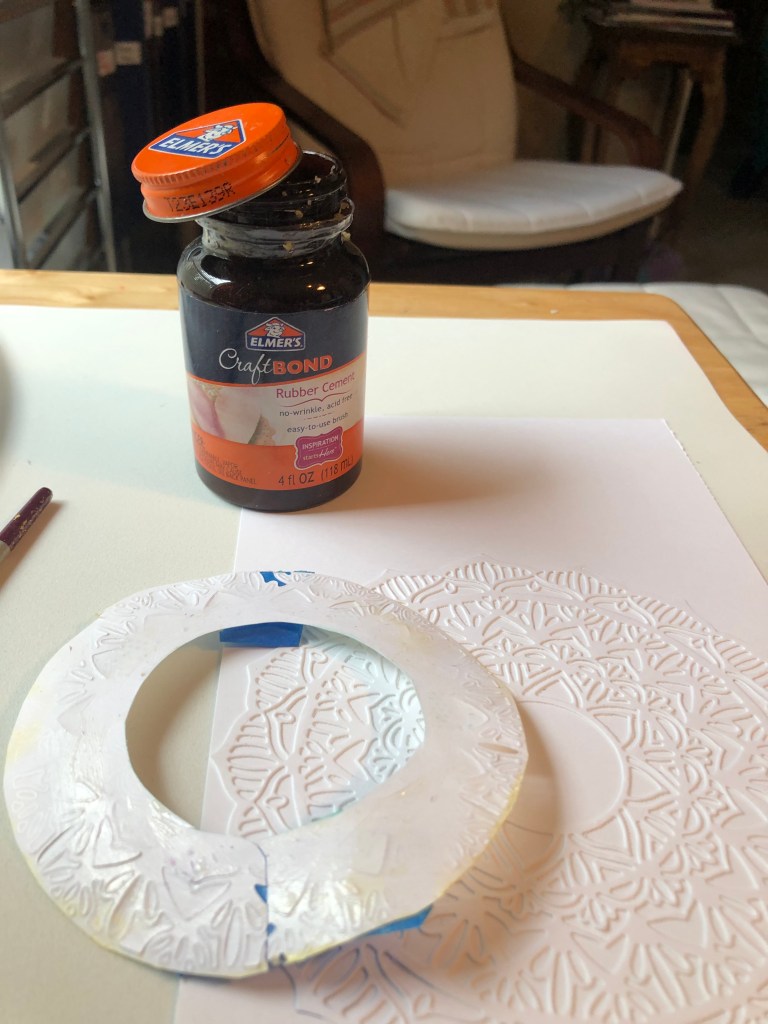
Next I decided to make a mask. I used rubber cement as a temporary glue. To achive this I put the glue on the back of mask and let it dry. When it was dry I stuck it on. It’s important to be patient, if you don’t let it dry it will be stuck on the paper for good.
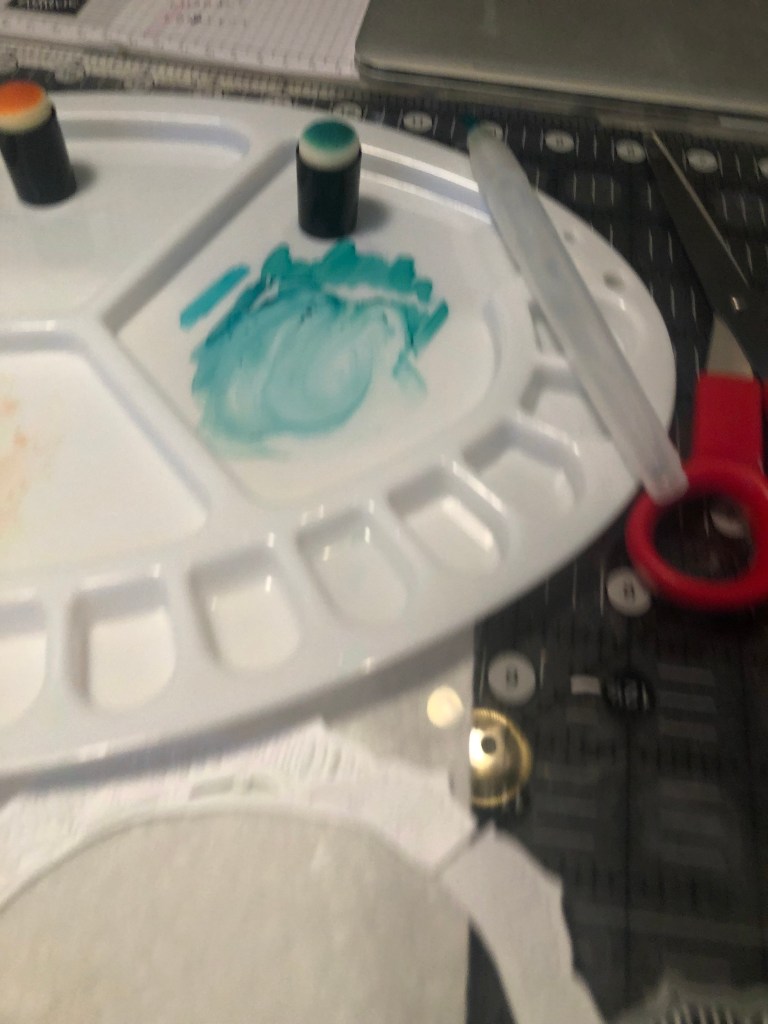
For this project I used a paint palette. I used my Prisma markers and drew on the palette. I put rubbing alcohol in the small paint slots. I mixed the two together as I needed . I used a finger sponge dauber and got the mixed marker paint on it. I took the dauber and tapped off the excess liquid on a paper towel. Using circular motions I slowly put the paint on my card.


Here is what the stenciling looks like when I’m done!
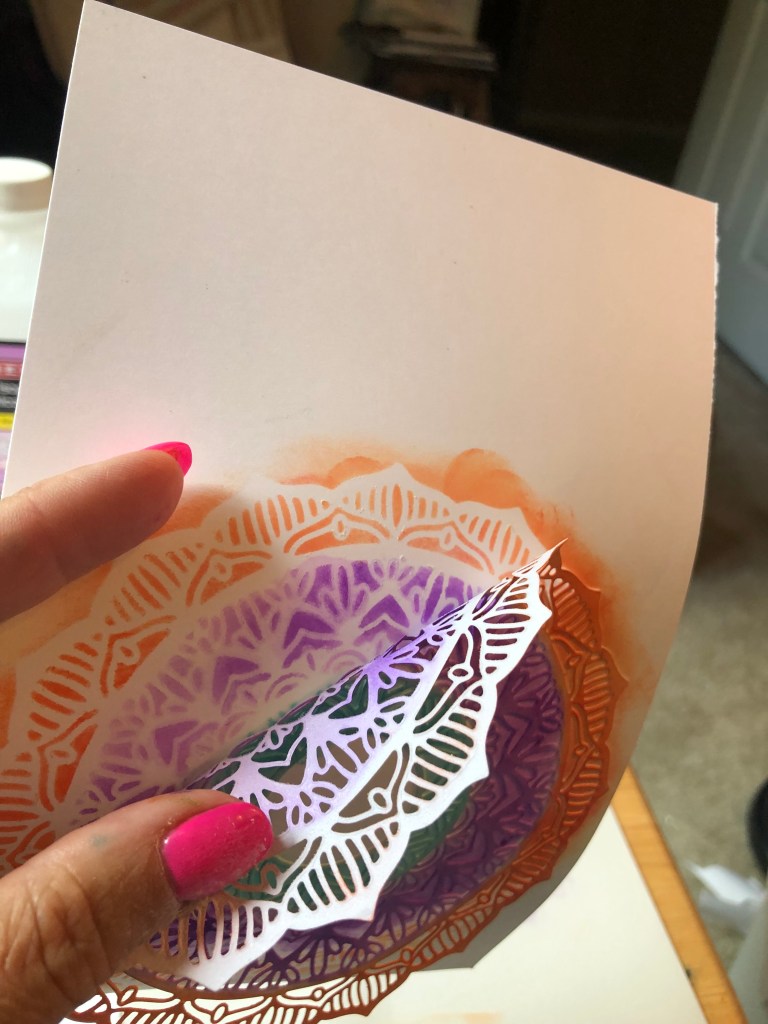
Here is the big reveal. It looks good. Yea both ways work.
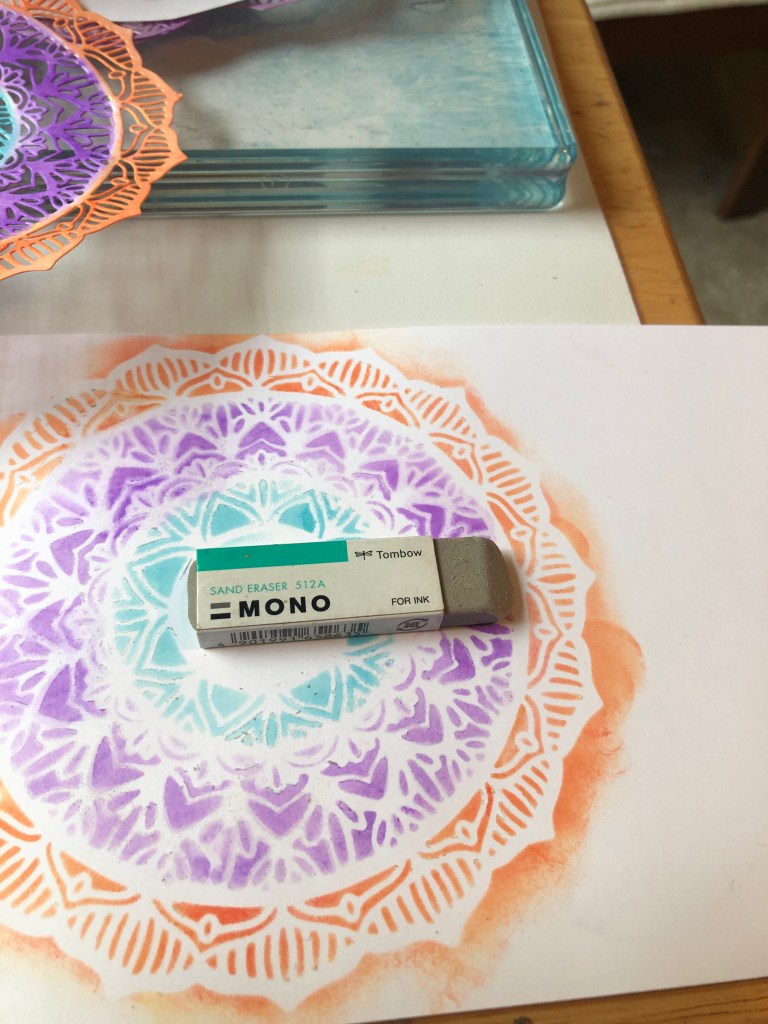
It hard to see in this picture but when I pulled off the stencil I had a little bit of glue left on image. After it dried I used a eraser, and no worries it all came off.
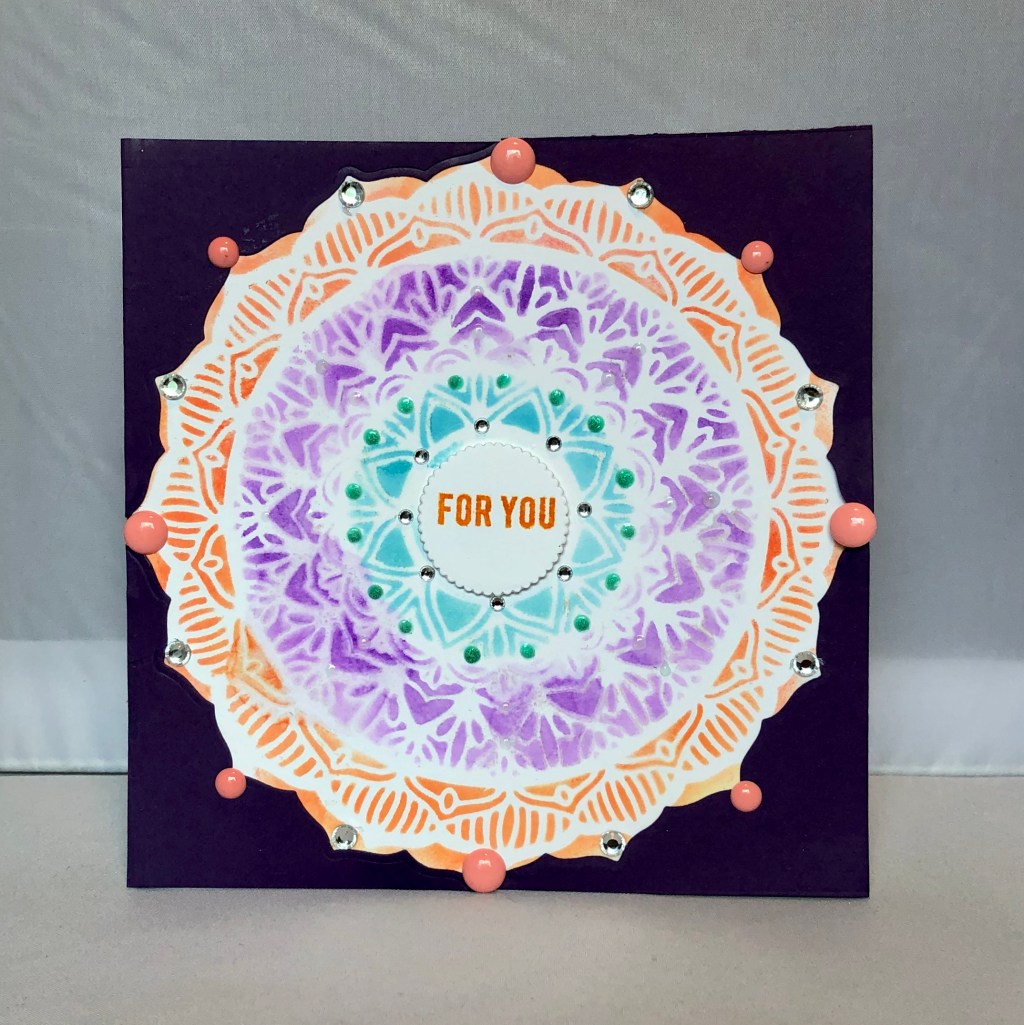
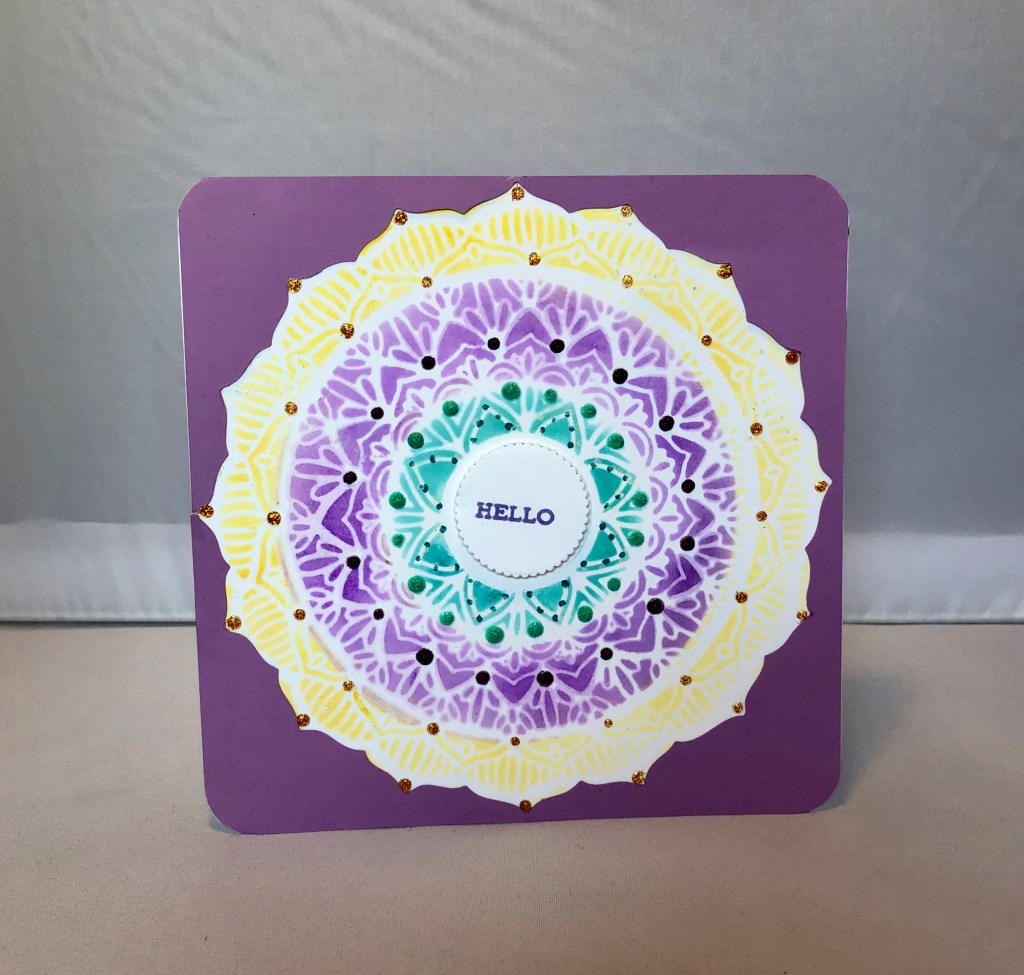
Here Is my finished card. I love it on the black card stock. I could not help myself I had to add bling, I really tried not to go too crazy.
When I pulled off the stencil it came off in one piece and ended up being a bonus card. In the end this was my favorite card. I love the right bold colors of this card,
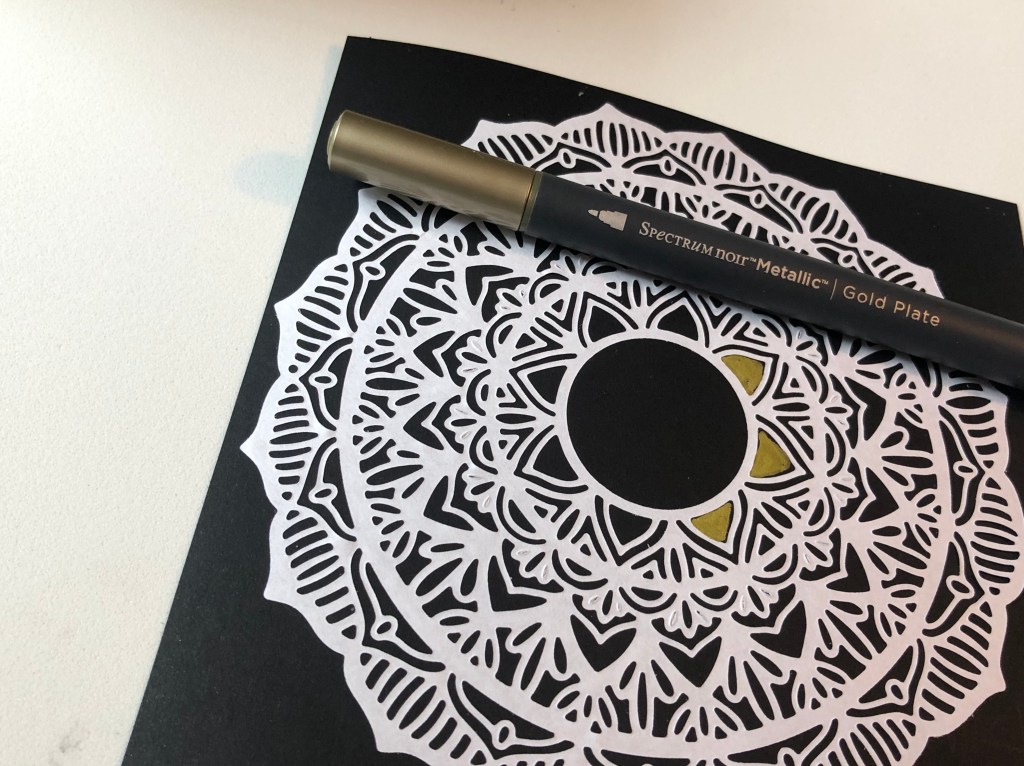
Next I decided to try my Spectrum Noir marker to just fill in a few areas and leave the white die cut on finished card.
Above is the finished card. I love the classic feel of this card . I am going to put the greeting on the inside.
Thanks for hanging in with me on this photo heavy post. Till next time, happy stamping!


The cards look great on black cardstock Teri!
Thank you for entering your fabulous work to the AECP assignment gallery. Well done.
LikeLike