Altenew Level 1 Project Challenge Part 1
May 29, 2019
Here is the challenge-
- Select any 3 components from the classes in Level 1
- Share design tips
- Create a his and her set
- Also use a recycled element on packaging
- Blog challenge step by step and or YouTube video
Above is the YouTube video showing my complete project.
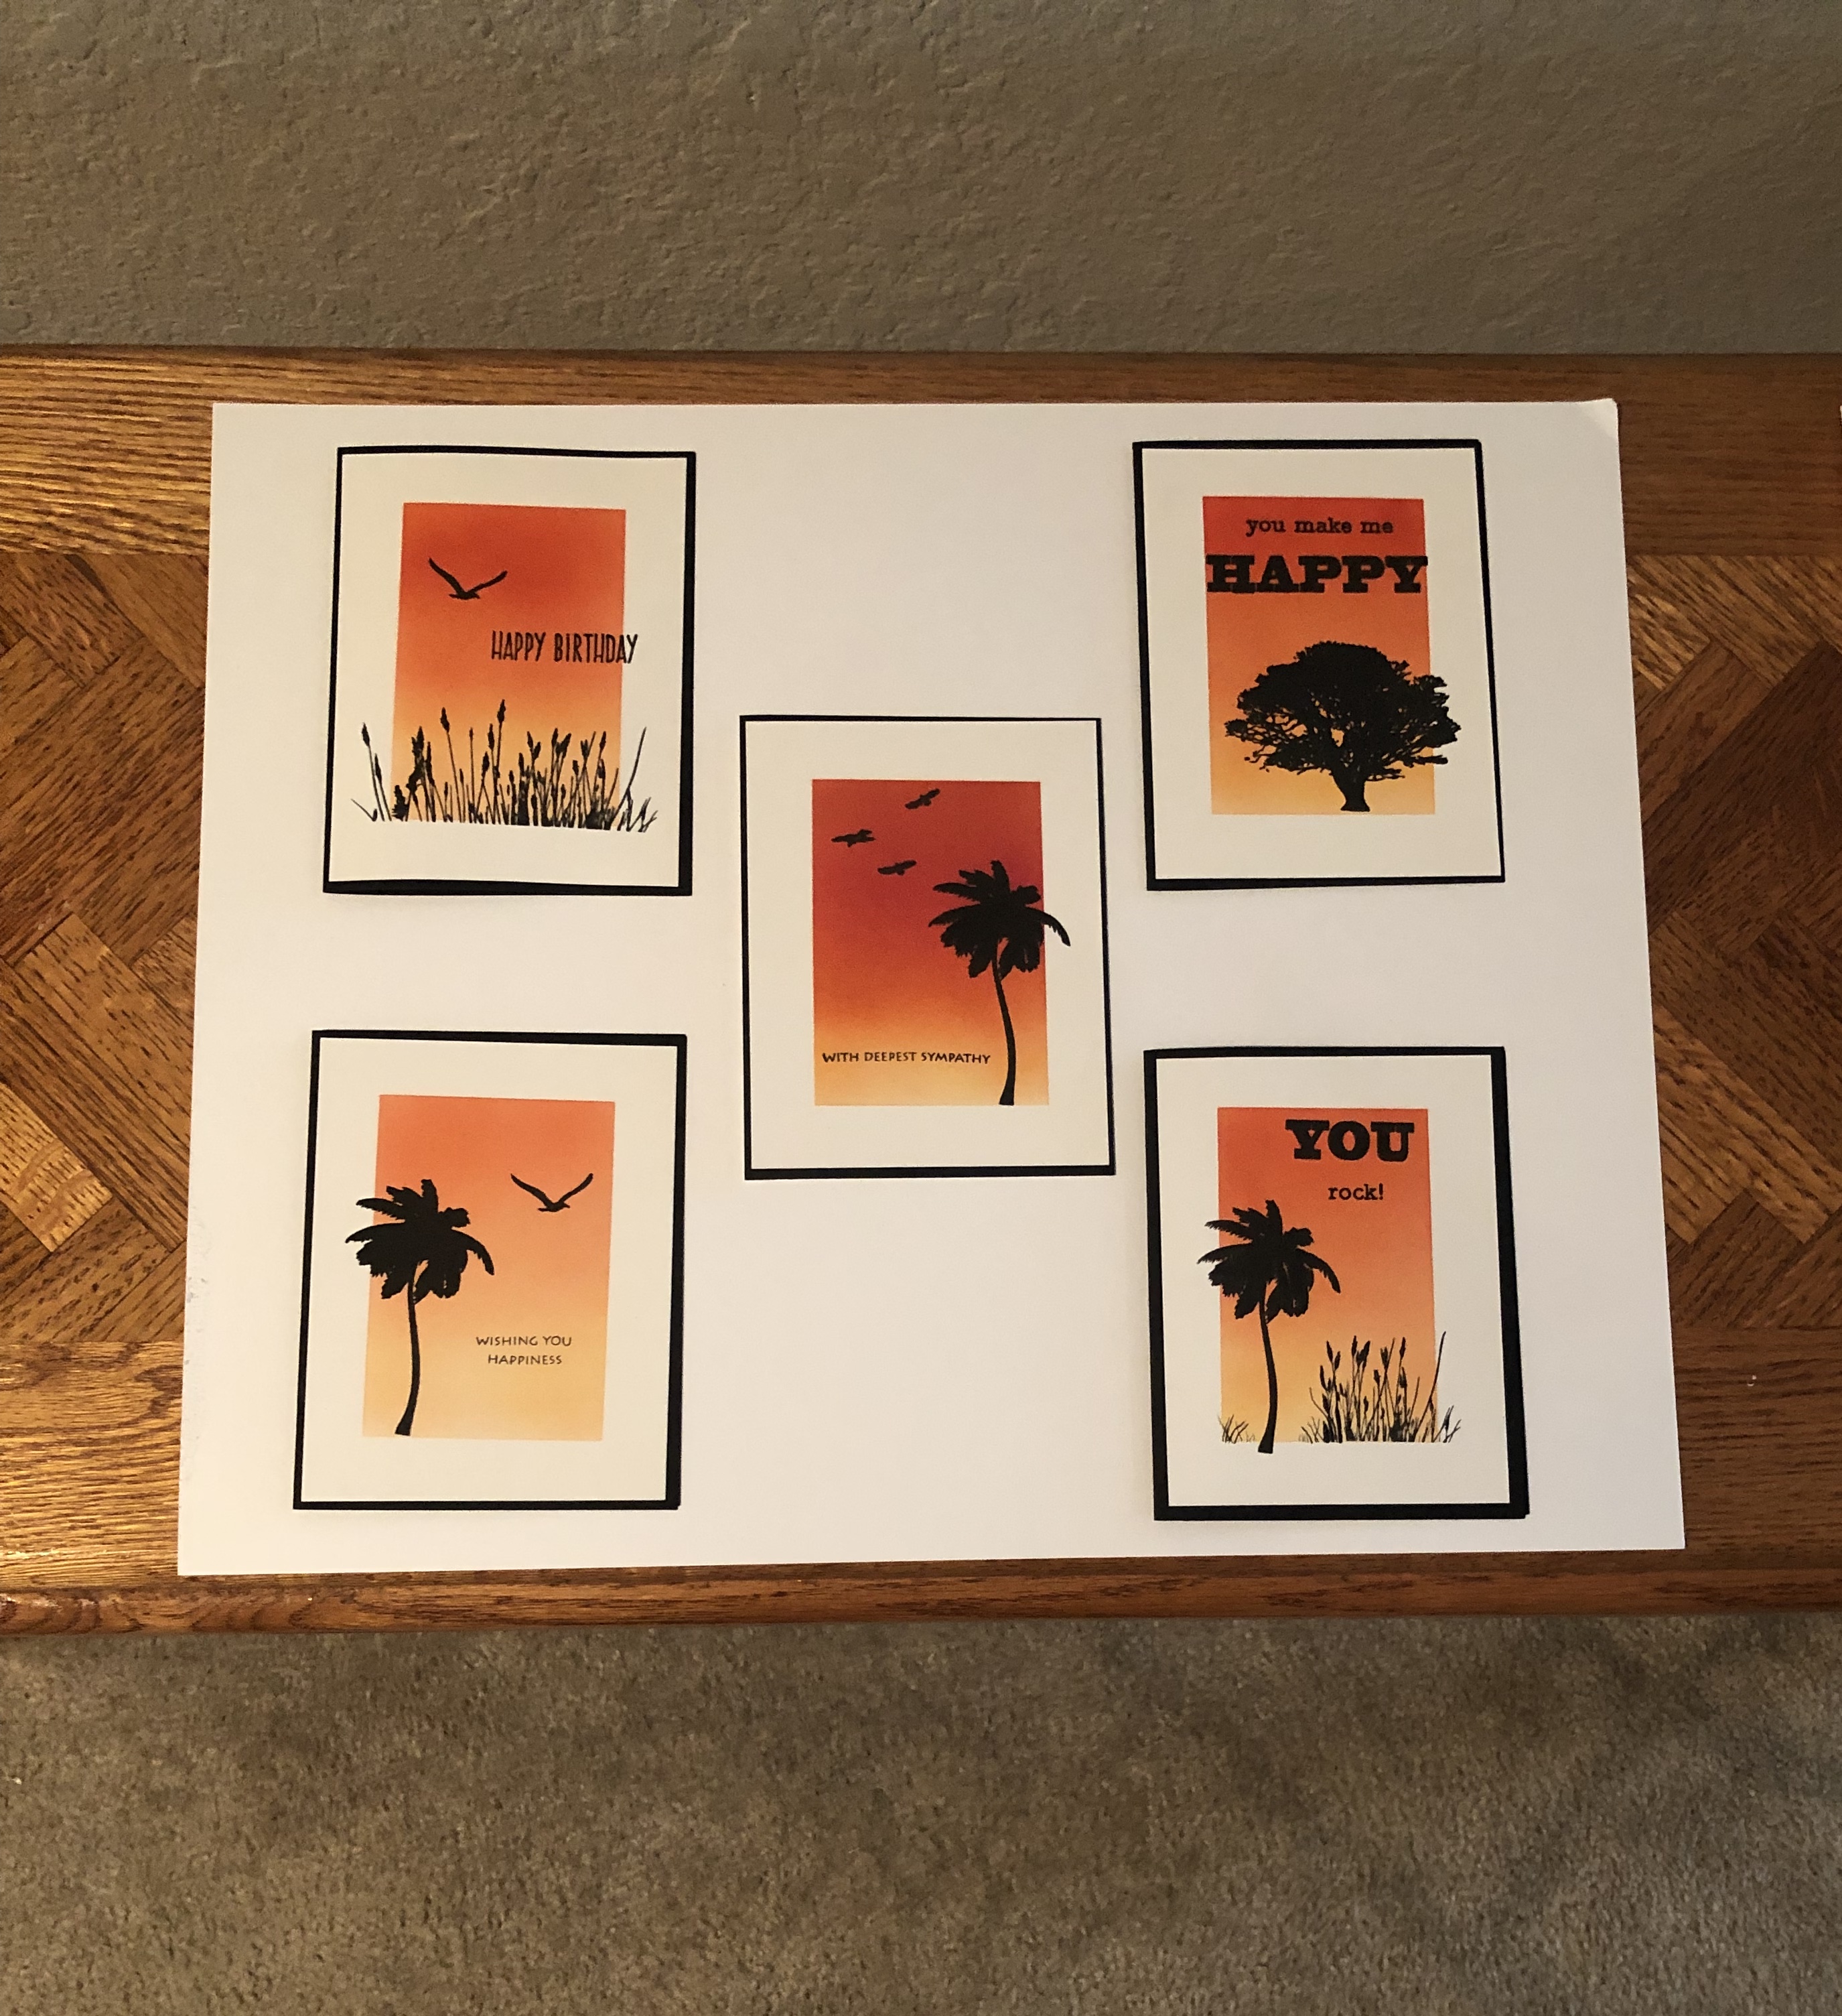
So for the challenge, I chose the Seasonal Scene Building class, Clean and Simple Bouquet cards class and the Easy Ink Blending class as inspiration for my three components. In the Seasonal Scene Building class, I learned a frame was good way to finish edges and my card could be seen like a snap shot. In the Clean and Simple class, I learned less is more; and to work on editing my cards so they have a artistic and professional look. The Easy Ink Blending Class was a favorite. I learned to use water color paper! The Altenew inks the come in a four pack to blend awesome images. I would totally recommend these classes! Visit http://www.altenewacademy.com to check out all the options.

For this project I used a 4 1/4 x 5 1/2 piece of water color paper. I used my L ruler and made a pencil mark.
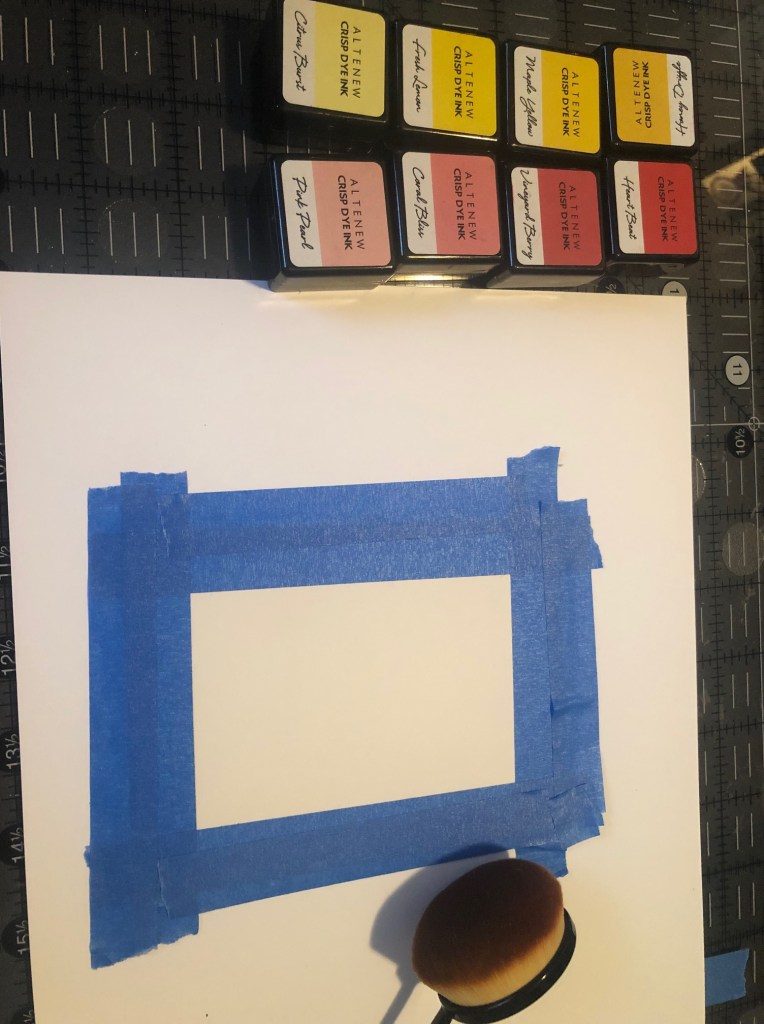
For the next step I took my blue painter tape and used my pencil mark. It took eight strips of tape to cover all outside edges. Tip – make sure you cover all edges I learned the hard way. I also used this blending brush I bought on Amazon. I use a wash cloth between colors to clean off the brush.

Here is what it looks like during the process. Be patient to get the blending to look smooth.
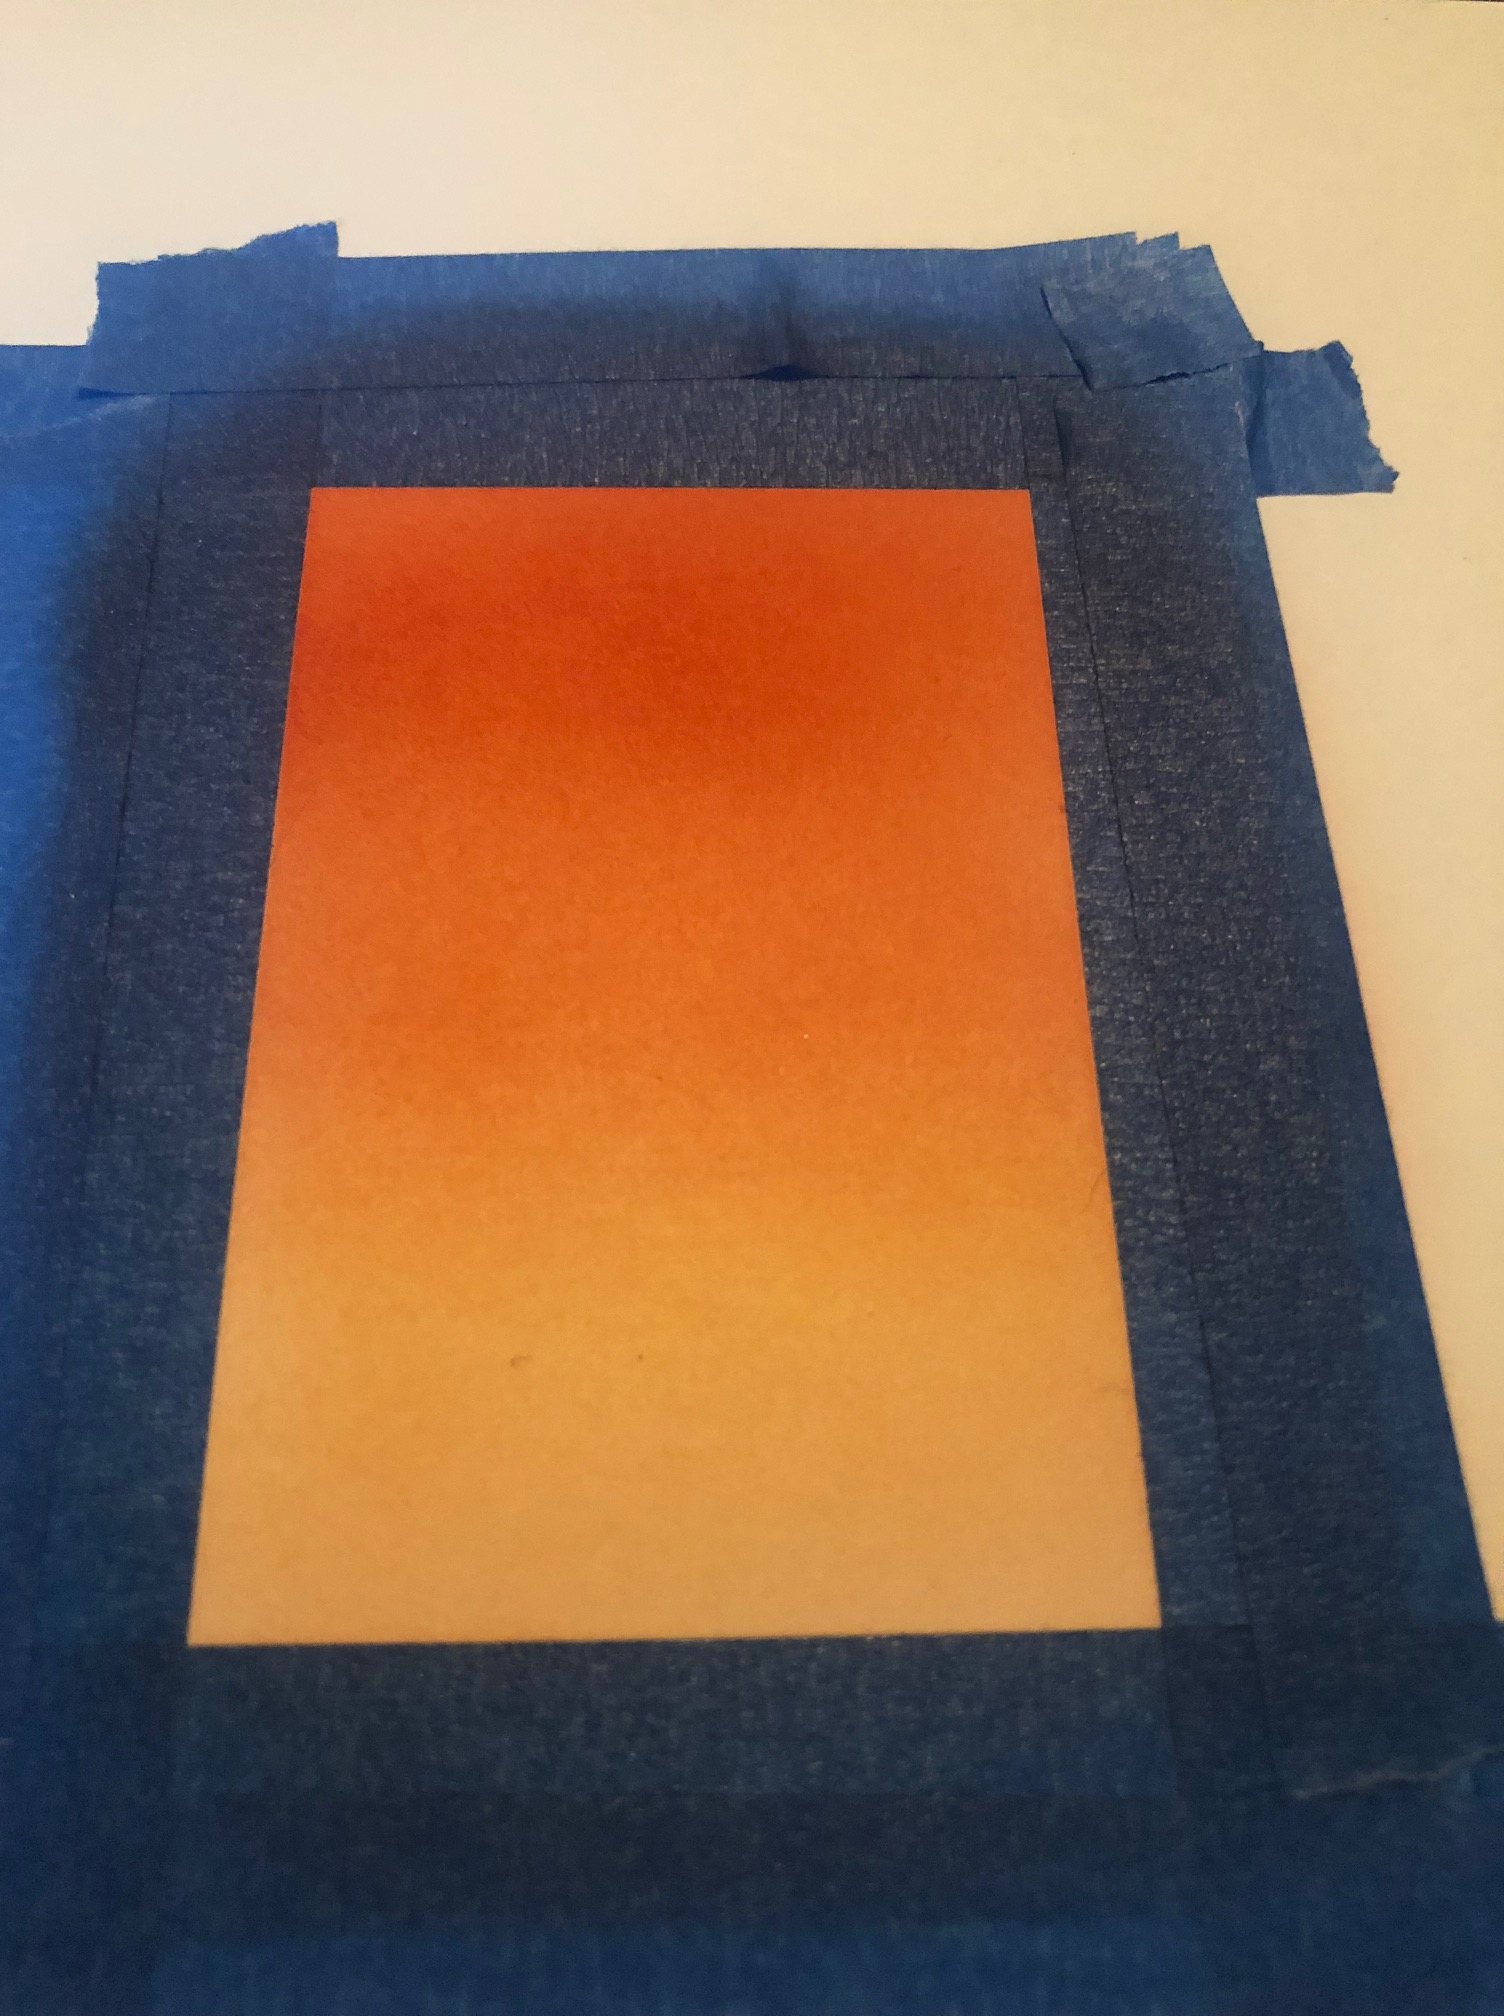
I finally have the look I want.
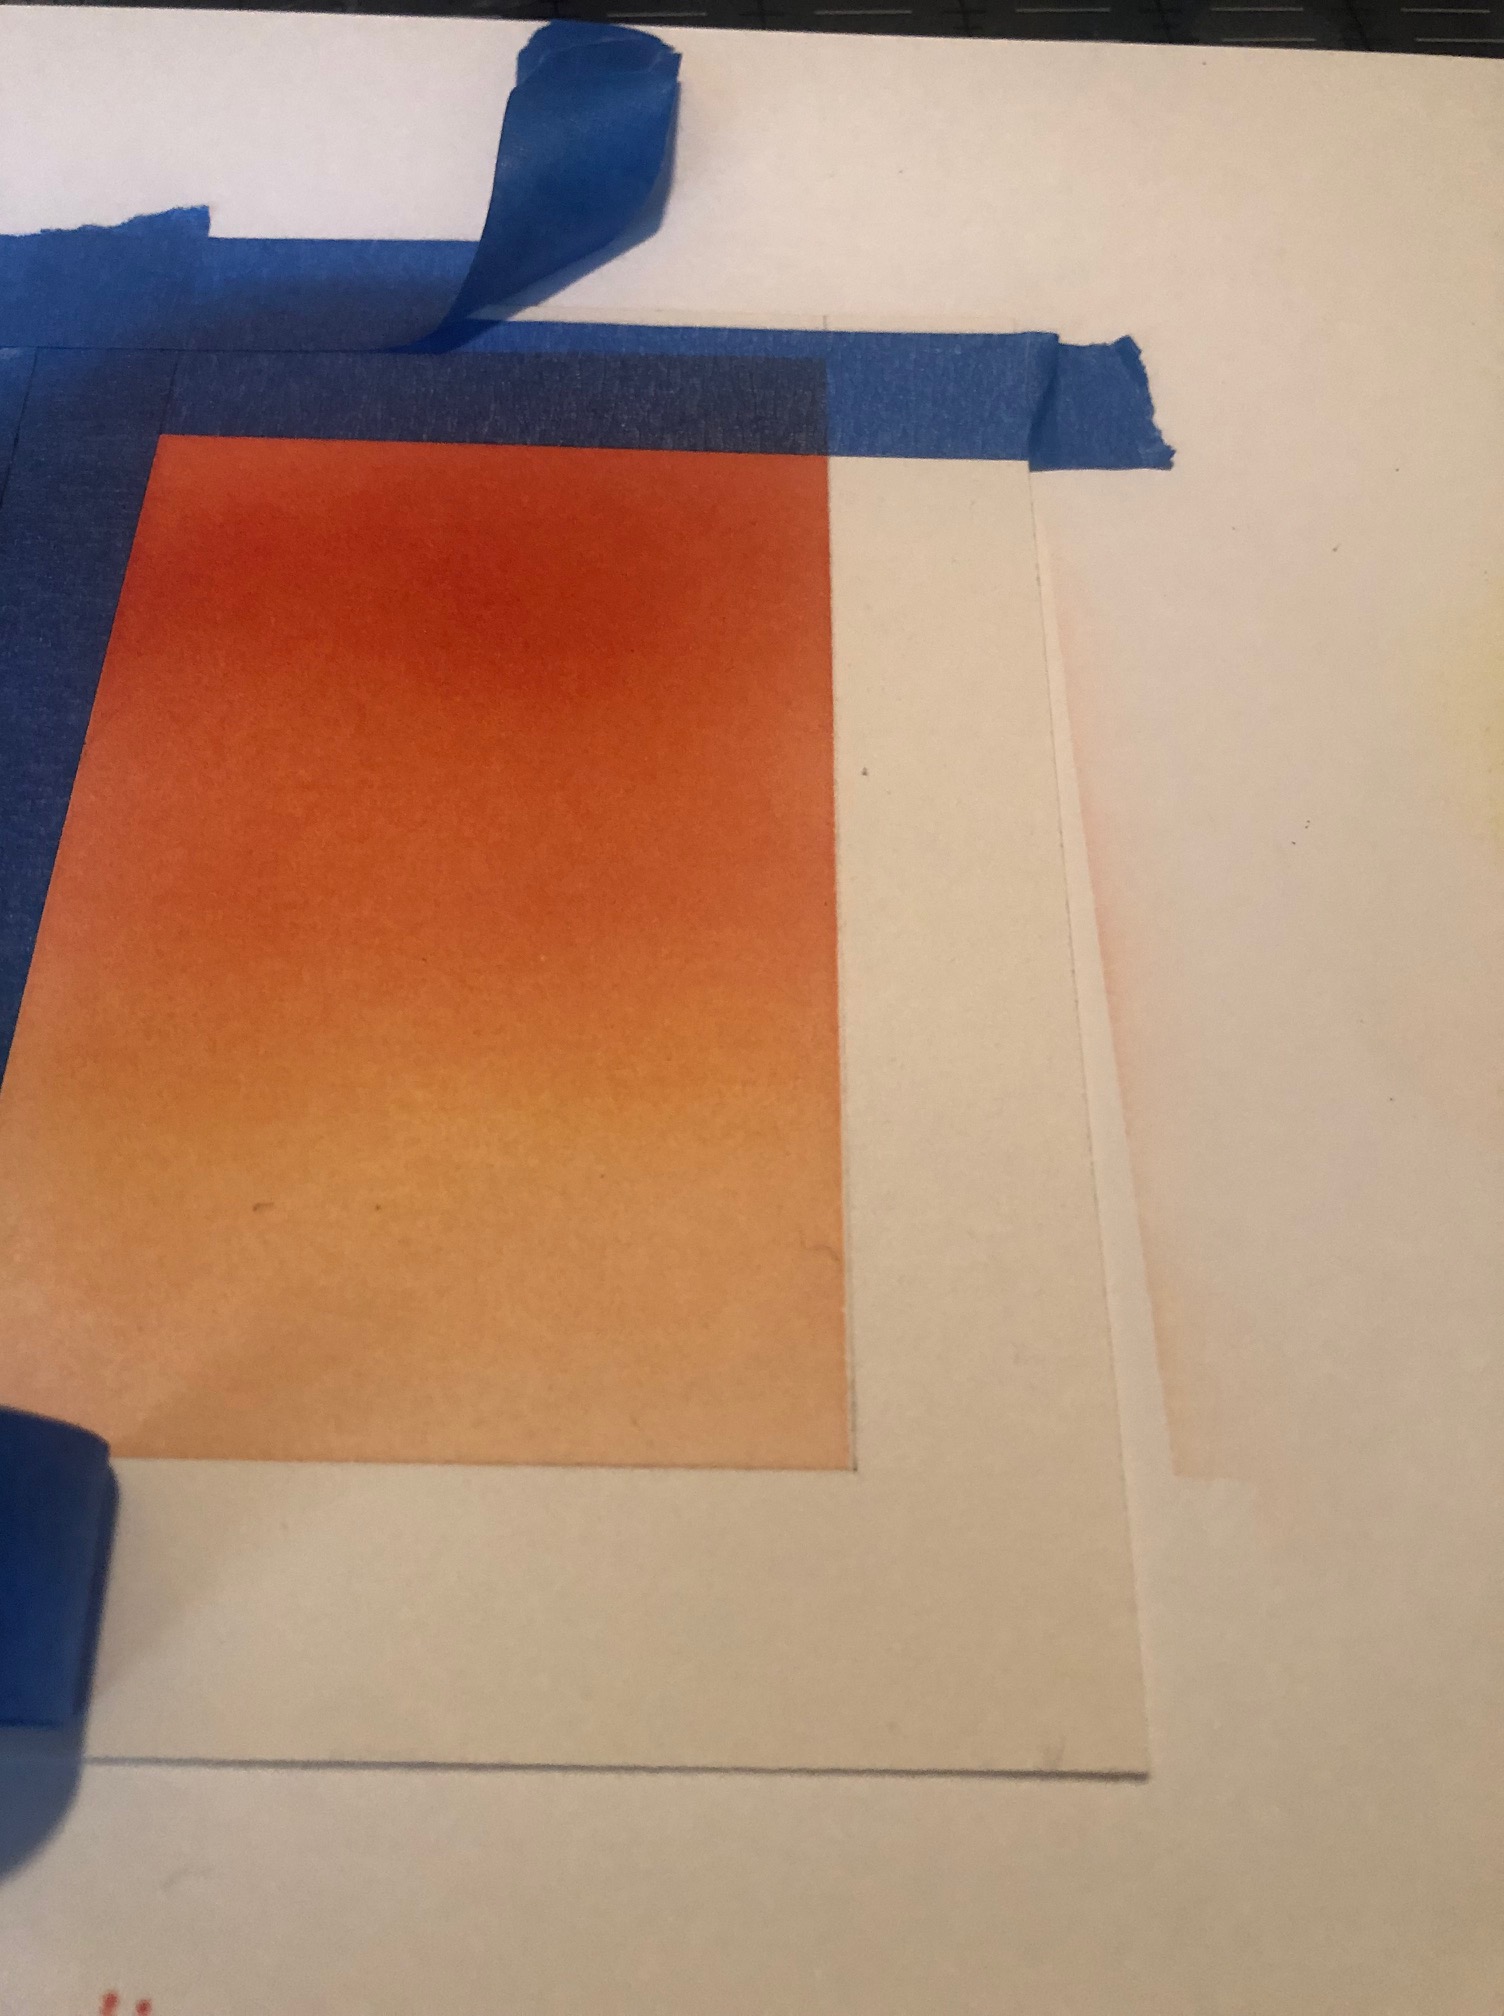
Next, you carefully peel off the tape. Look how cool!
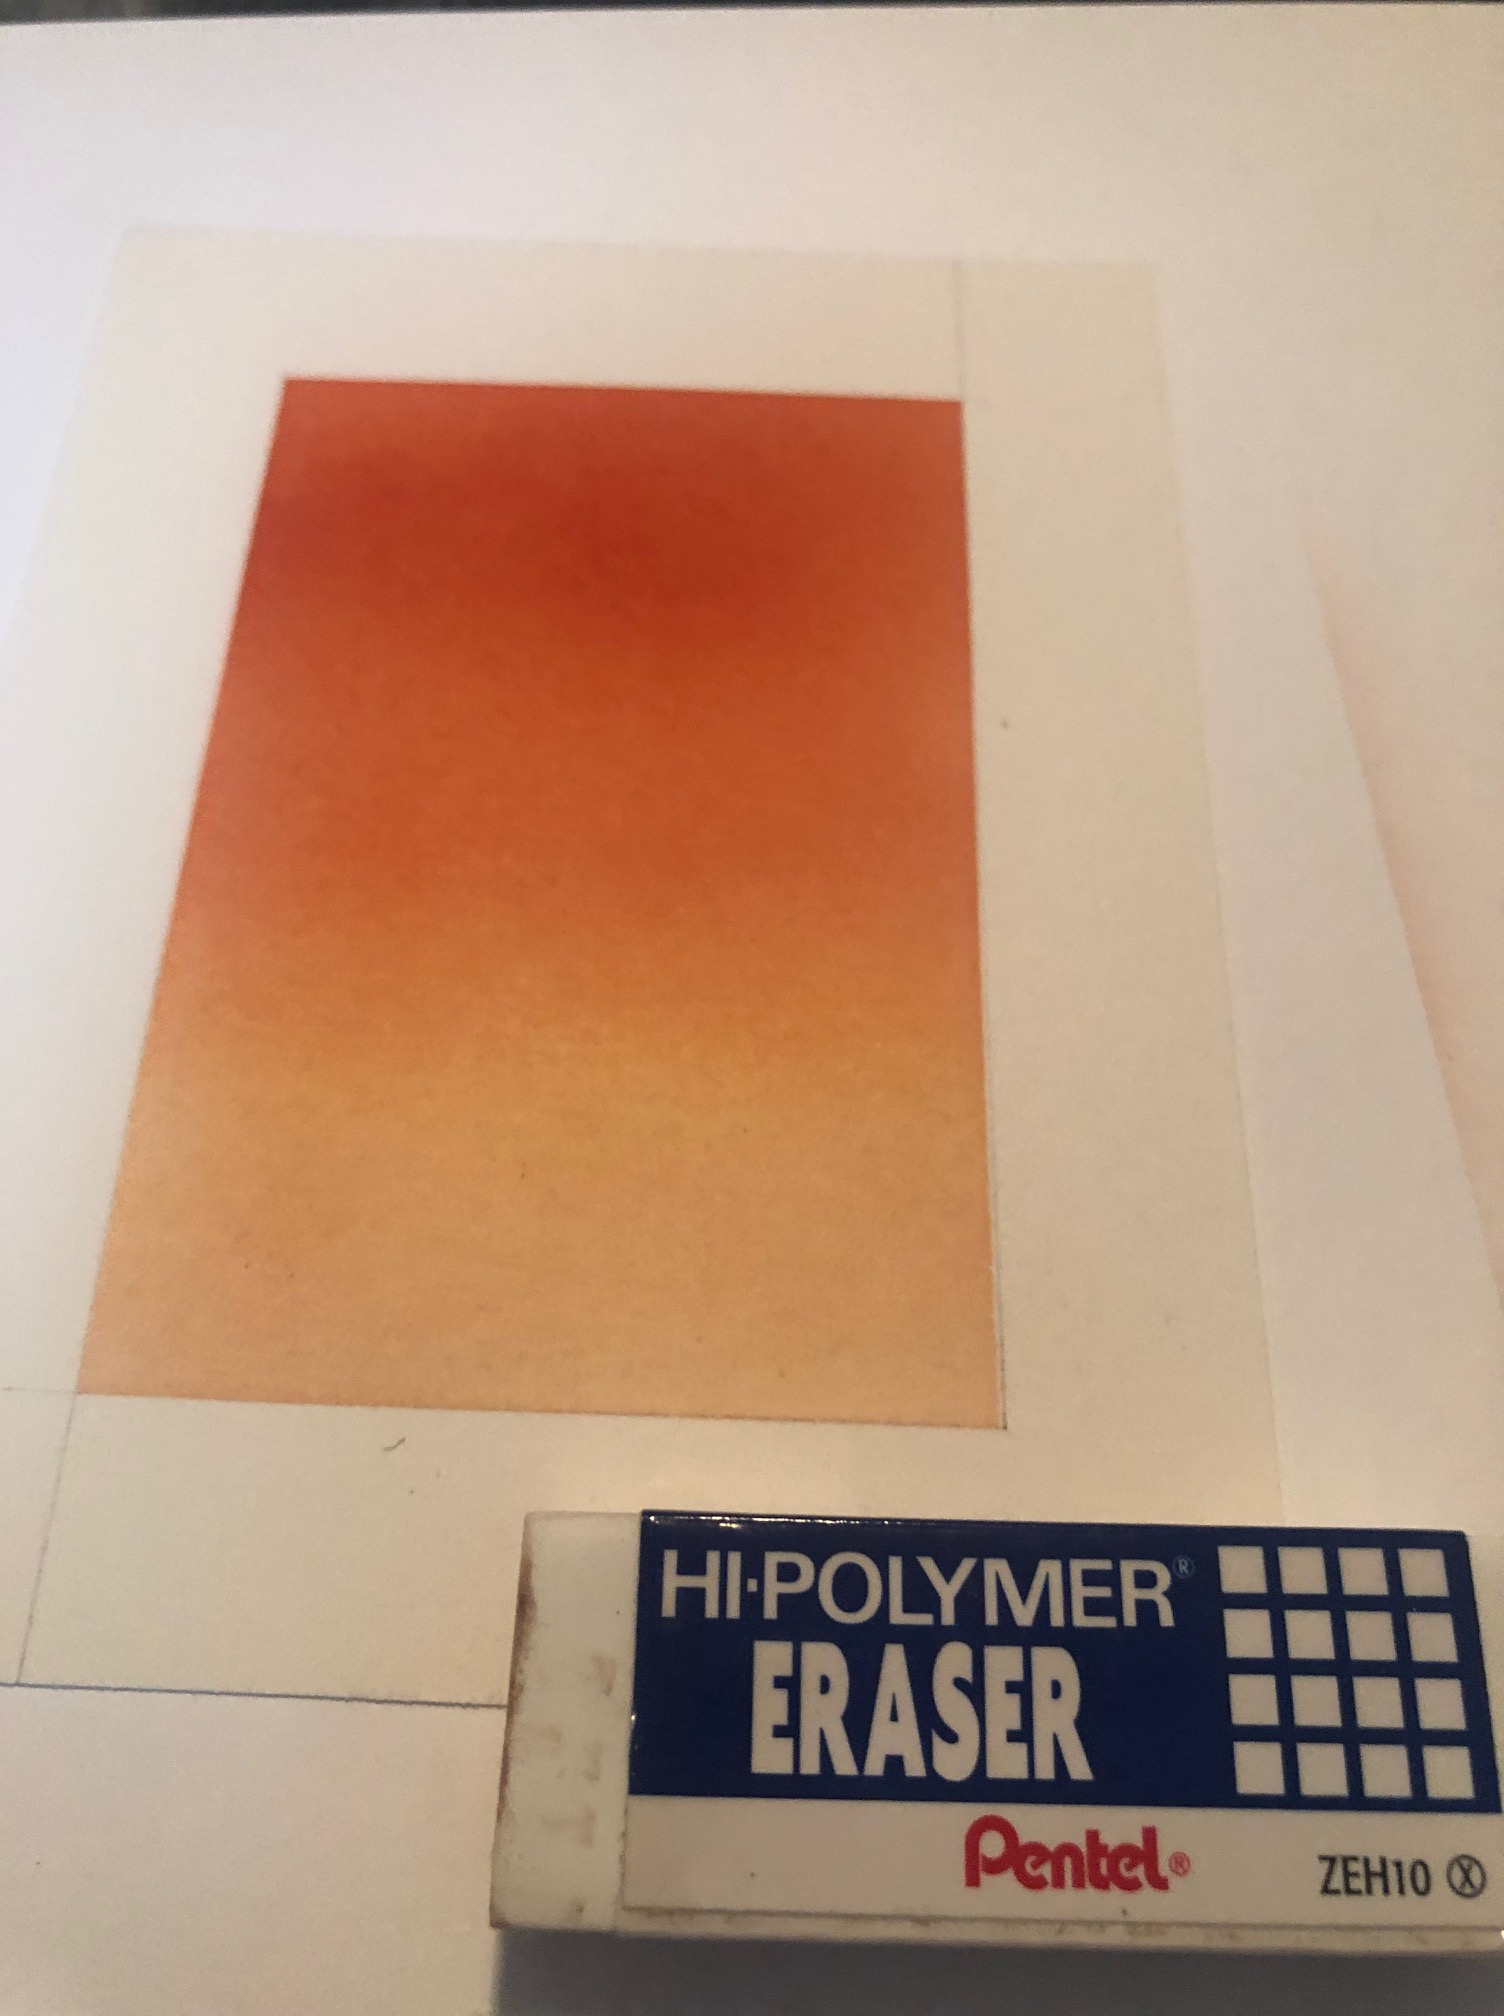
It is important to let the ink dry before you erase the pencil marks. They come right off even if they end up under the ink!
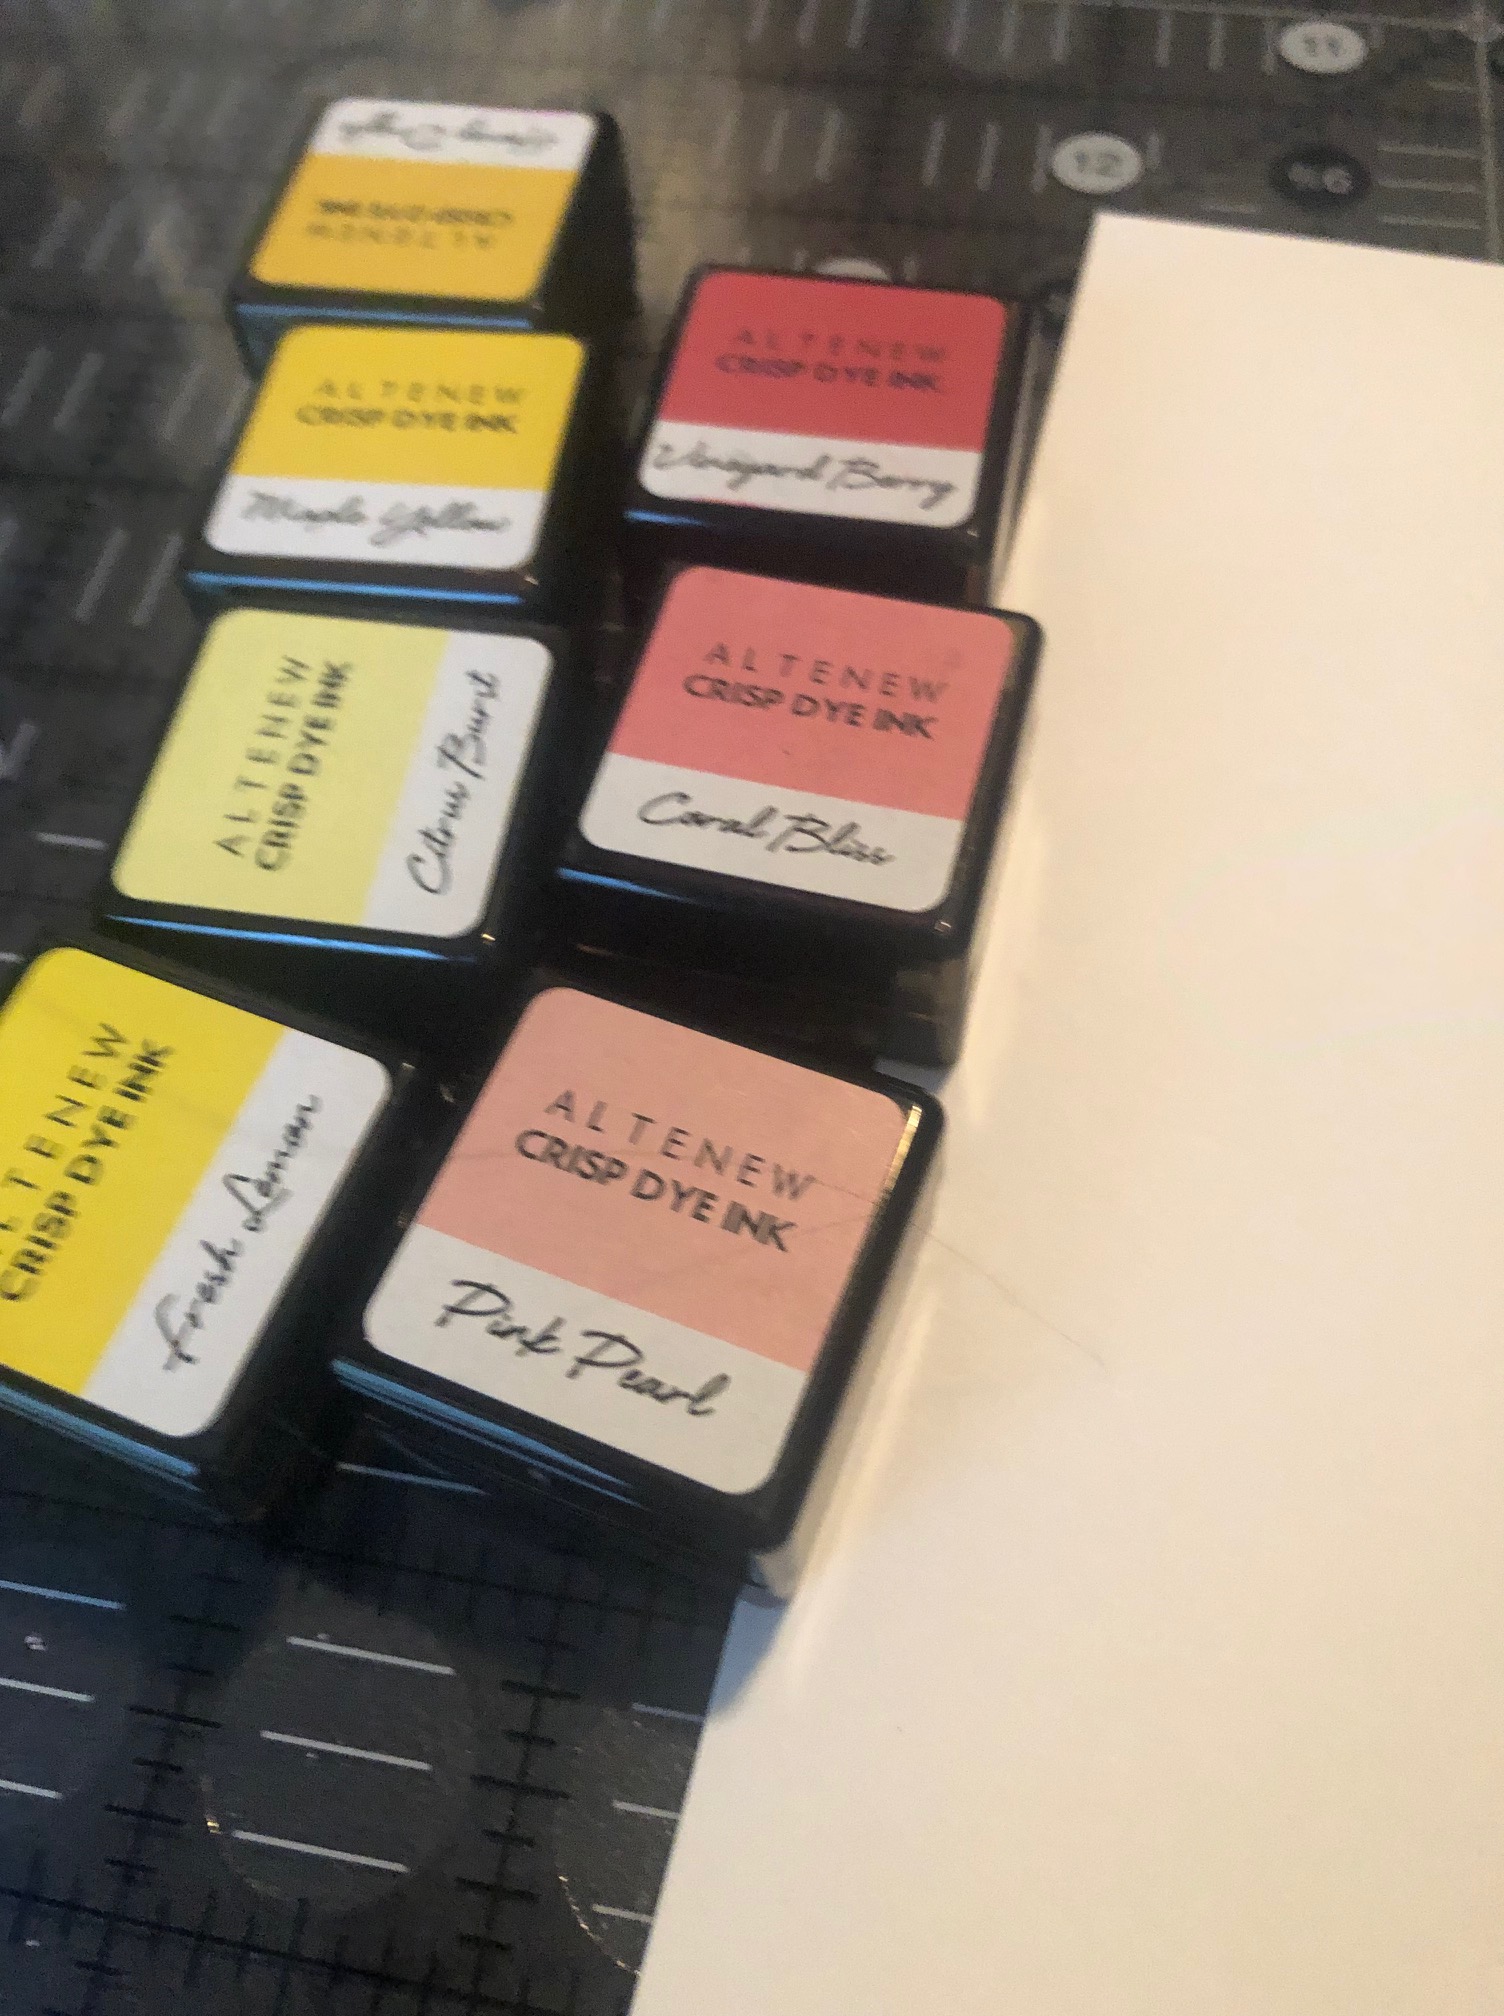
Above is the colors of ink I used. I really enjoy blending with Altenew inks!
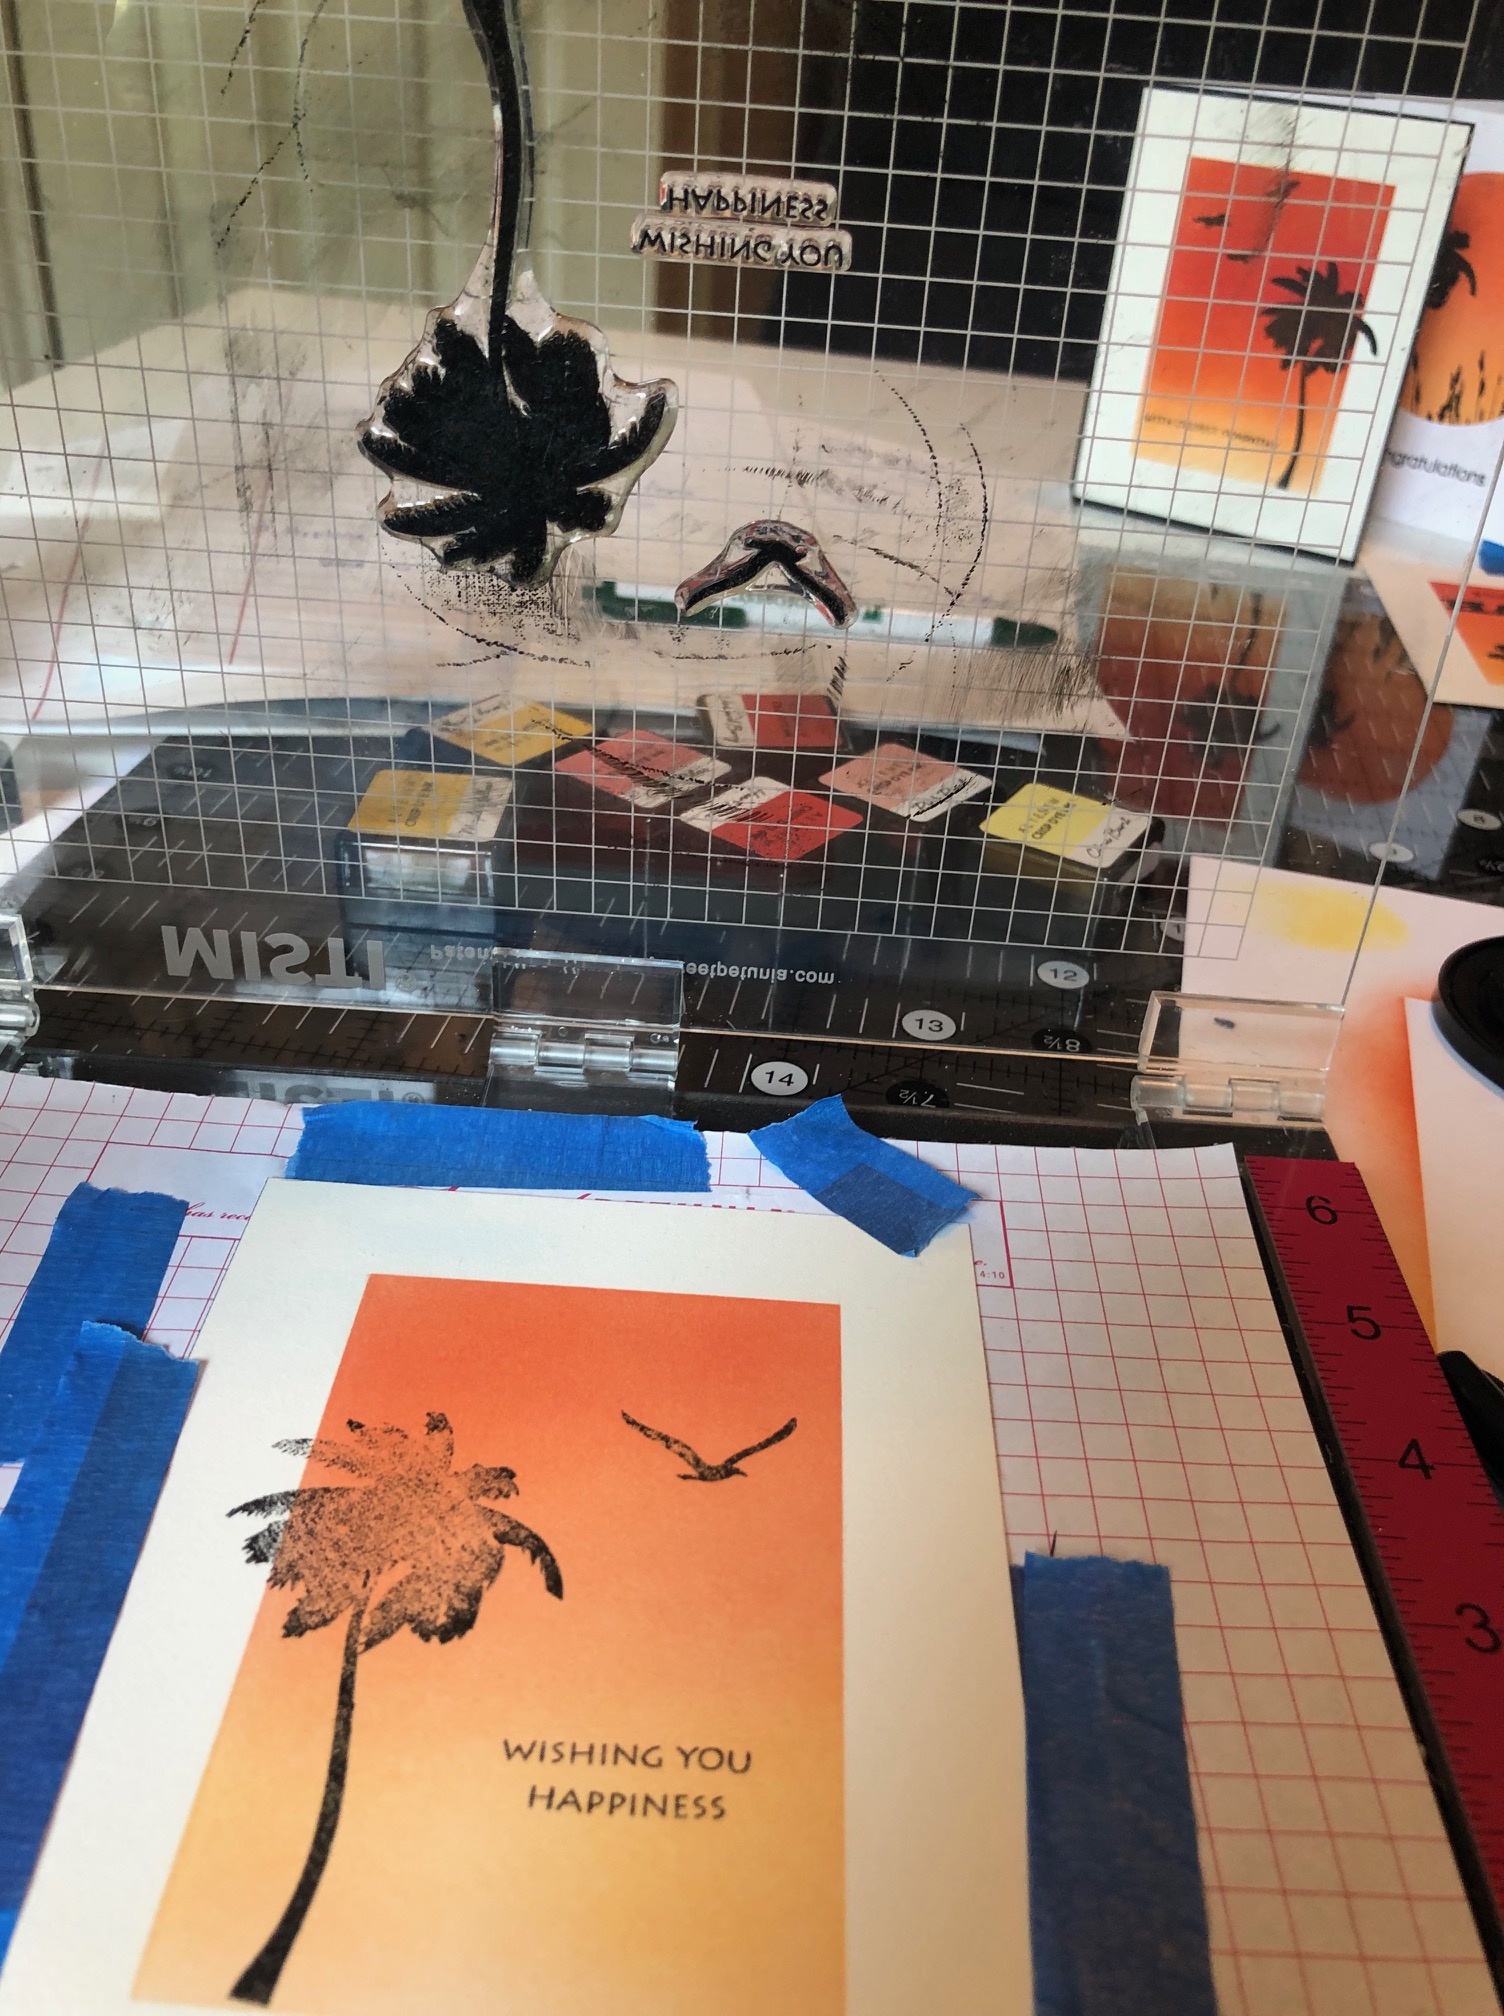
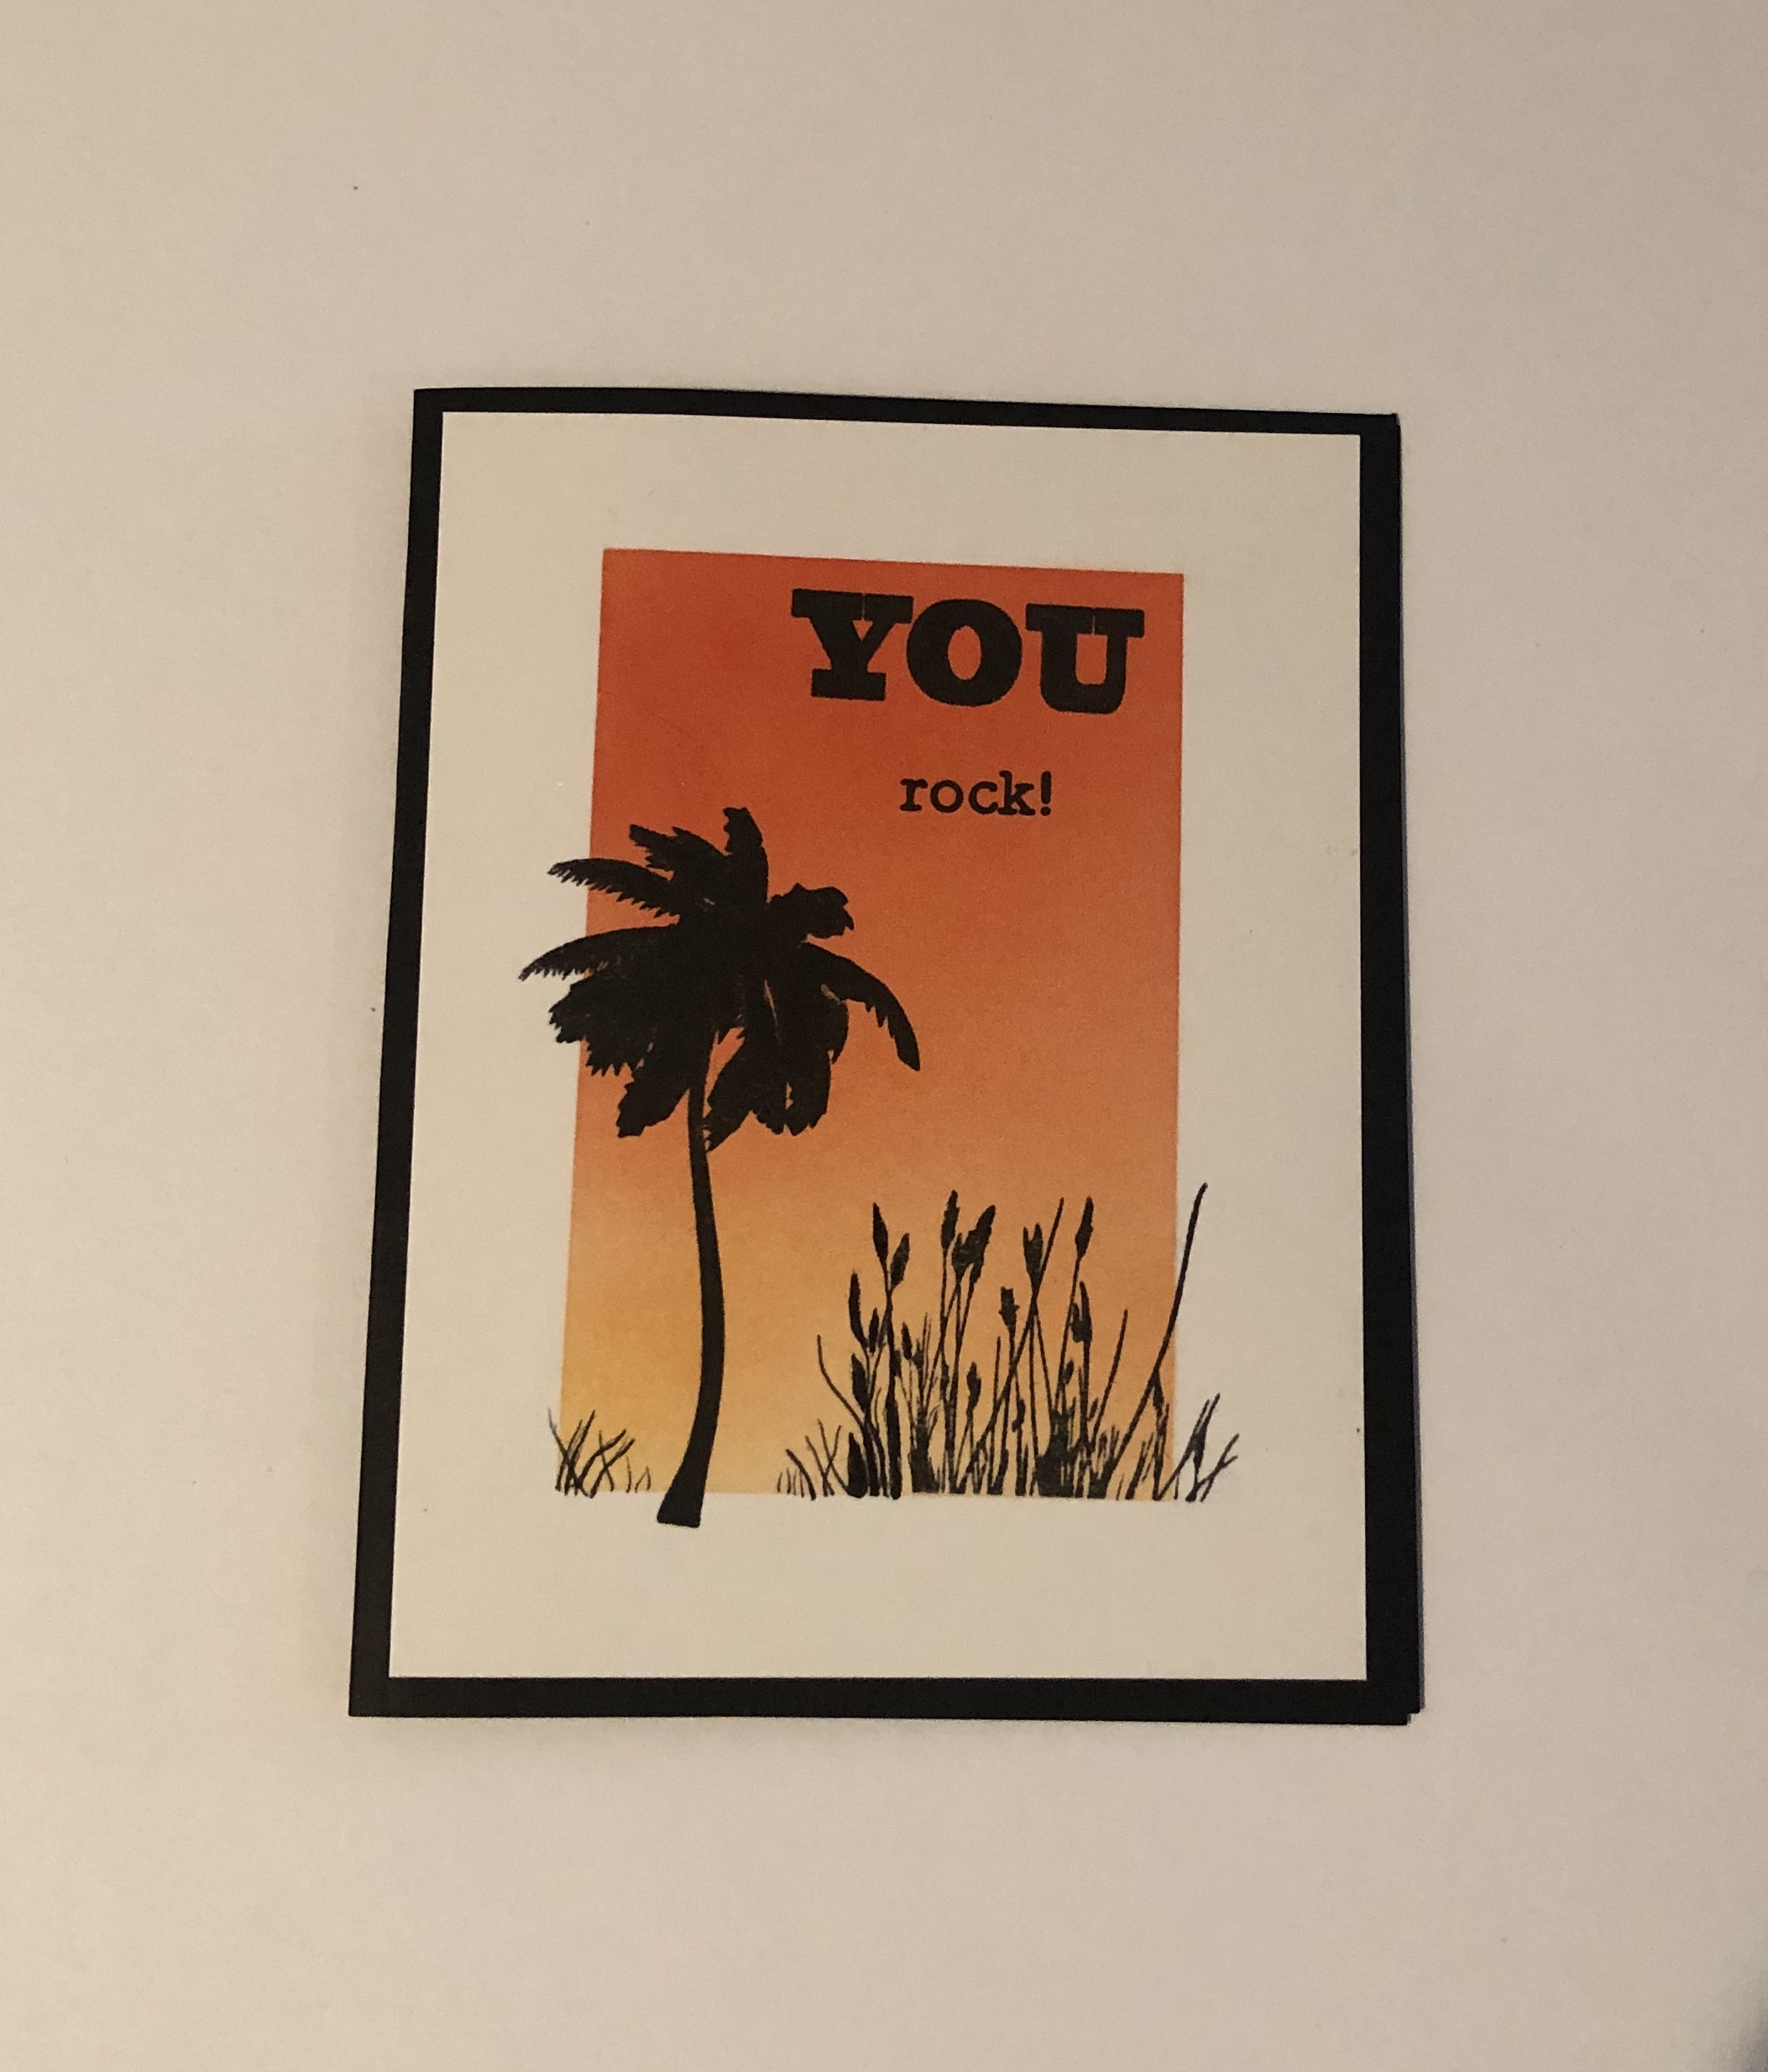
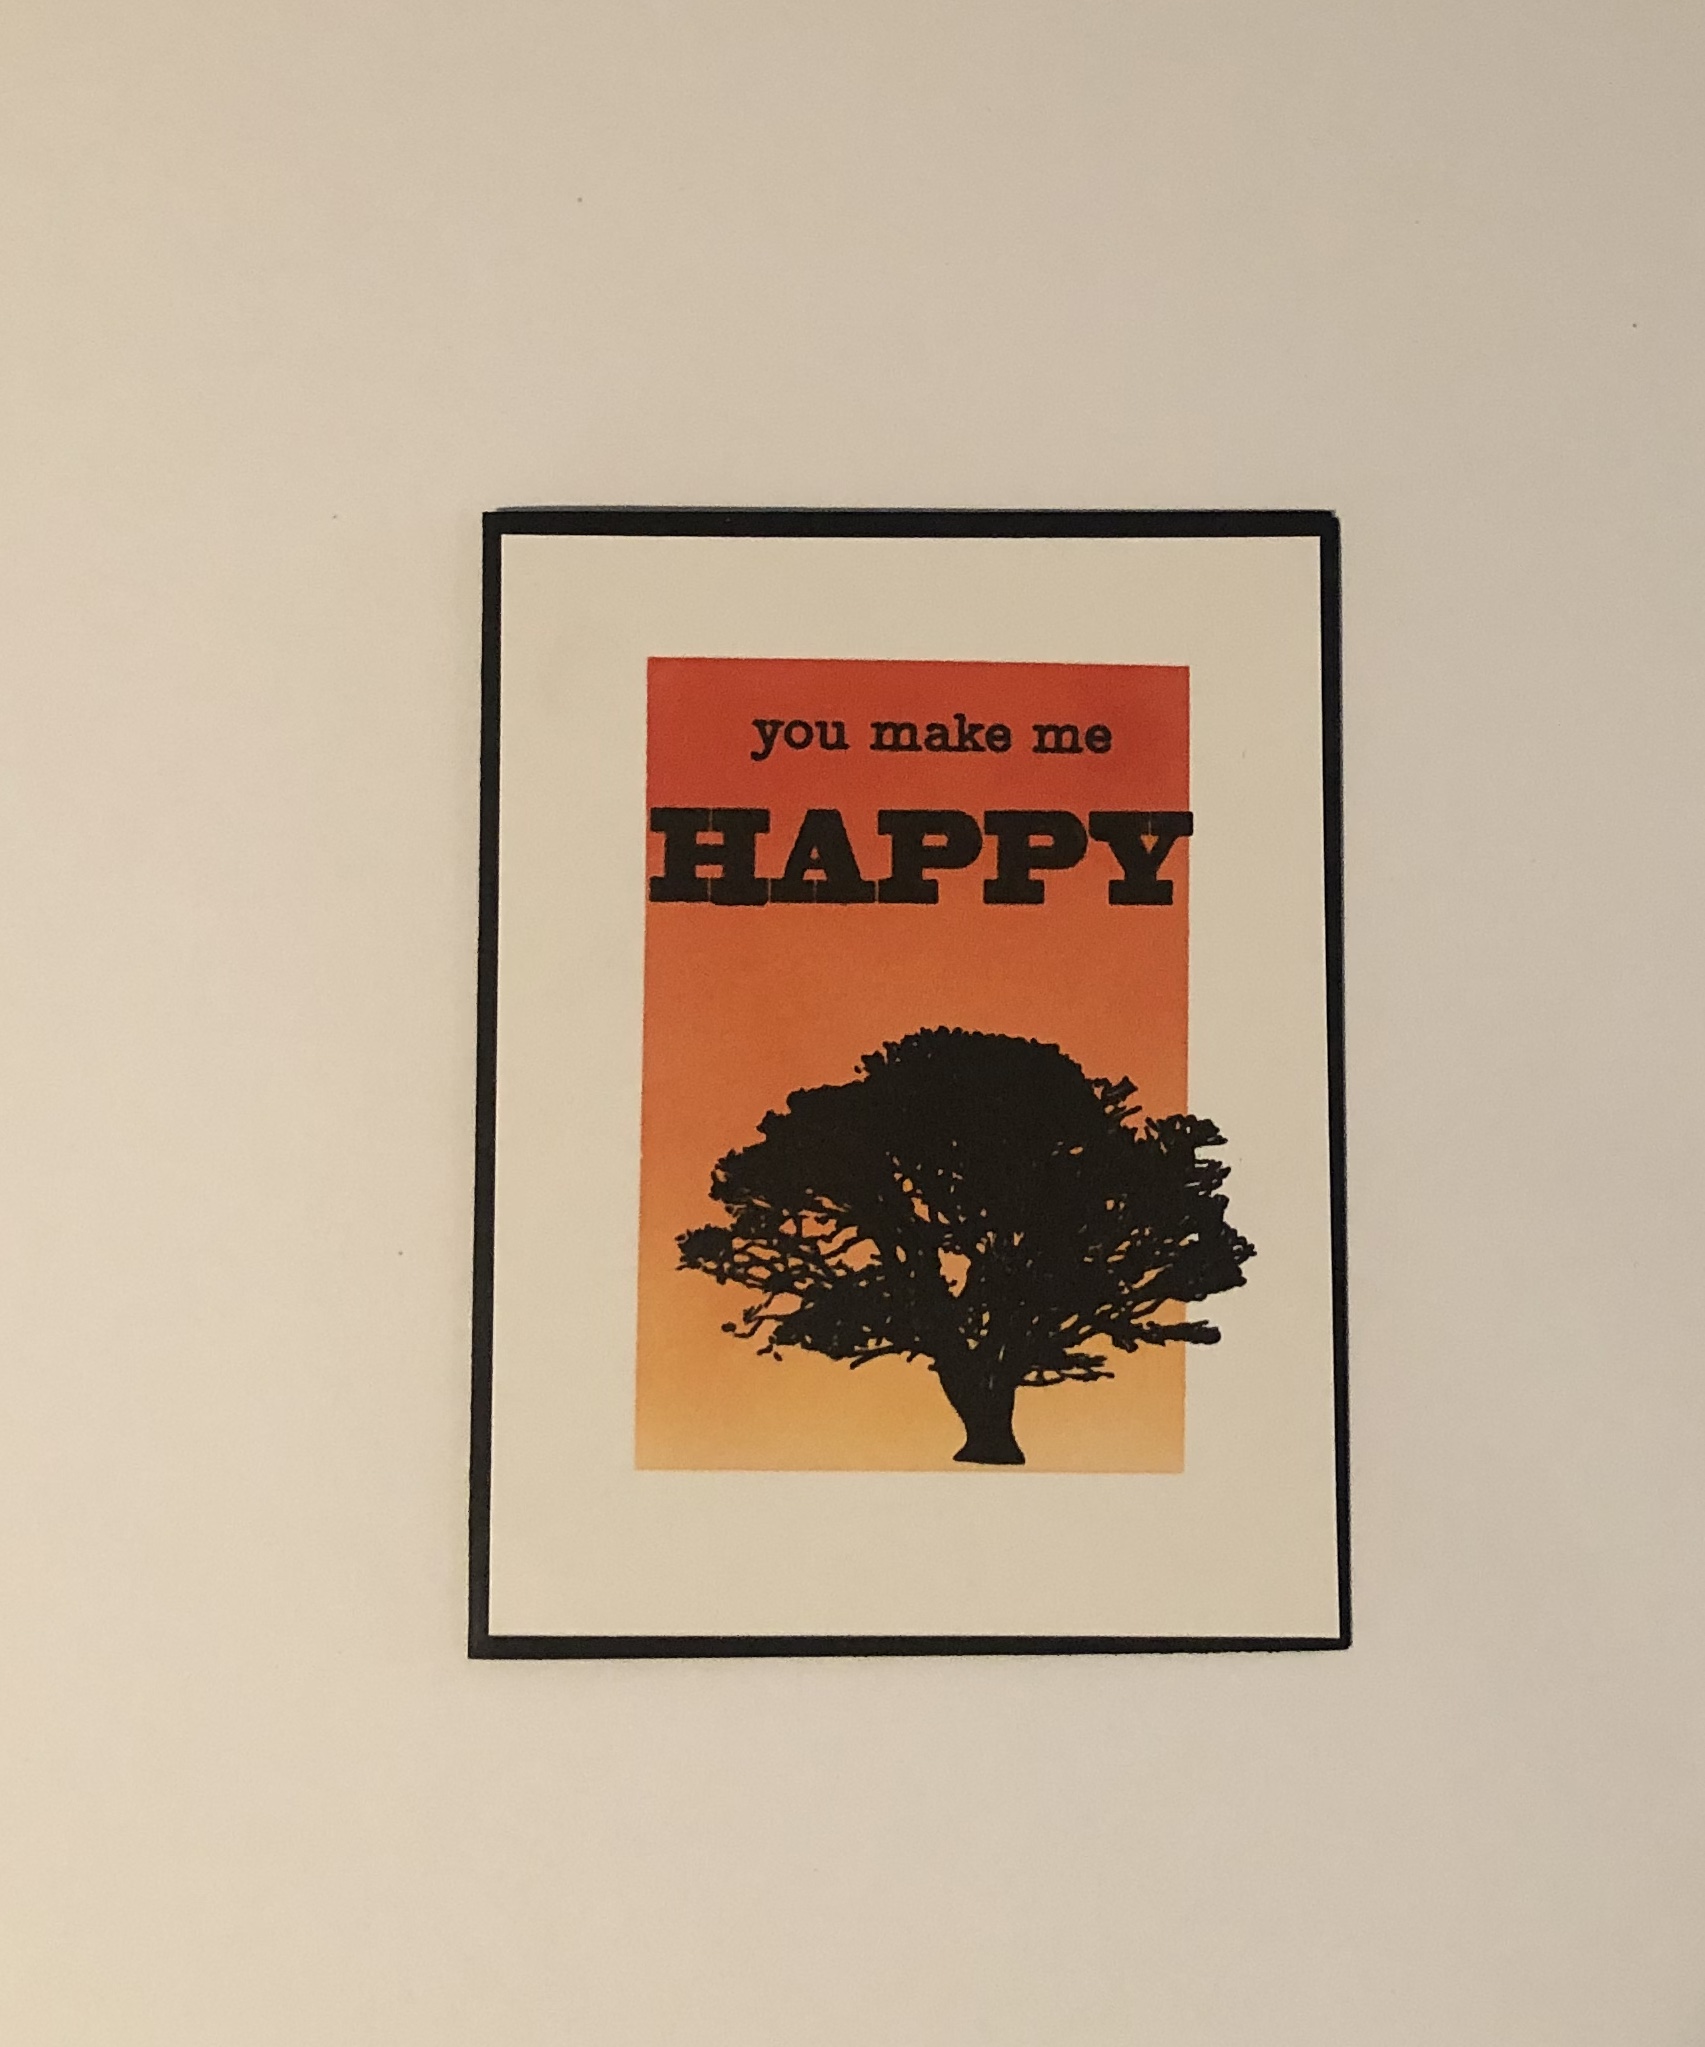
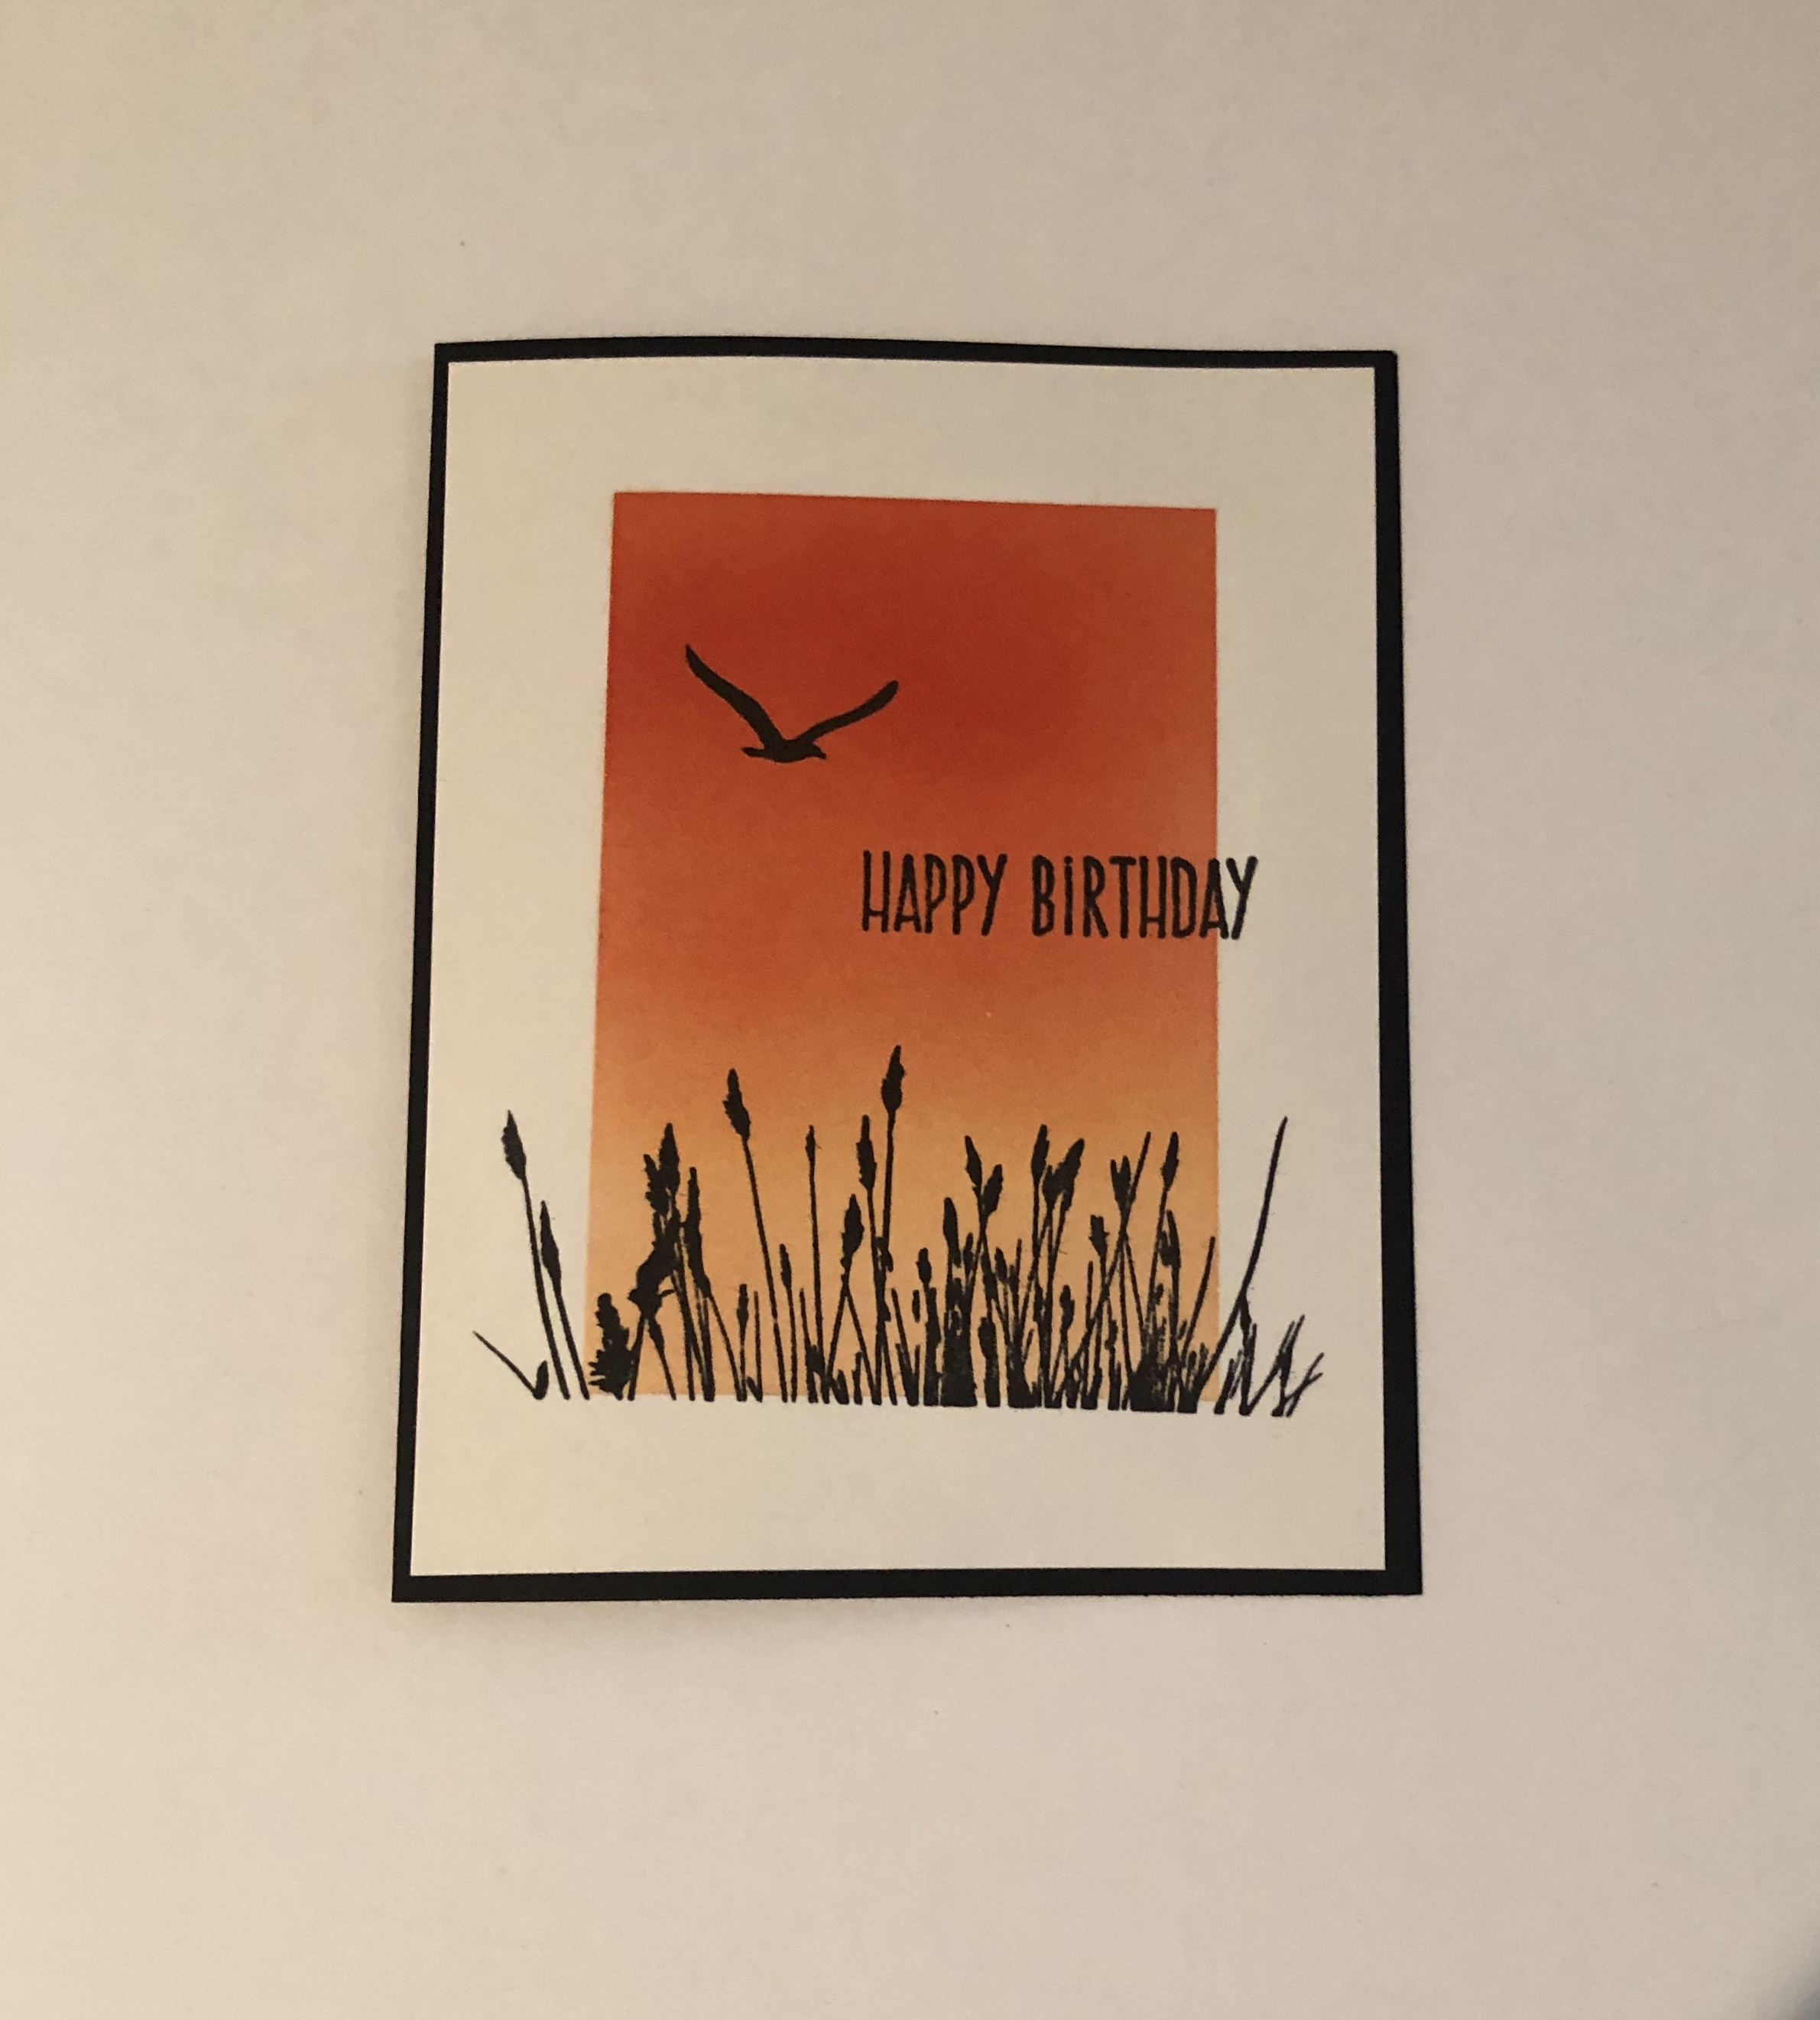
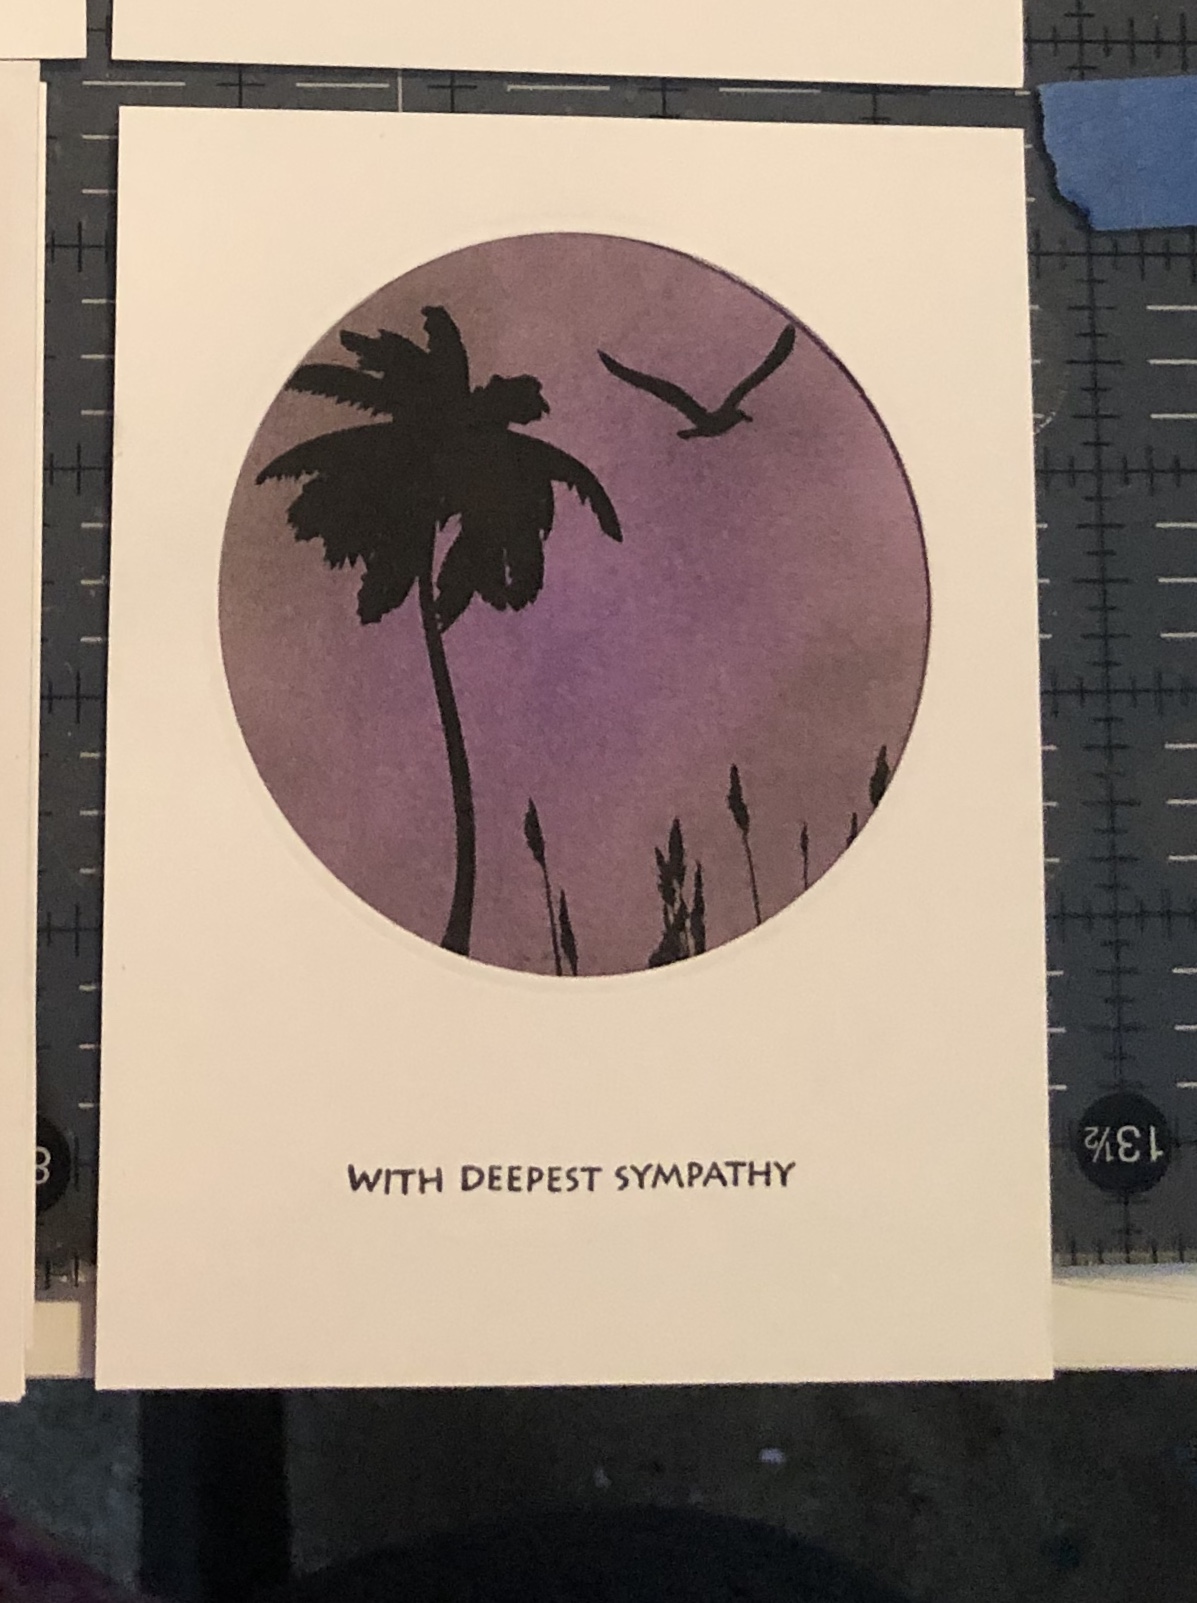
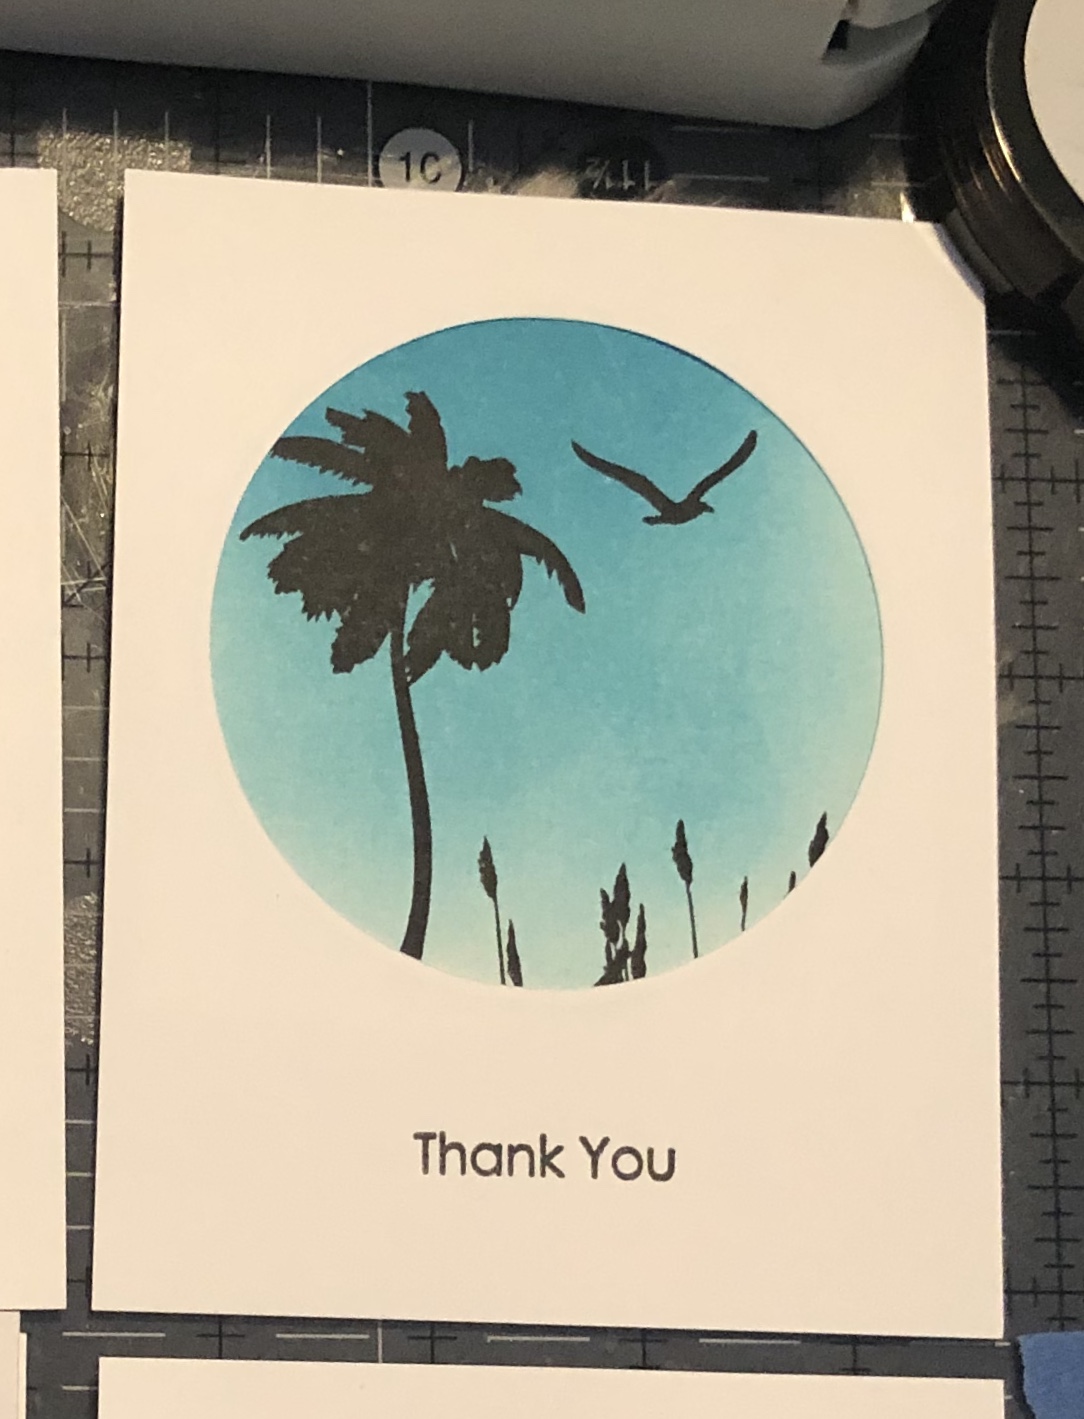
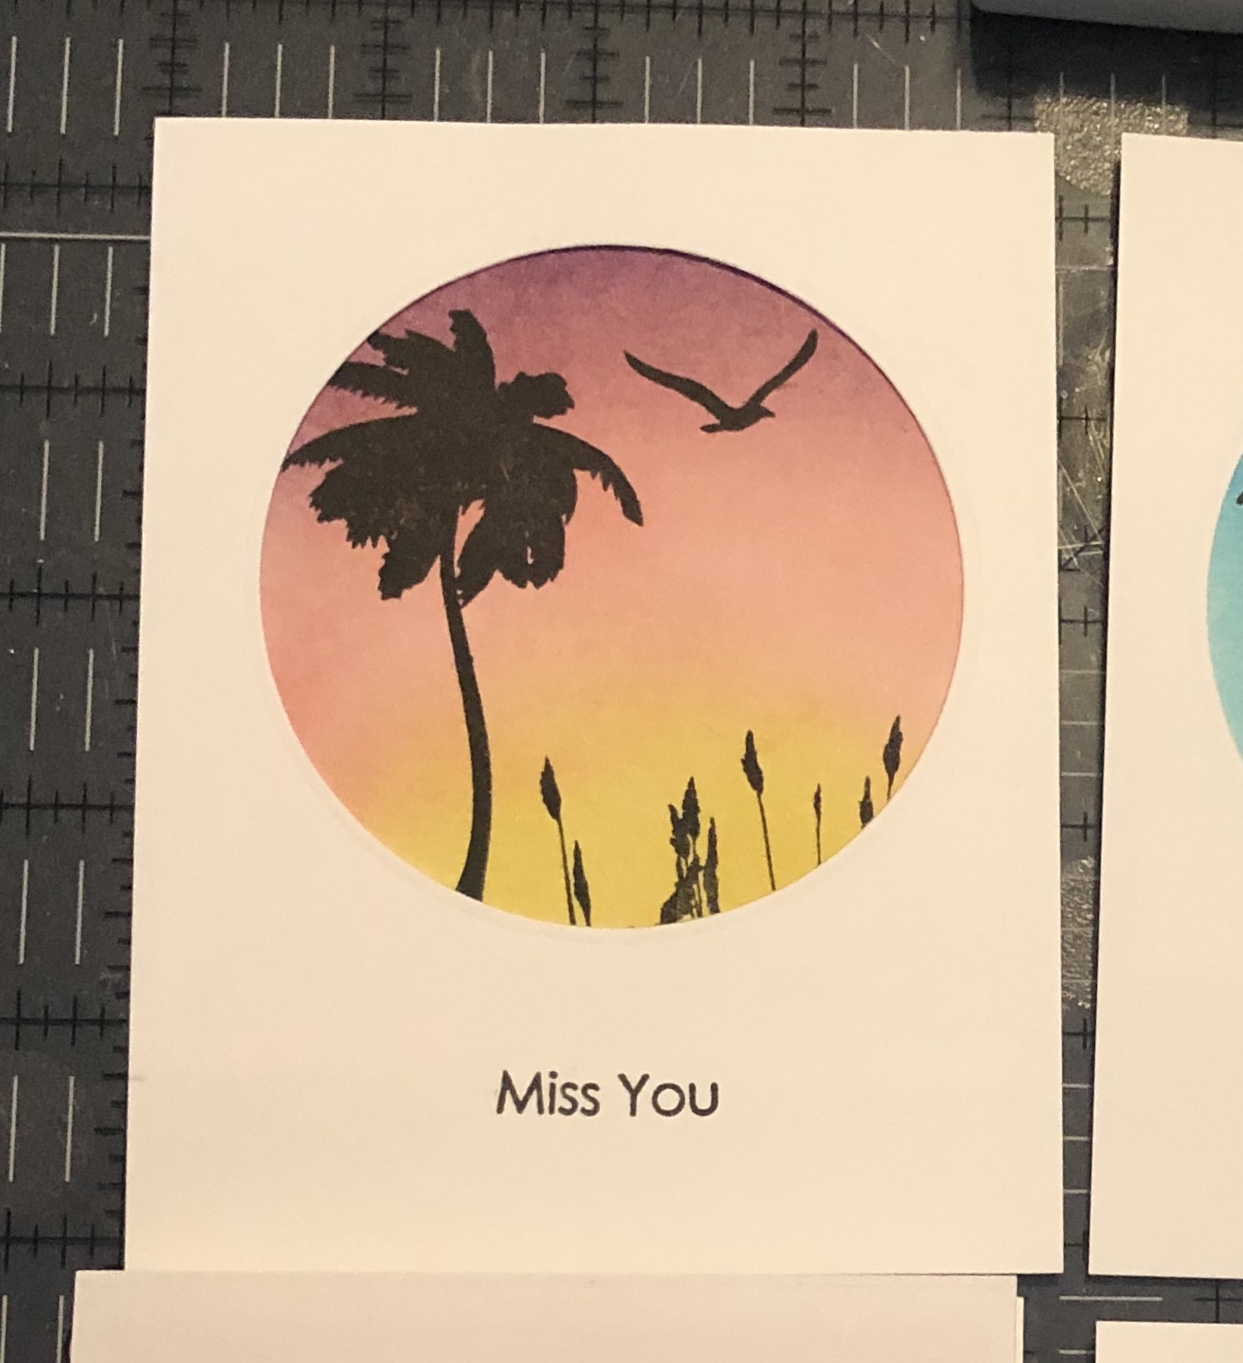
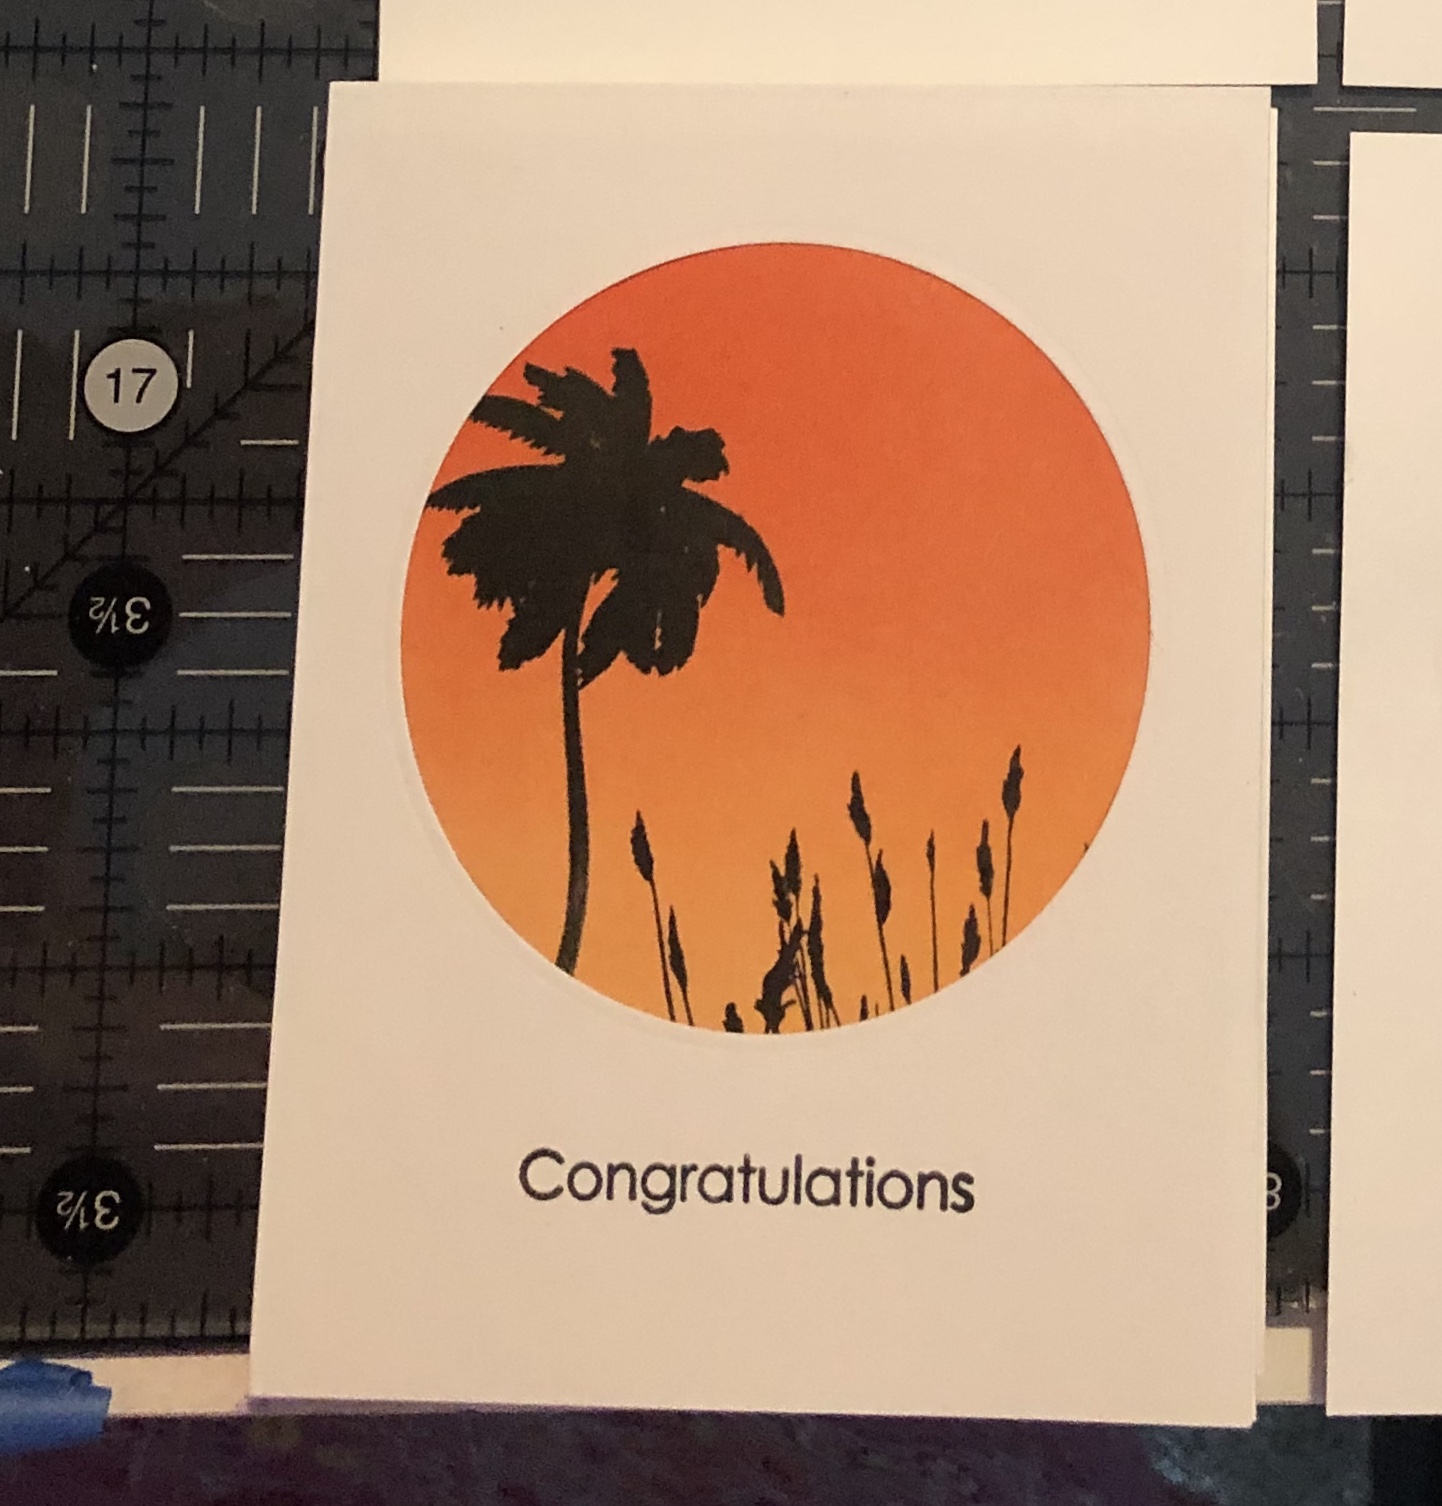
Next I used my misti stamp tool to stamp a image from Gradient Sunset stamp set. I stamped the image three time to get as dark as I liked.

Here is the image stamped.
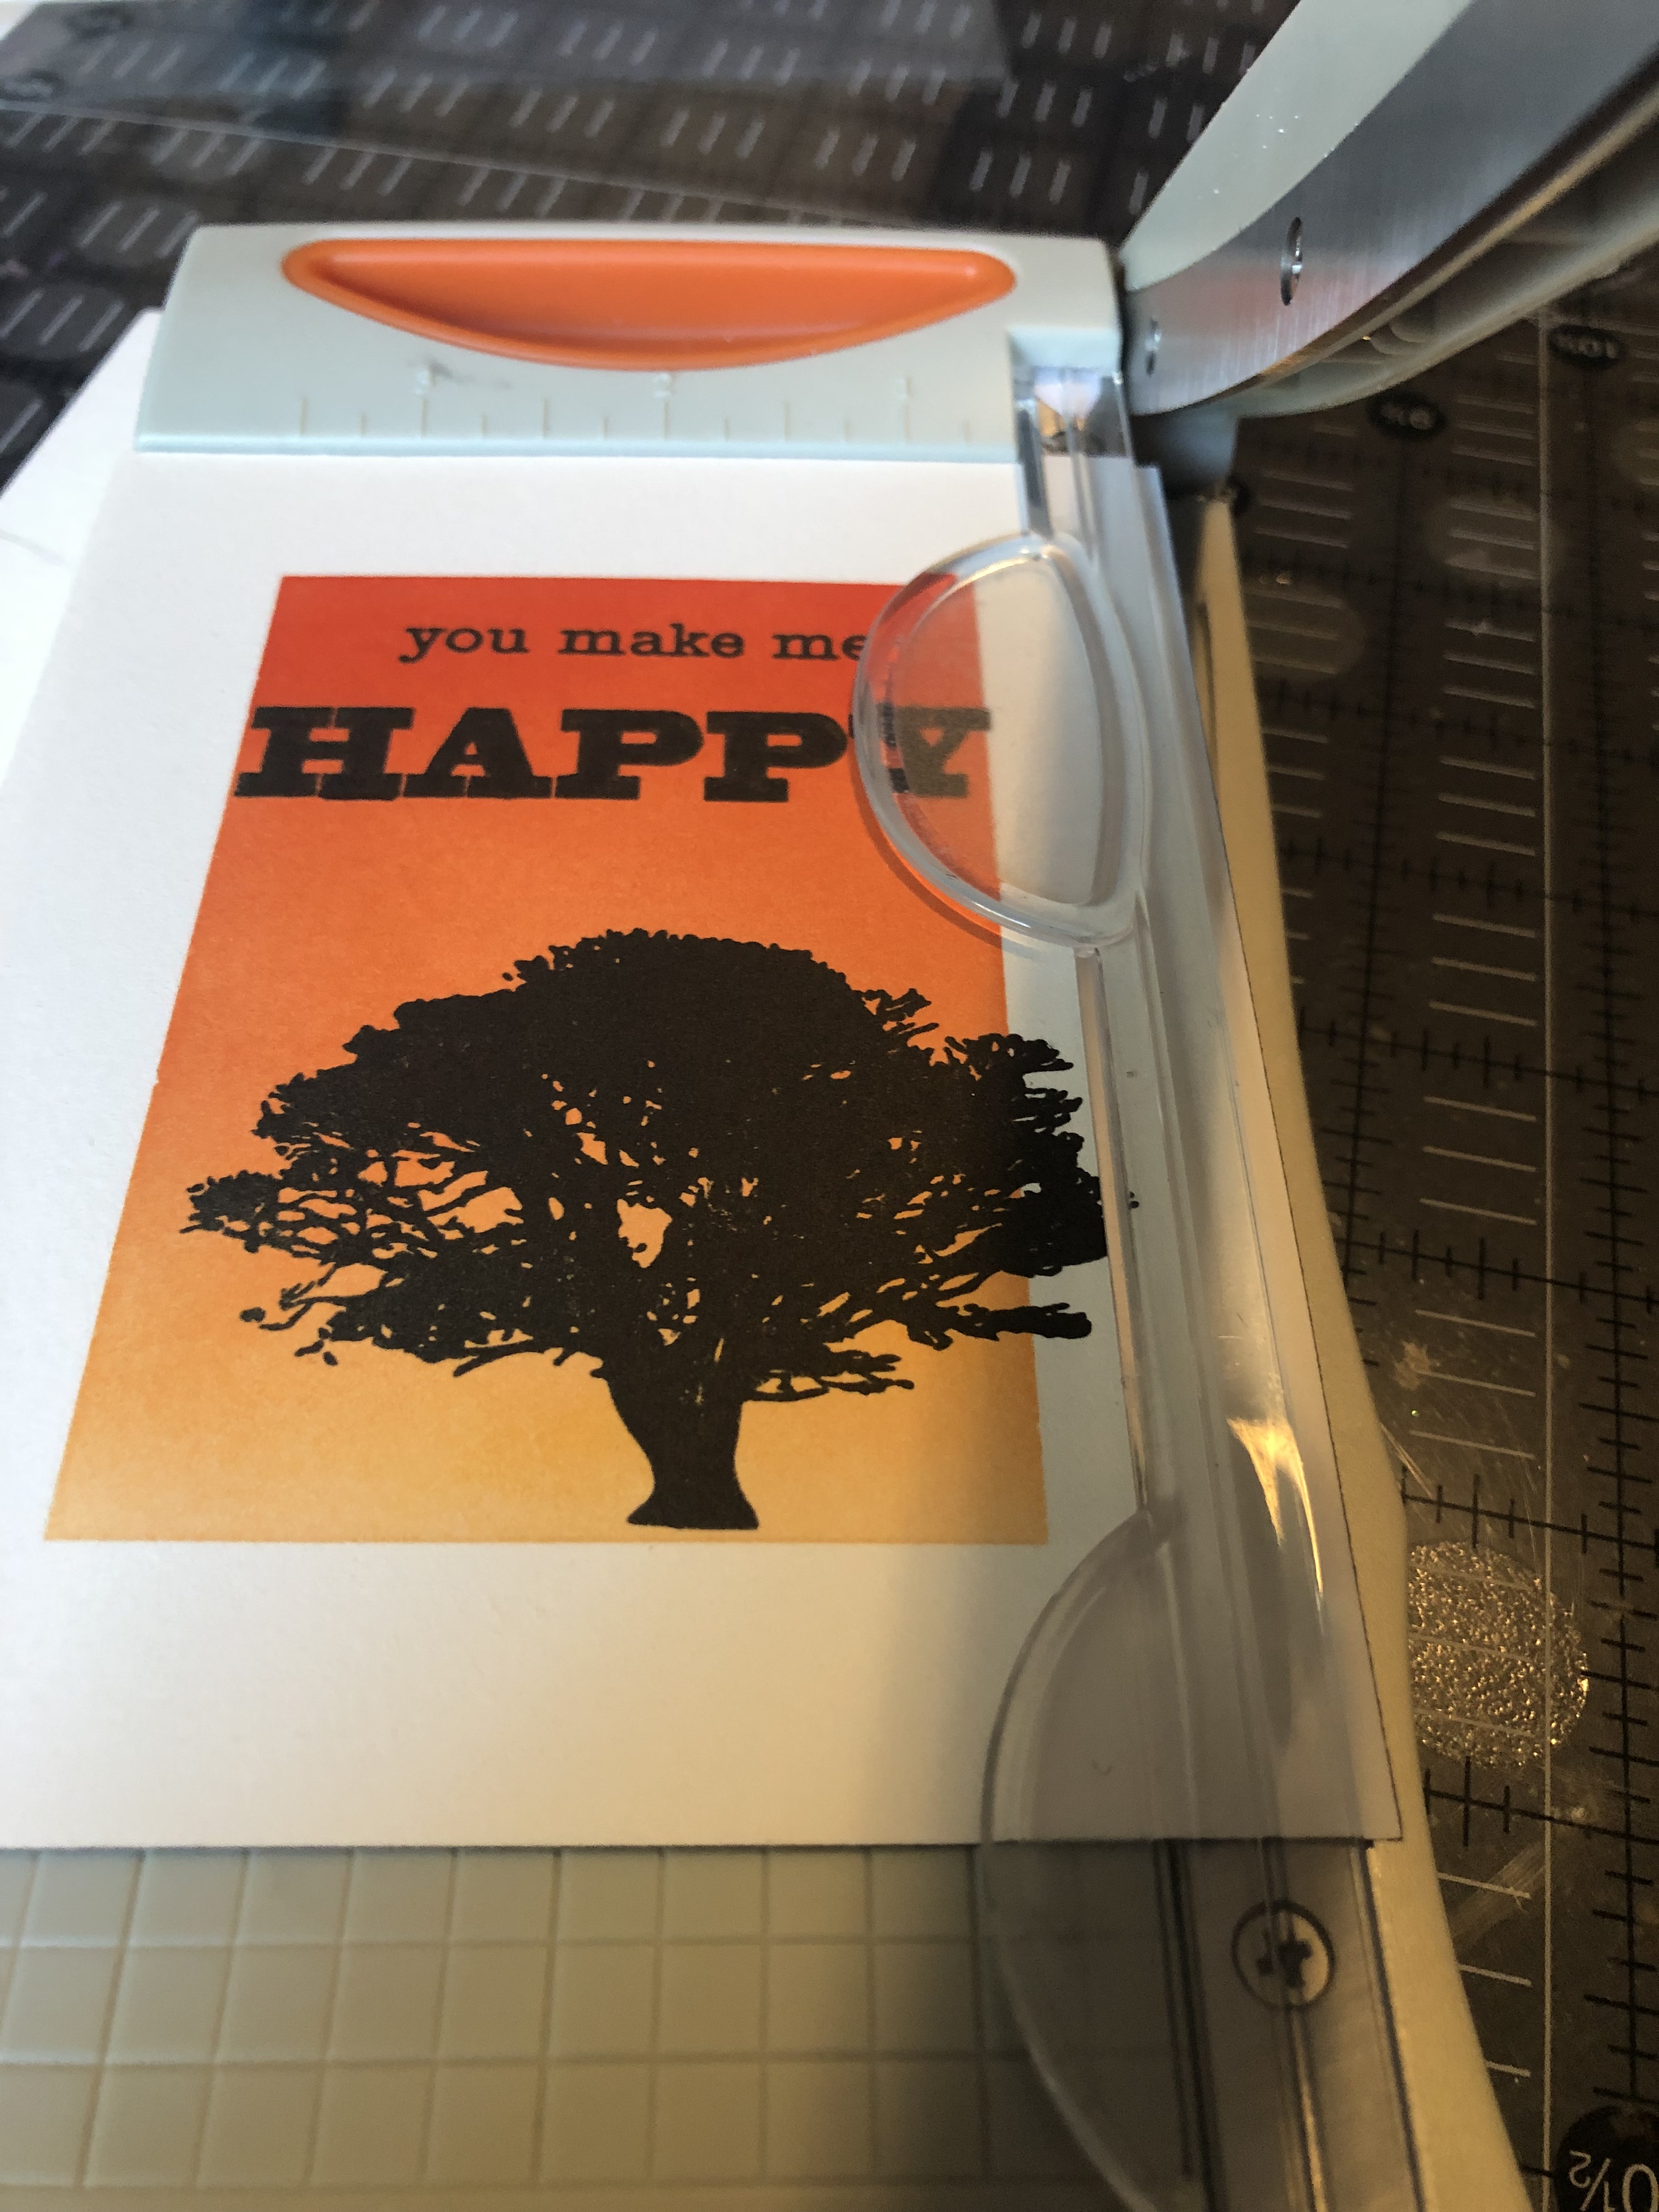
So I decided to trim a small bit off each side, and add a piece of black to the back to make the card pop a bit more.


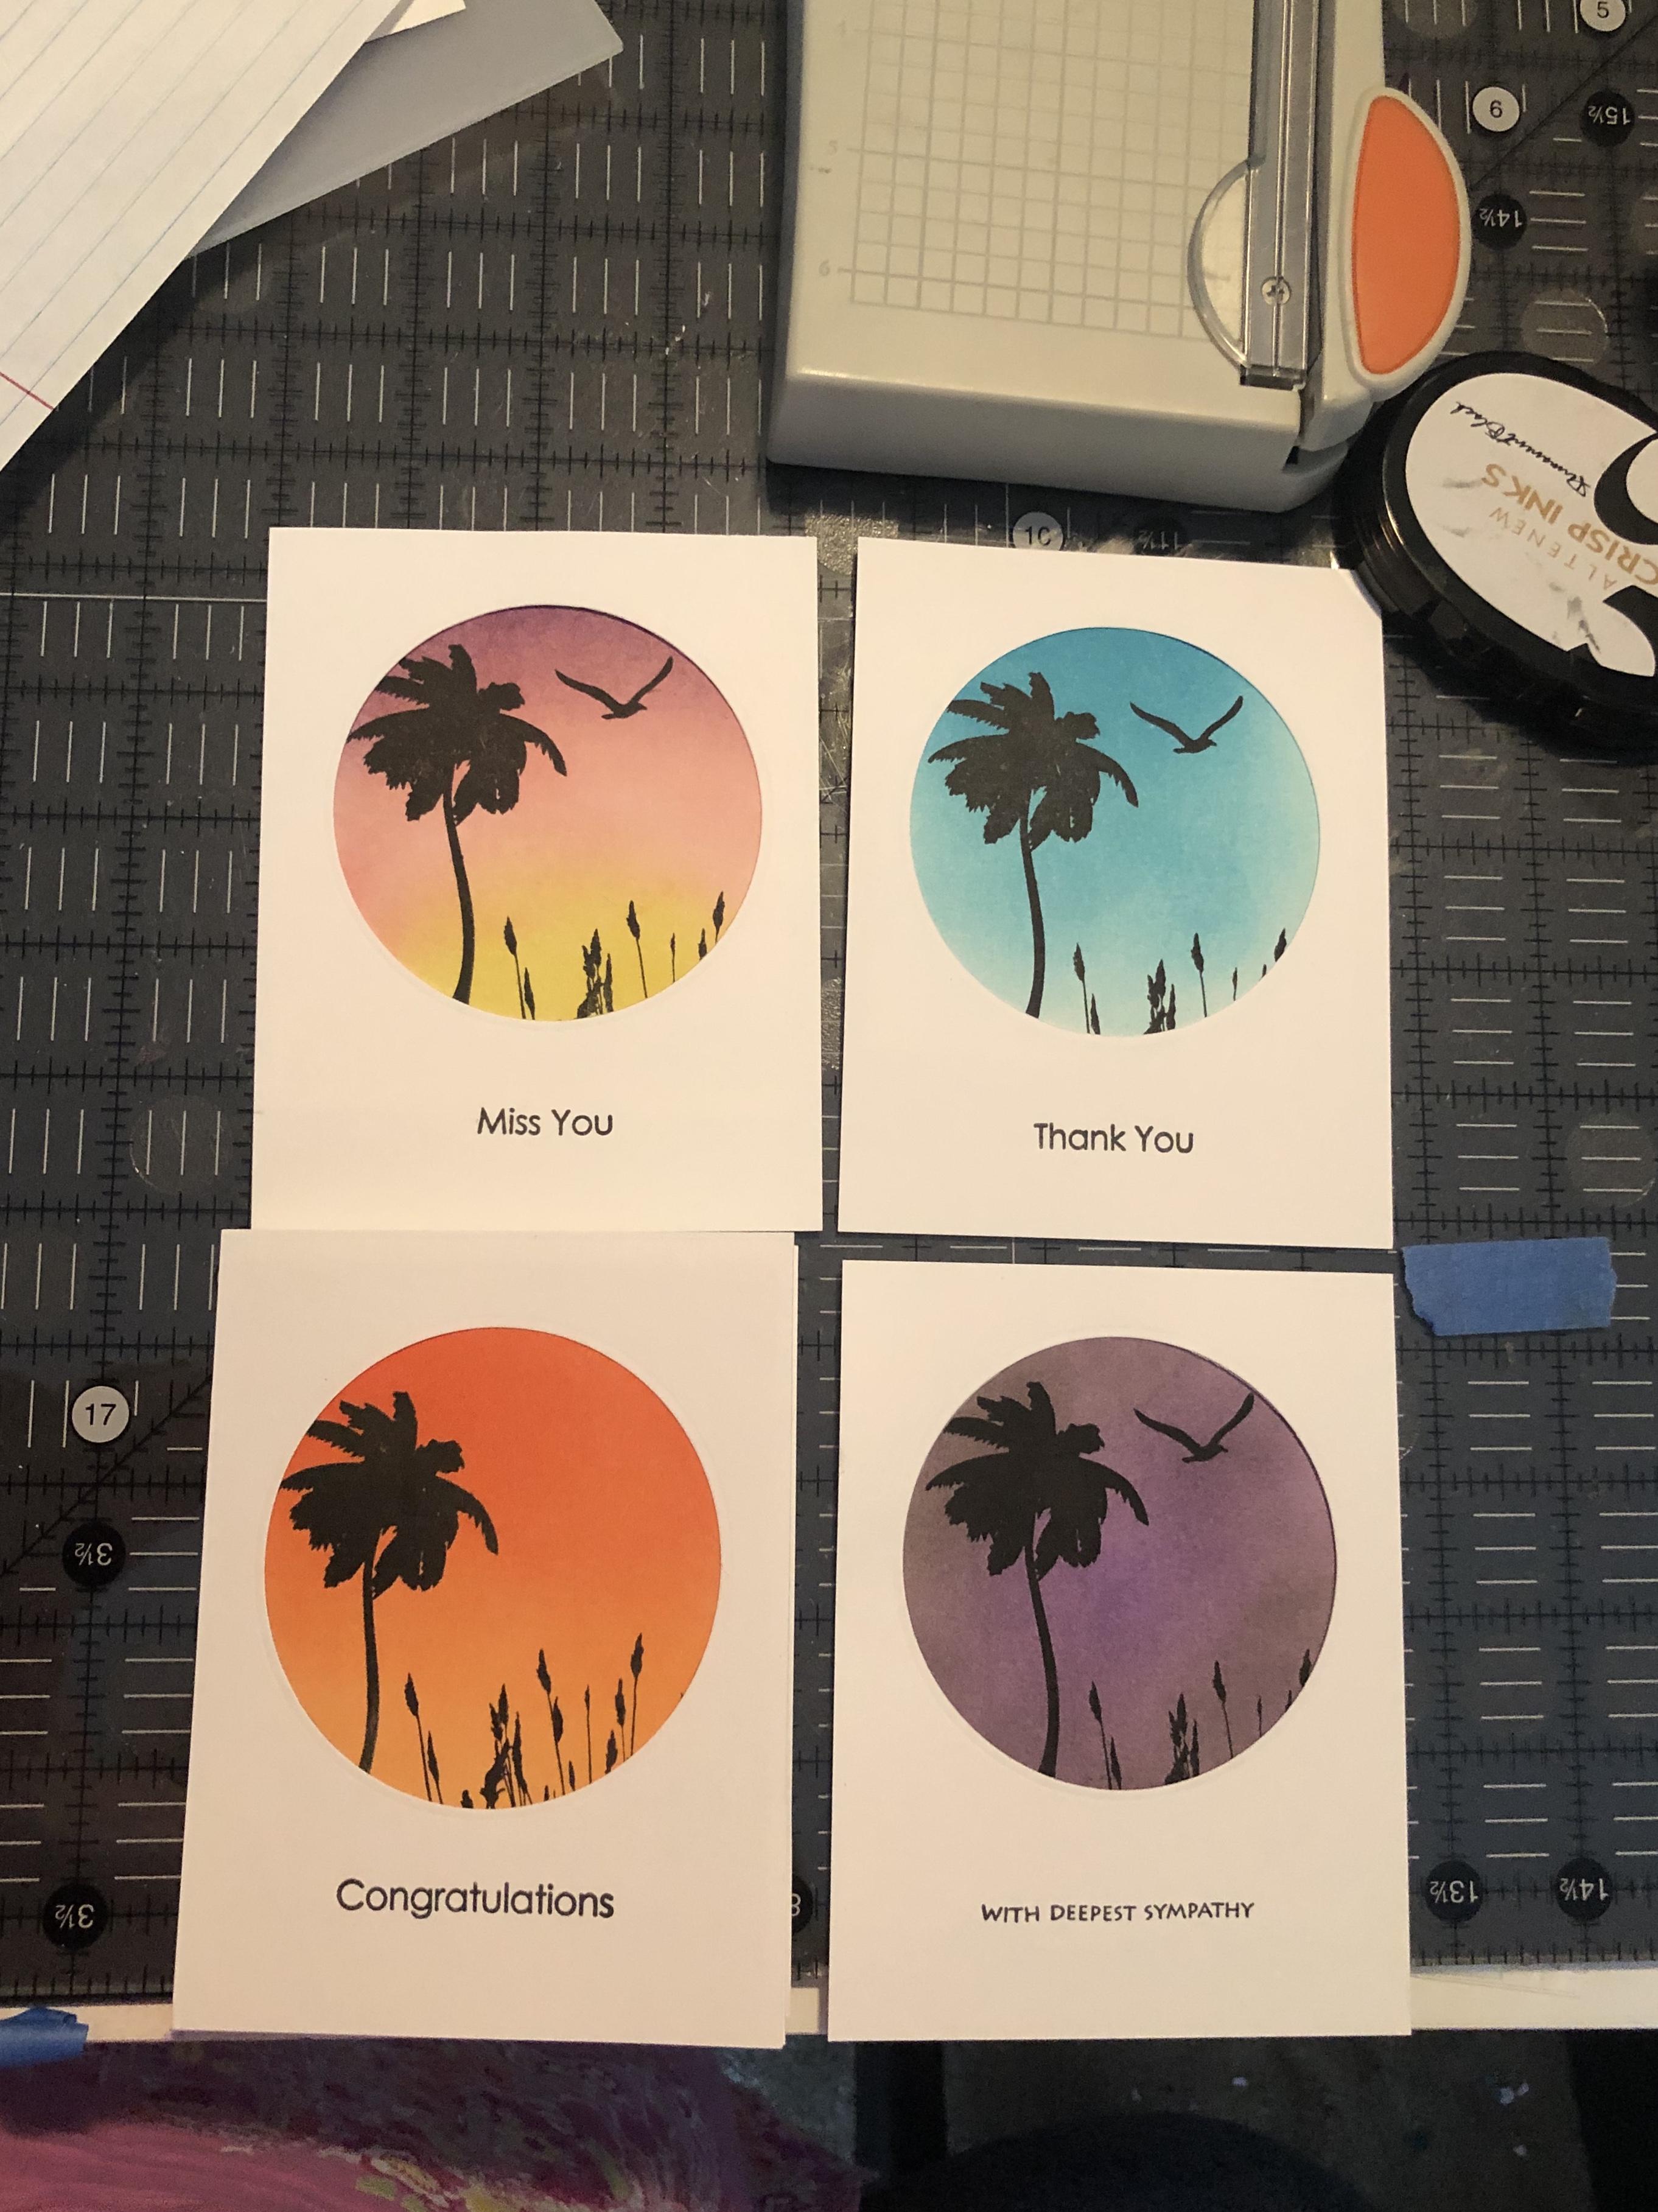
Next I decide to cut out a circle and make the time of day, dawn, daylight, sunset and night. (see next photo)

As I was making the blends and stamping I was not sure how it would turn out. I allowed everything to dry over night.
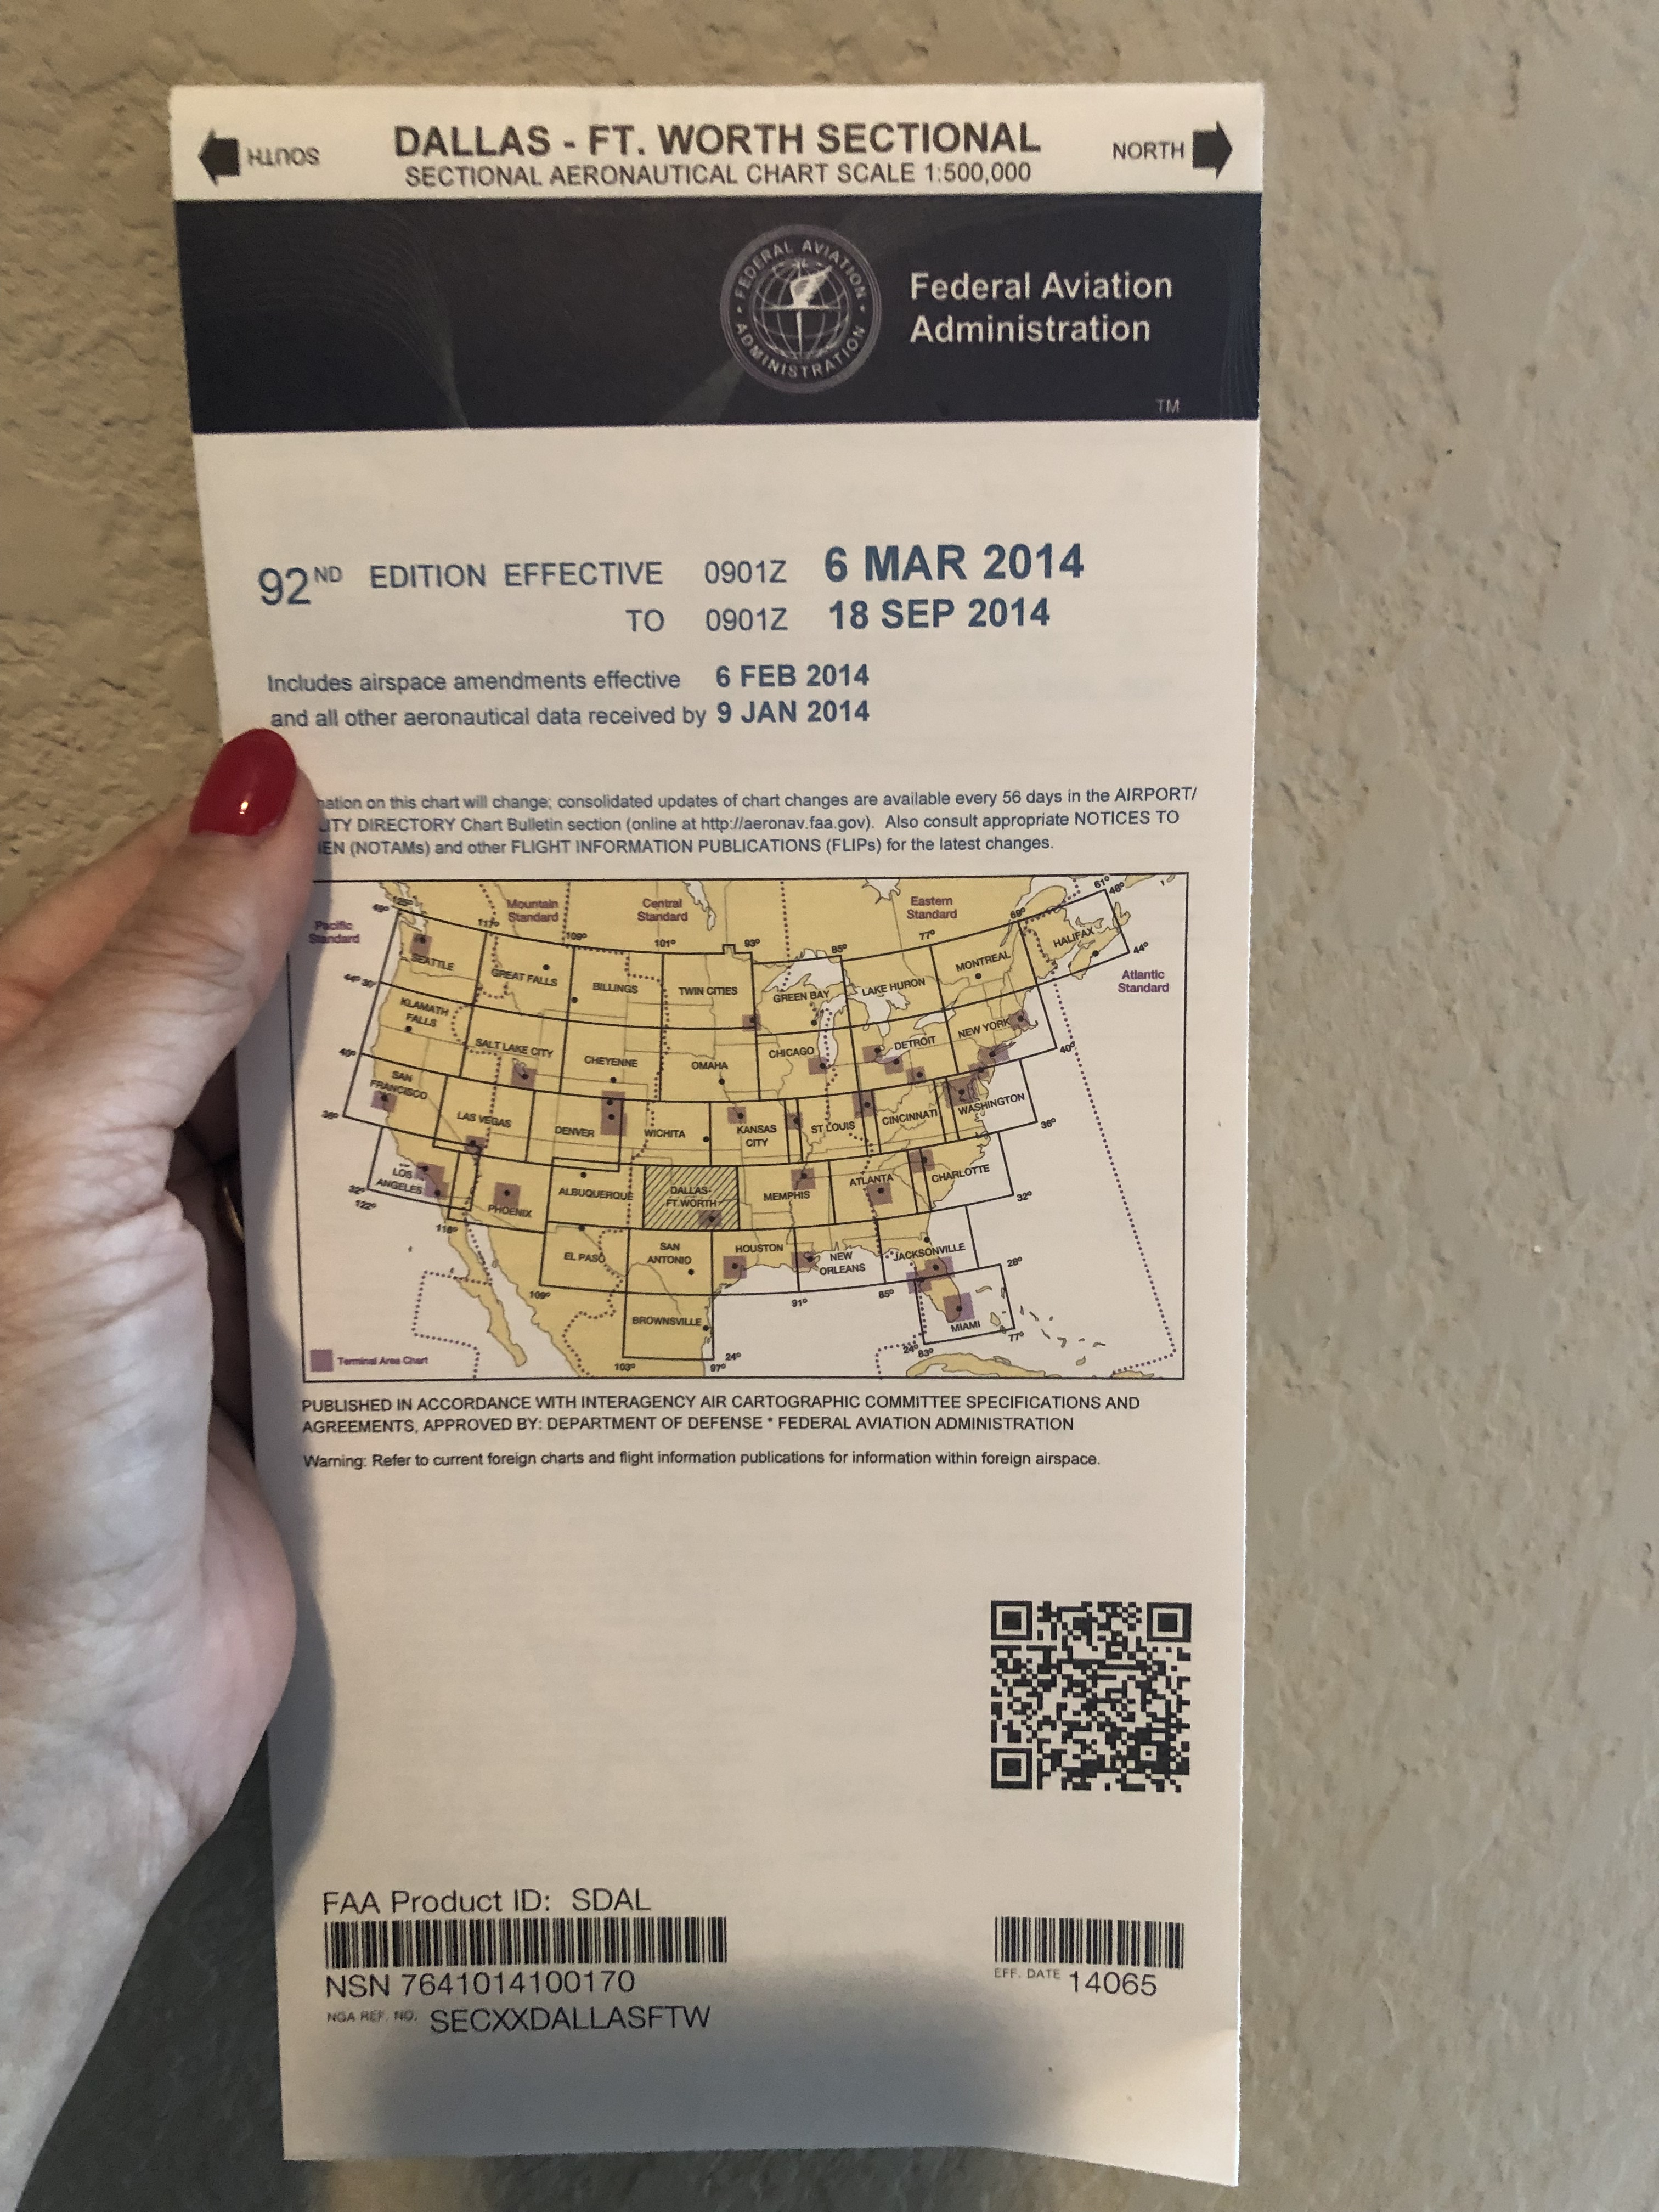
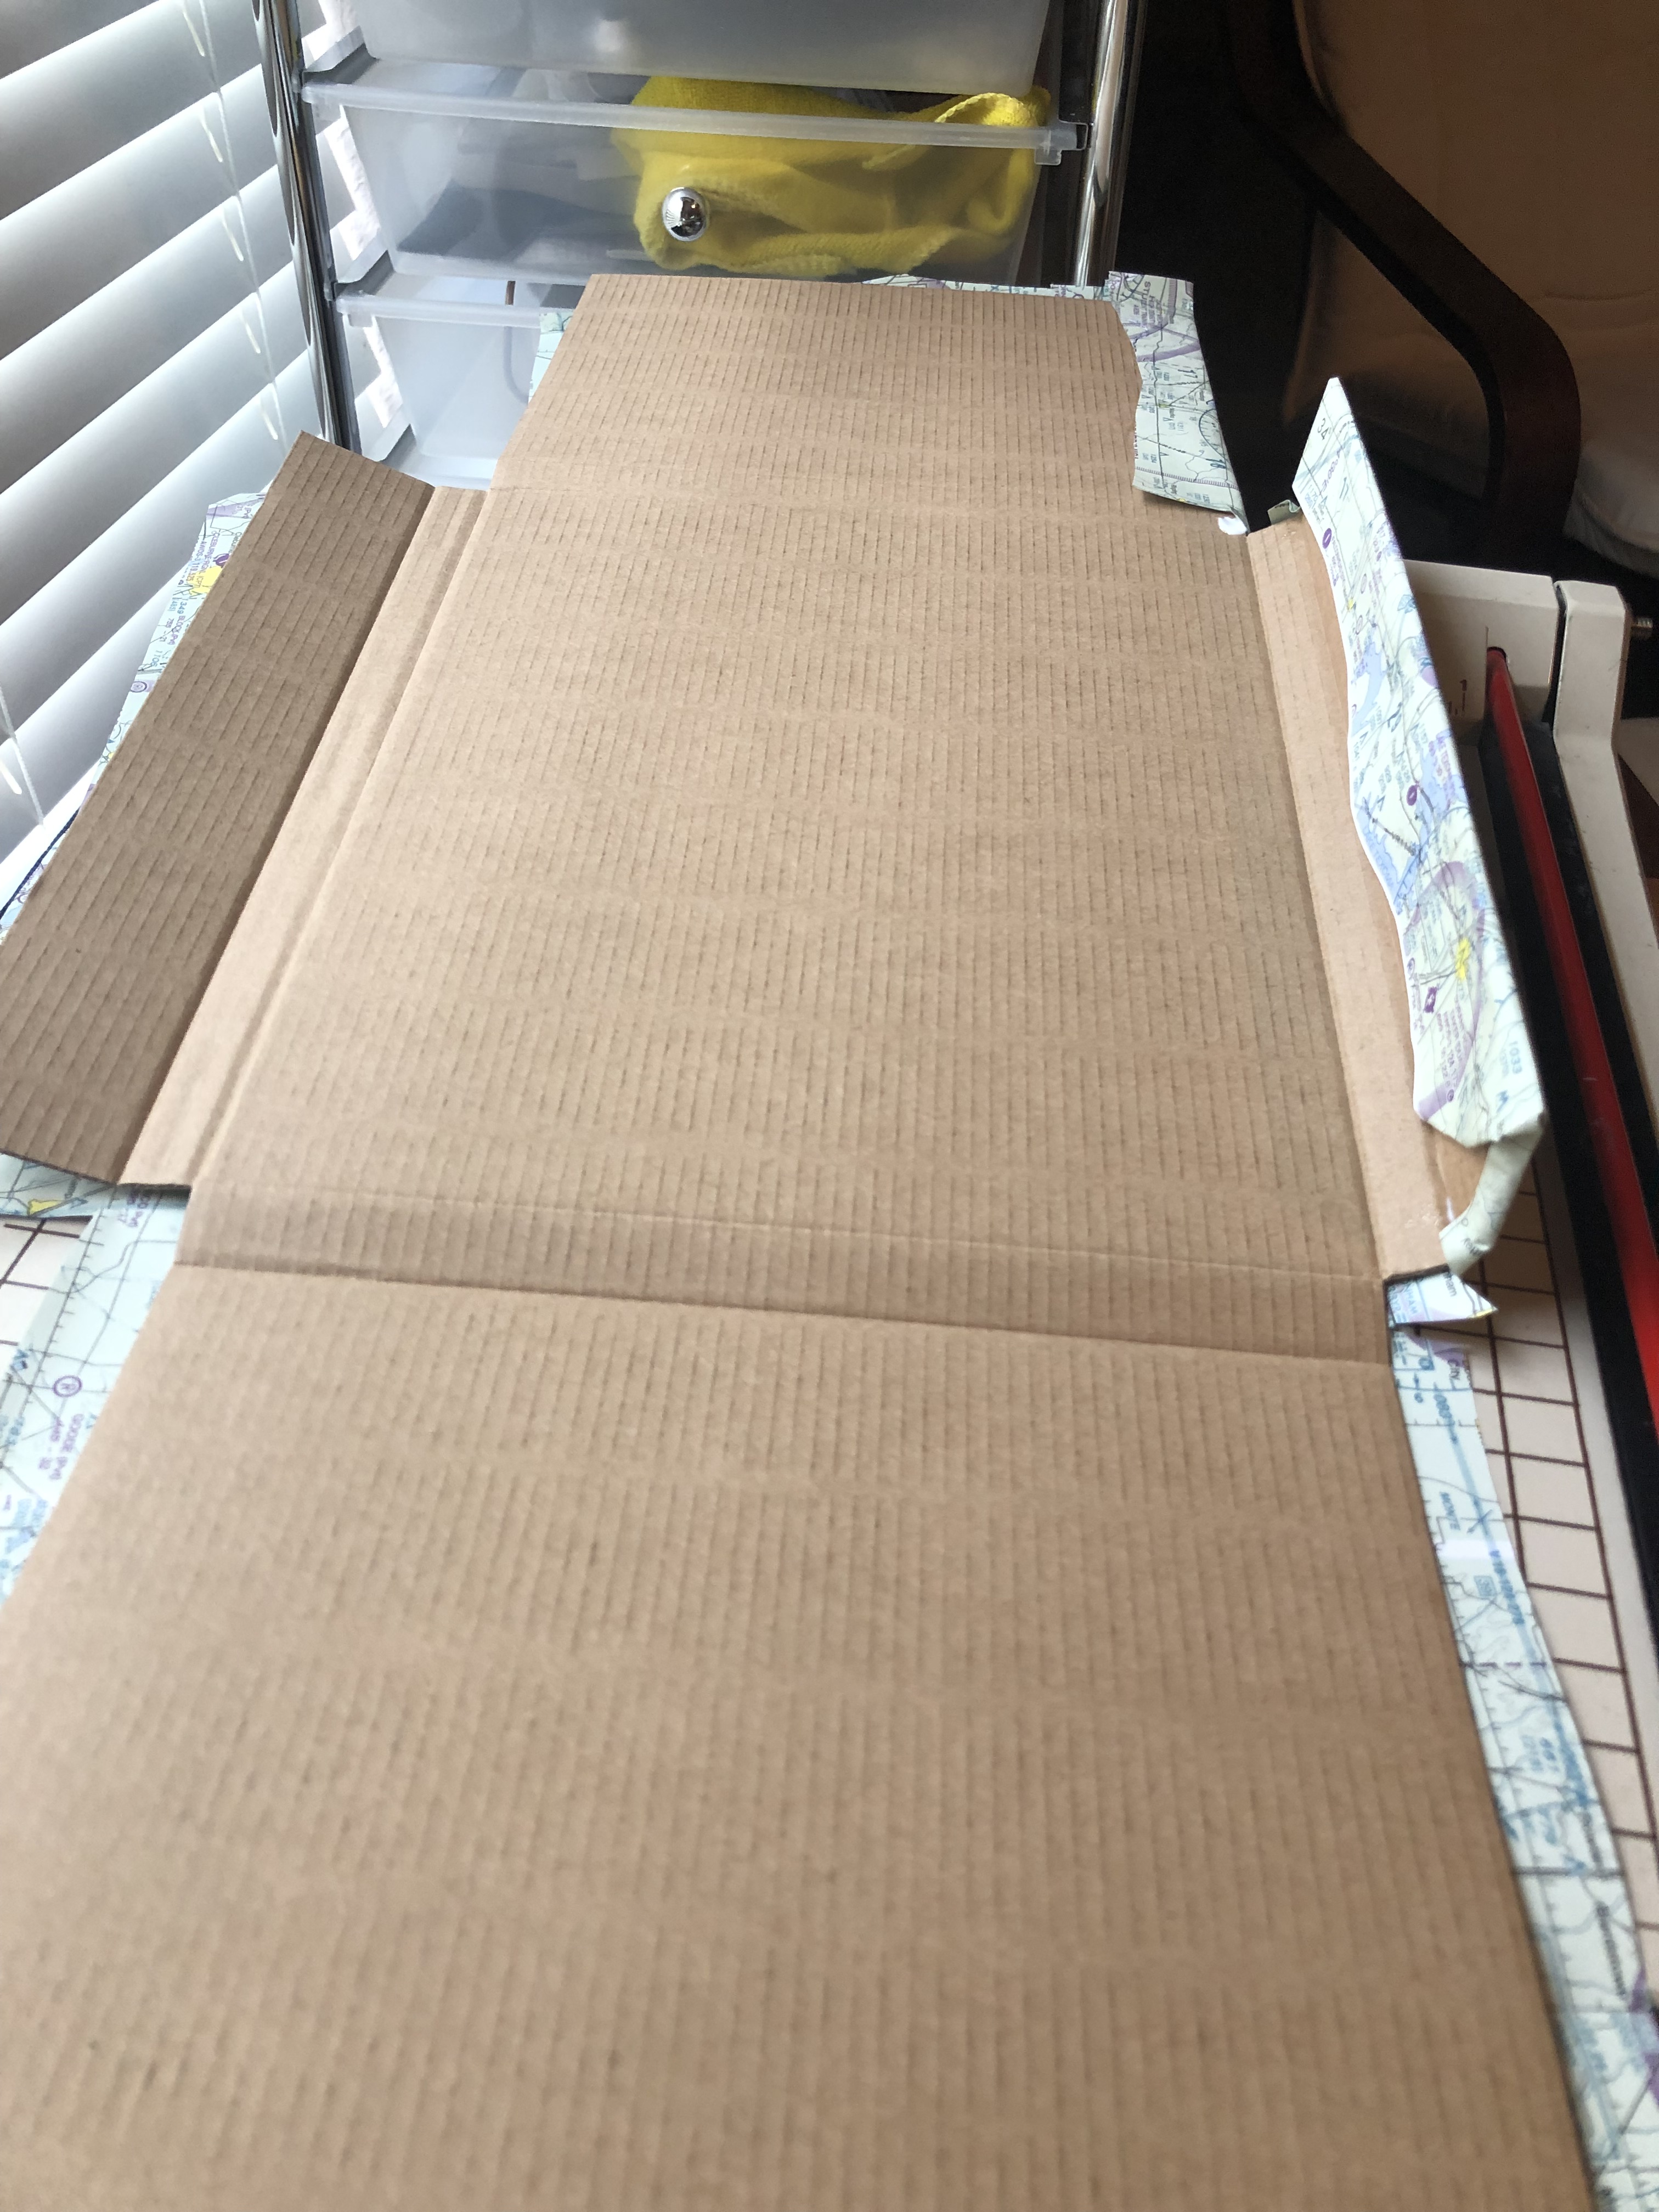
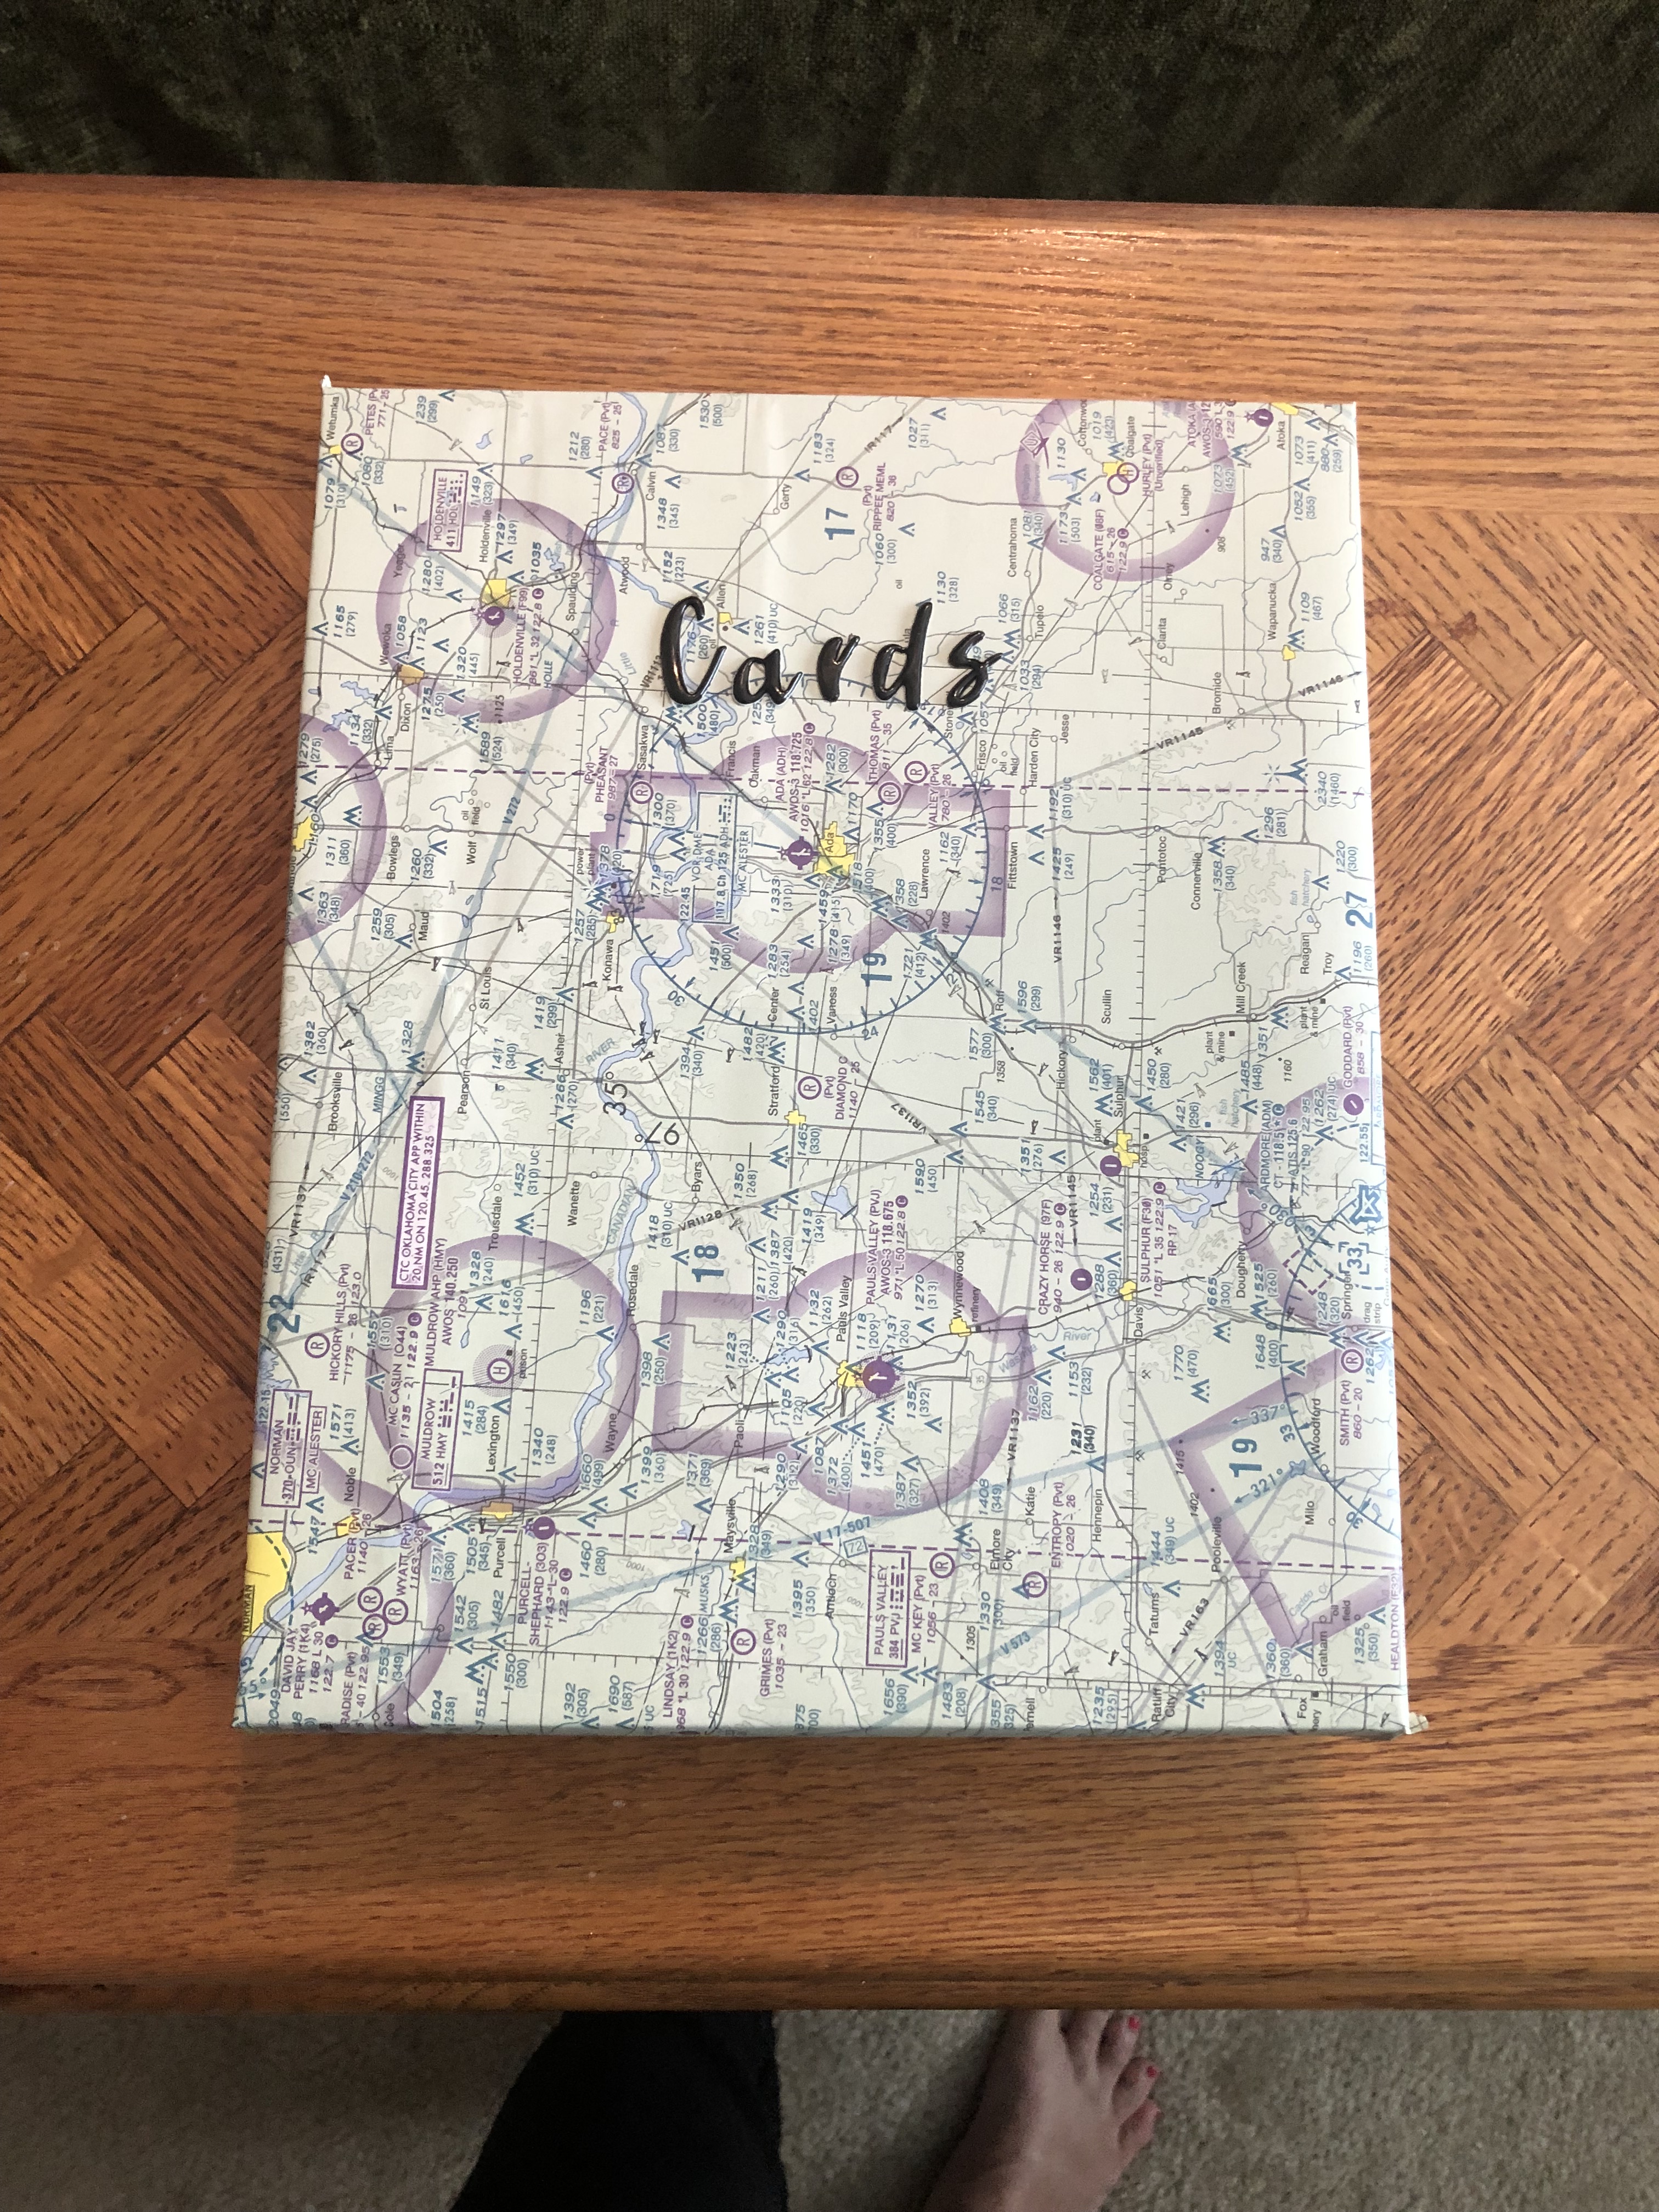
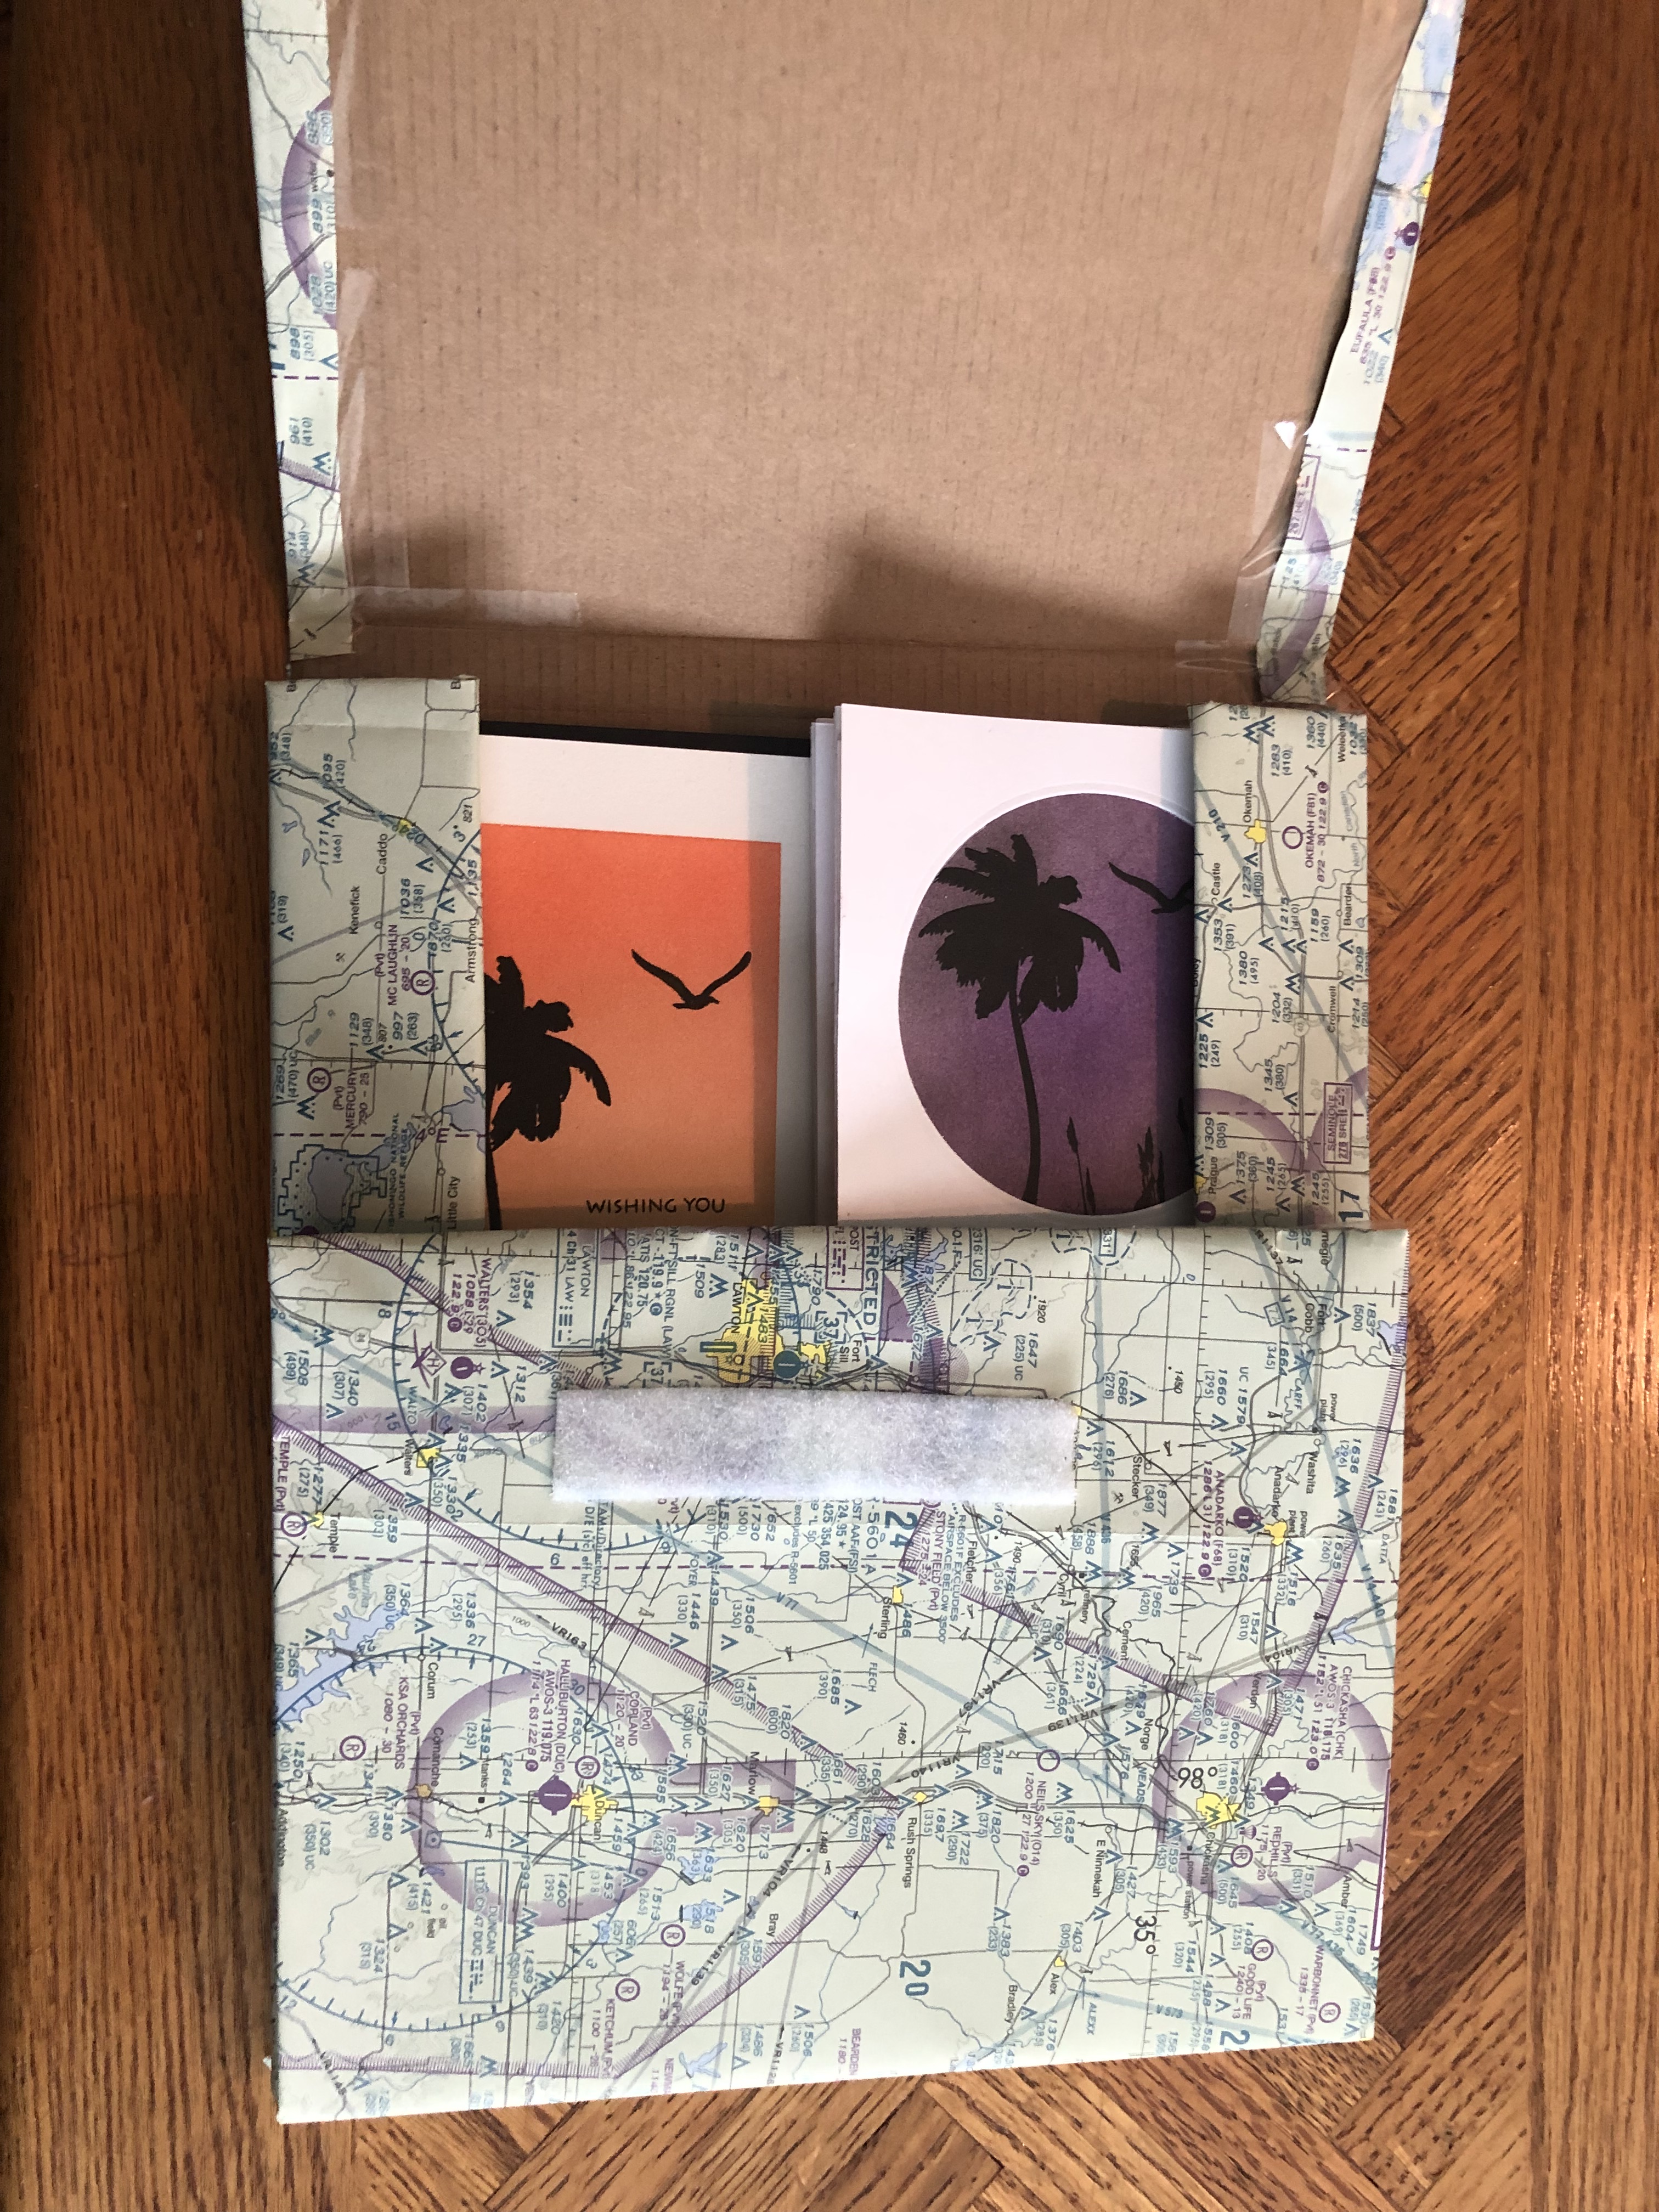
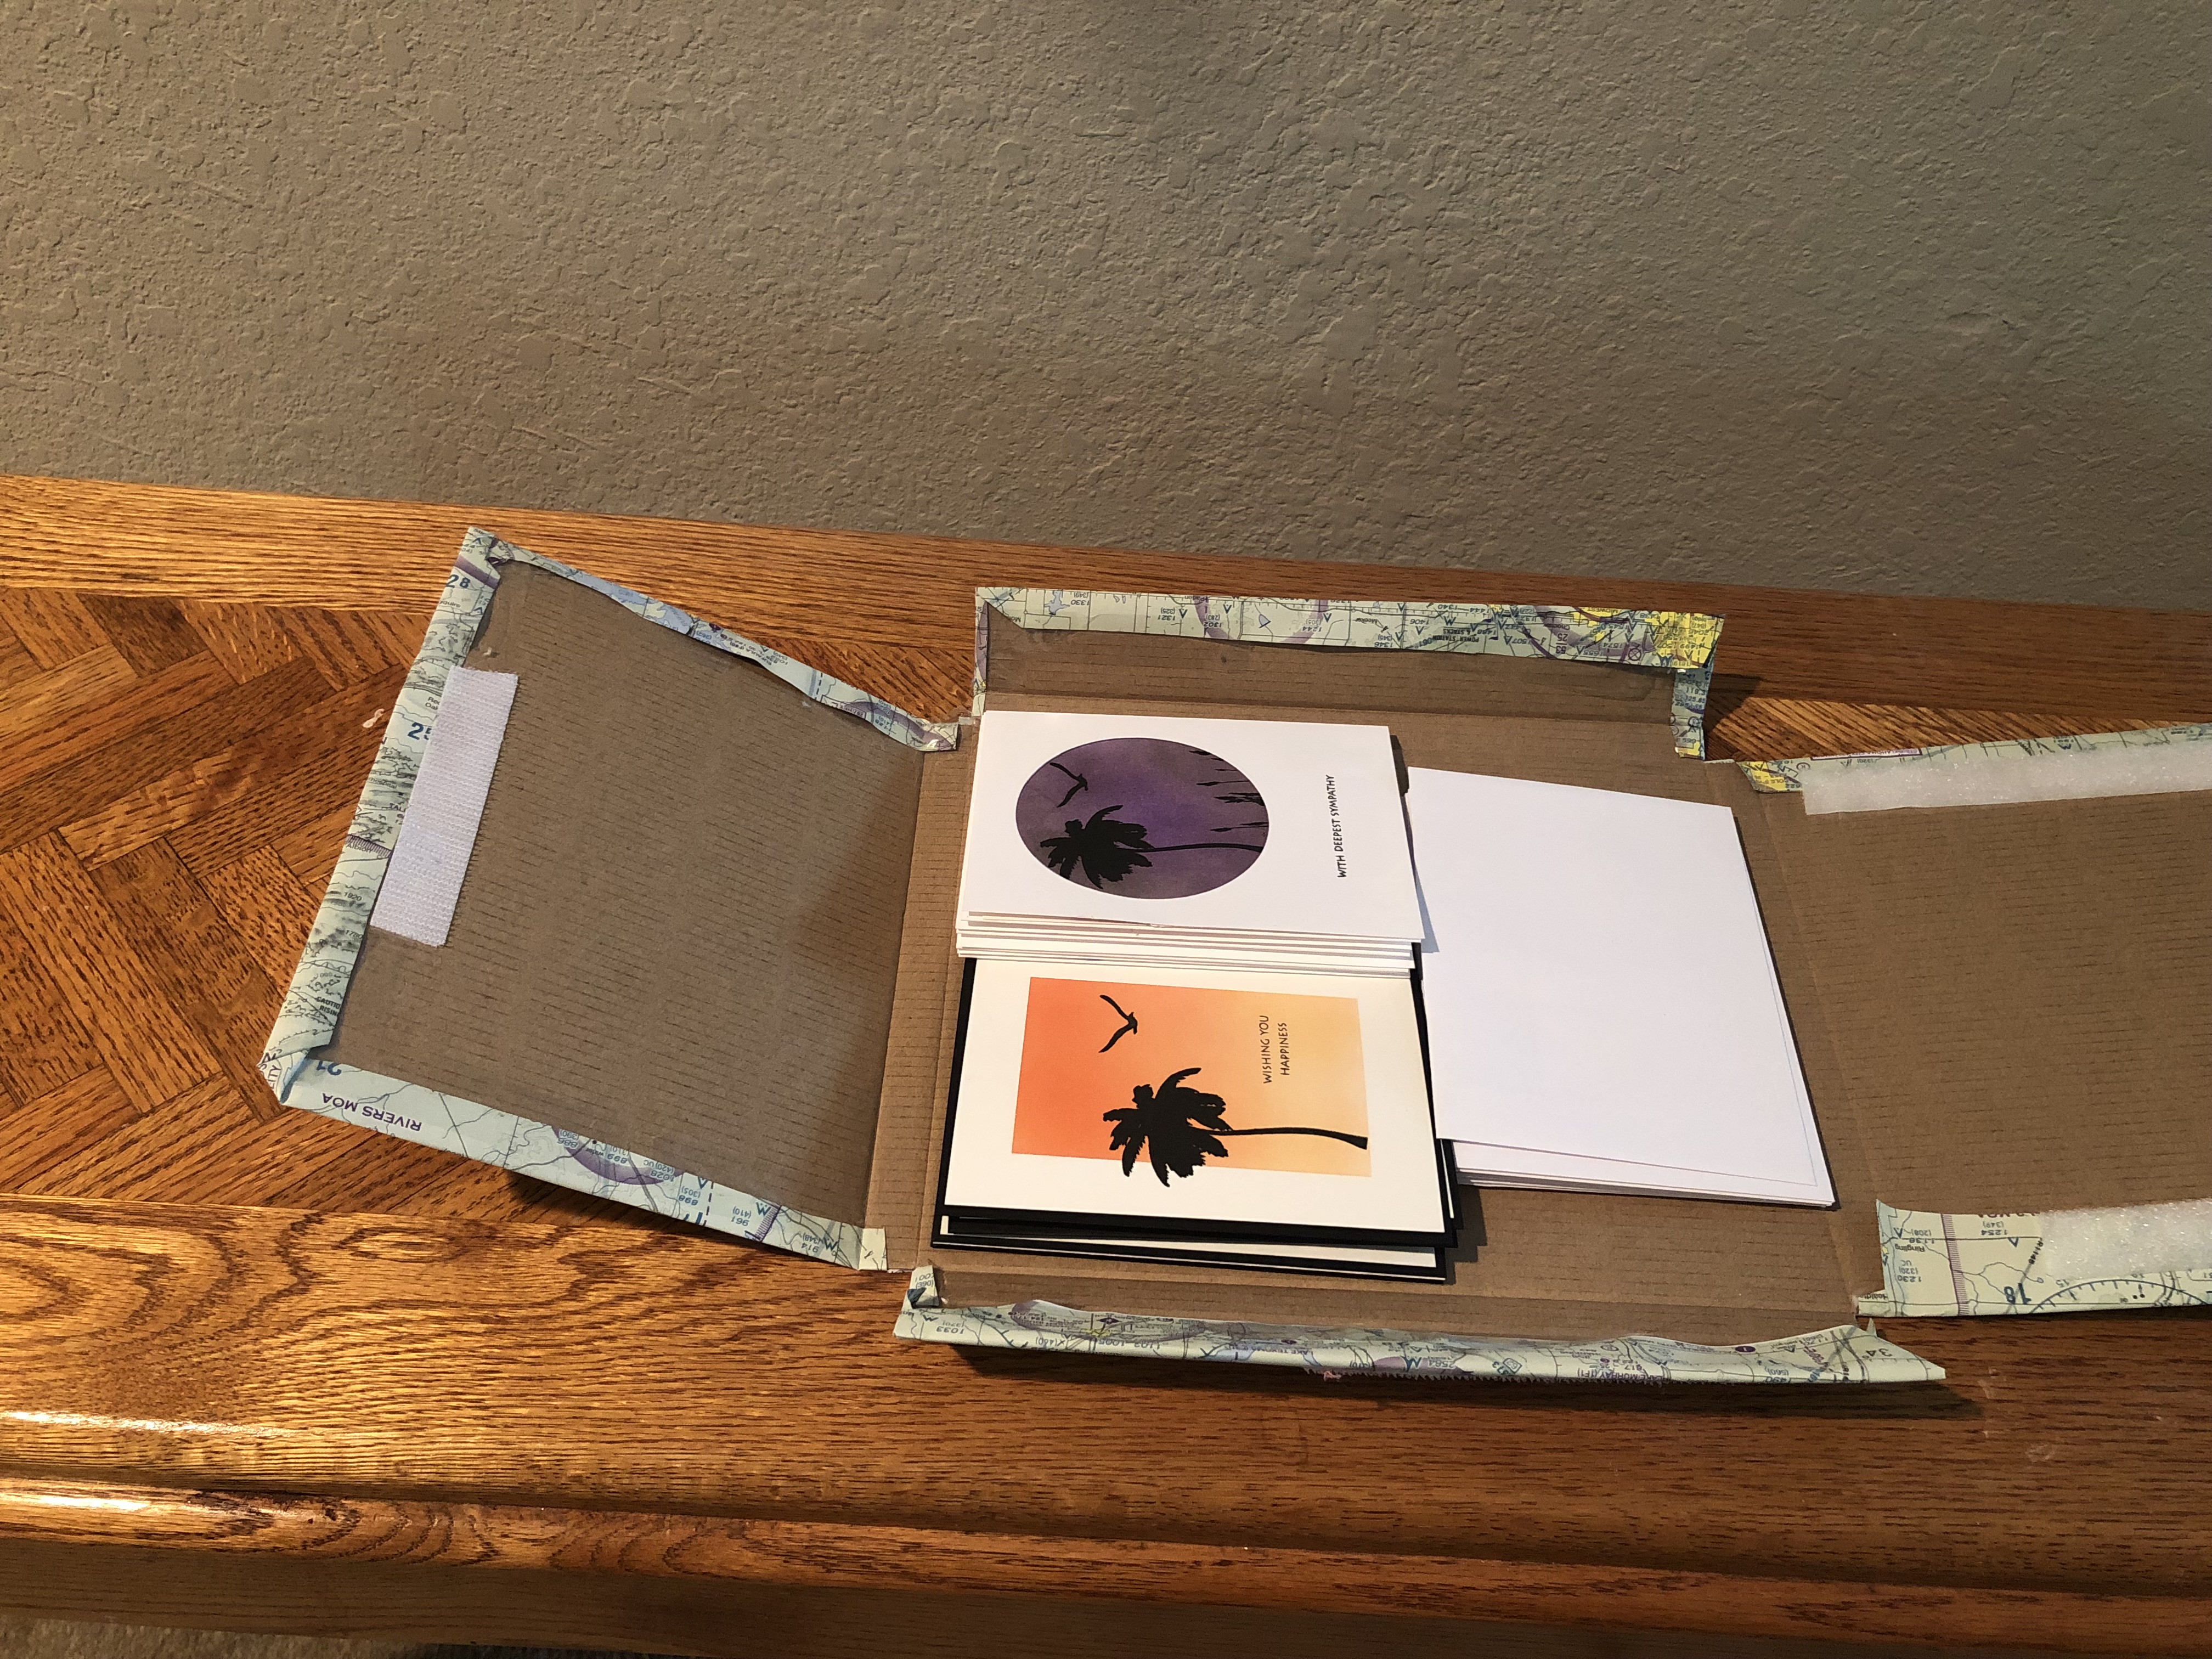
For my packaging, I decided to use a box and cover it with an airplane map. This is a bit of a running joke with our family. My husband is a pilot, so when our daughter was growing up we always had plenty of maps that had expired and these make great gift wrap. I would send my daughter off to her friends birthday parties and everyone would say we know who this is from because we always used them. It just makes me smile and brings back good memories!
I hope you enjoyed my cards! Please visit part two to see the girl cards. Till next time, happy stamping!

Wow, you did a great job on theses handsome one layer cards! You really have planned out the details and the masking is absolutely superb! The only suggestion I have is that your packaging. The use of map is awesome, the wrapping (especially the interior) can be more polished and neat. Other than that, it is nicely done! I am so glad that you enter your beautiful work in Altenew AECP assignment Gallery. Awesome details and design! Super work!
LikeLike
WOWZERS!! You have done a brilliant job woman! This is amazing Teri! I think your wrap-box looks so cool! However, it just needs to be as finished on the inside as it was on the outside.
I love the seamless ink blending, the layout.. everything looks great!
Thank you for entering your gorgeous work to the AECP gallery.
LikeLike