Altenew Level 1 Project Challenge Part 2
May 29, 2019
Here is a reminder of what the challenge is:
- Select any 3 components from the classes in Level 1
- Share design tips
- Create a his and her set
- Also use a recycled element on packaging
- Blog challenge step by step and or YouTube video
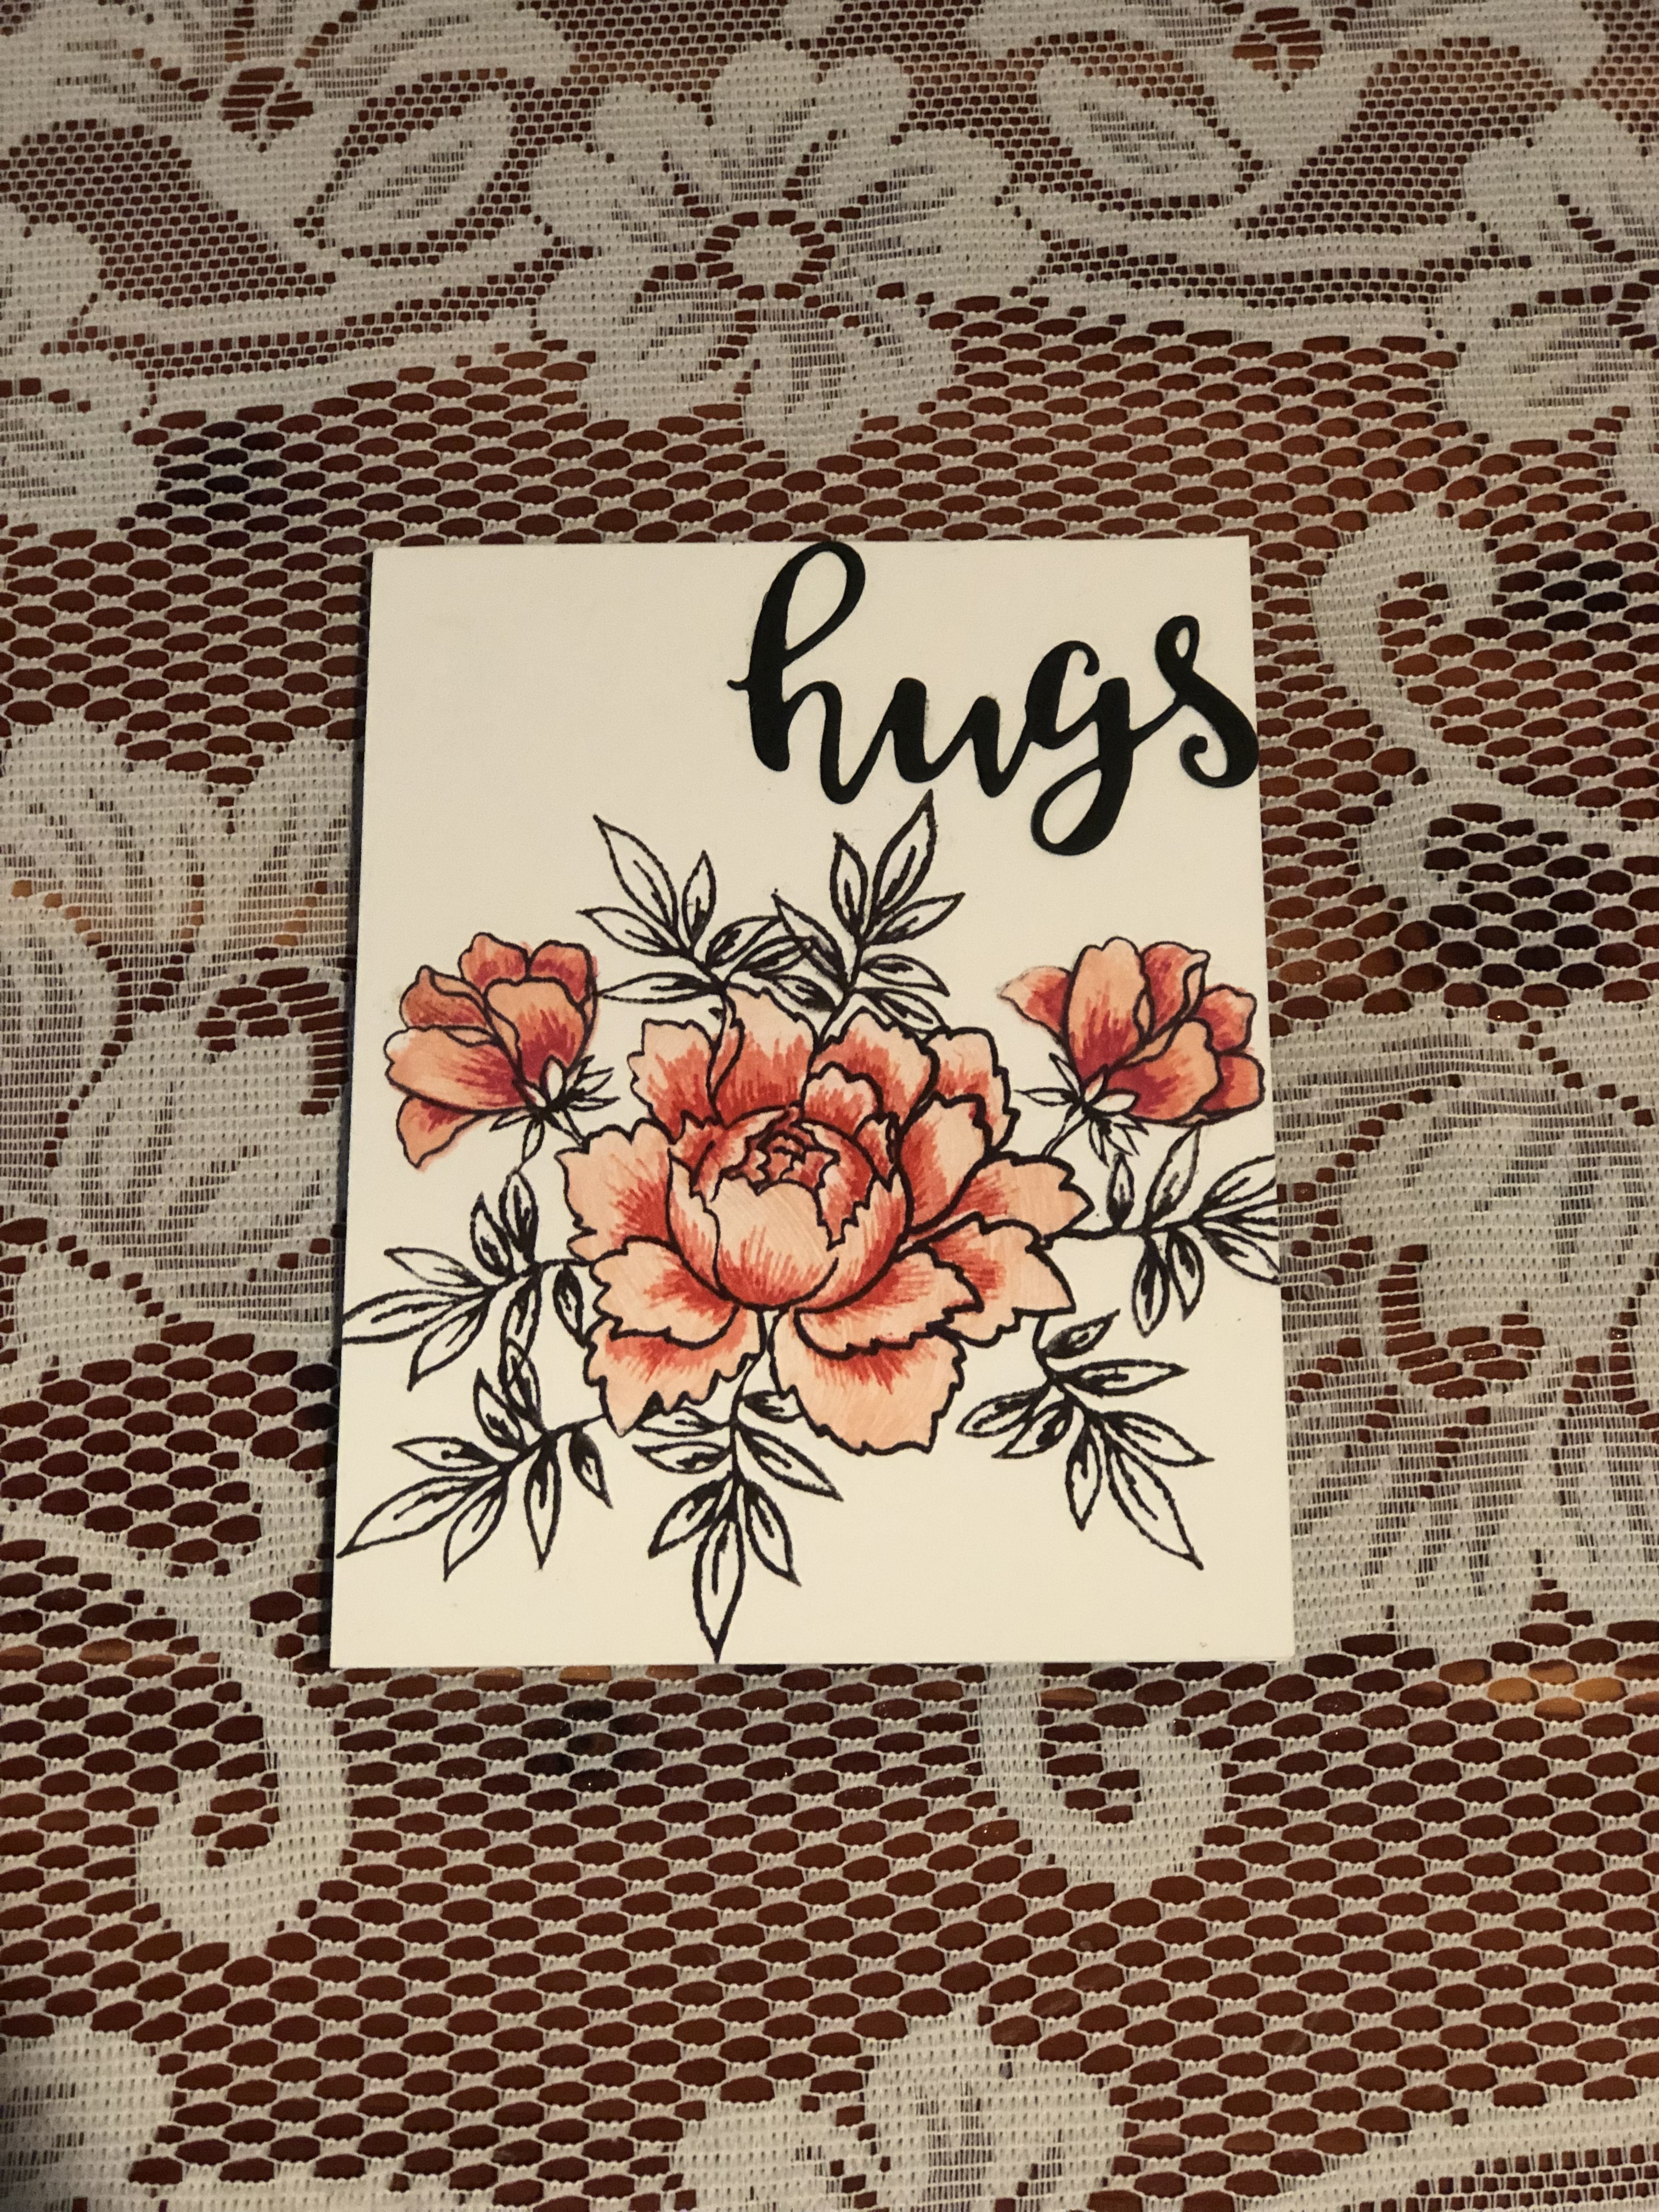
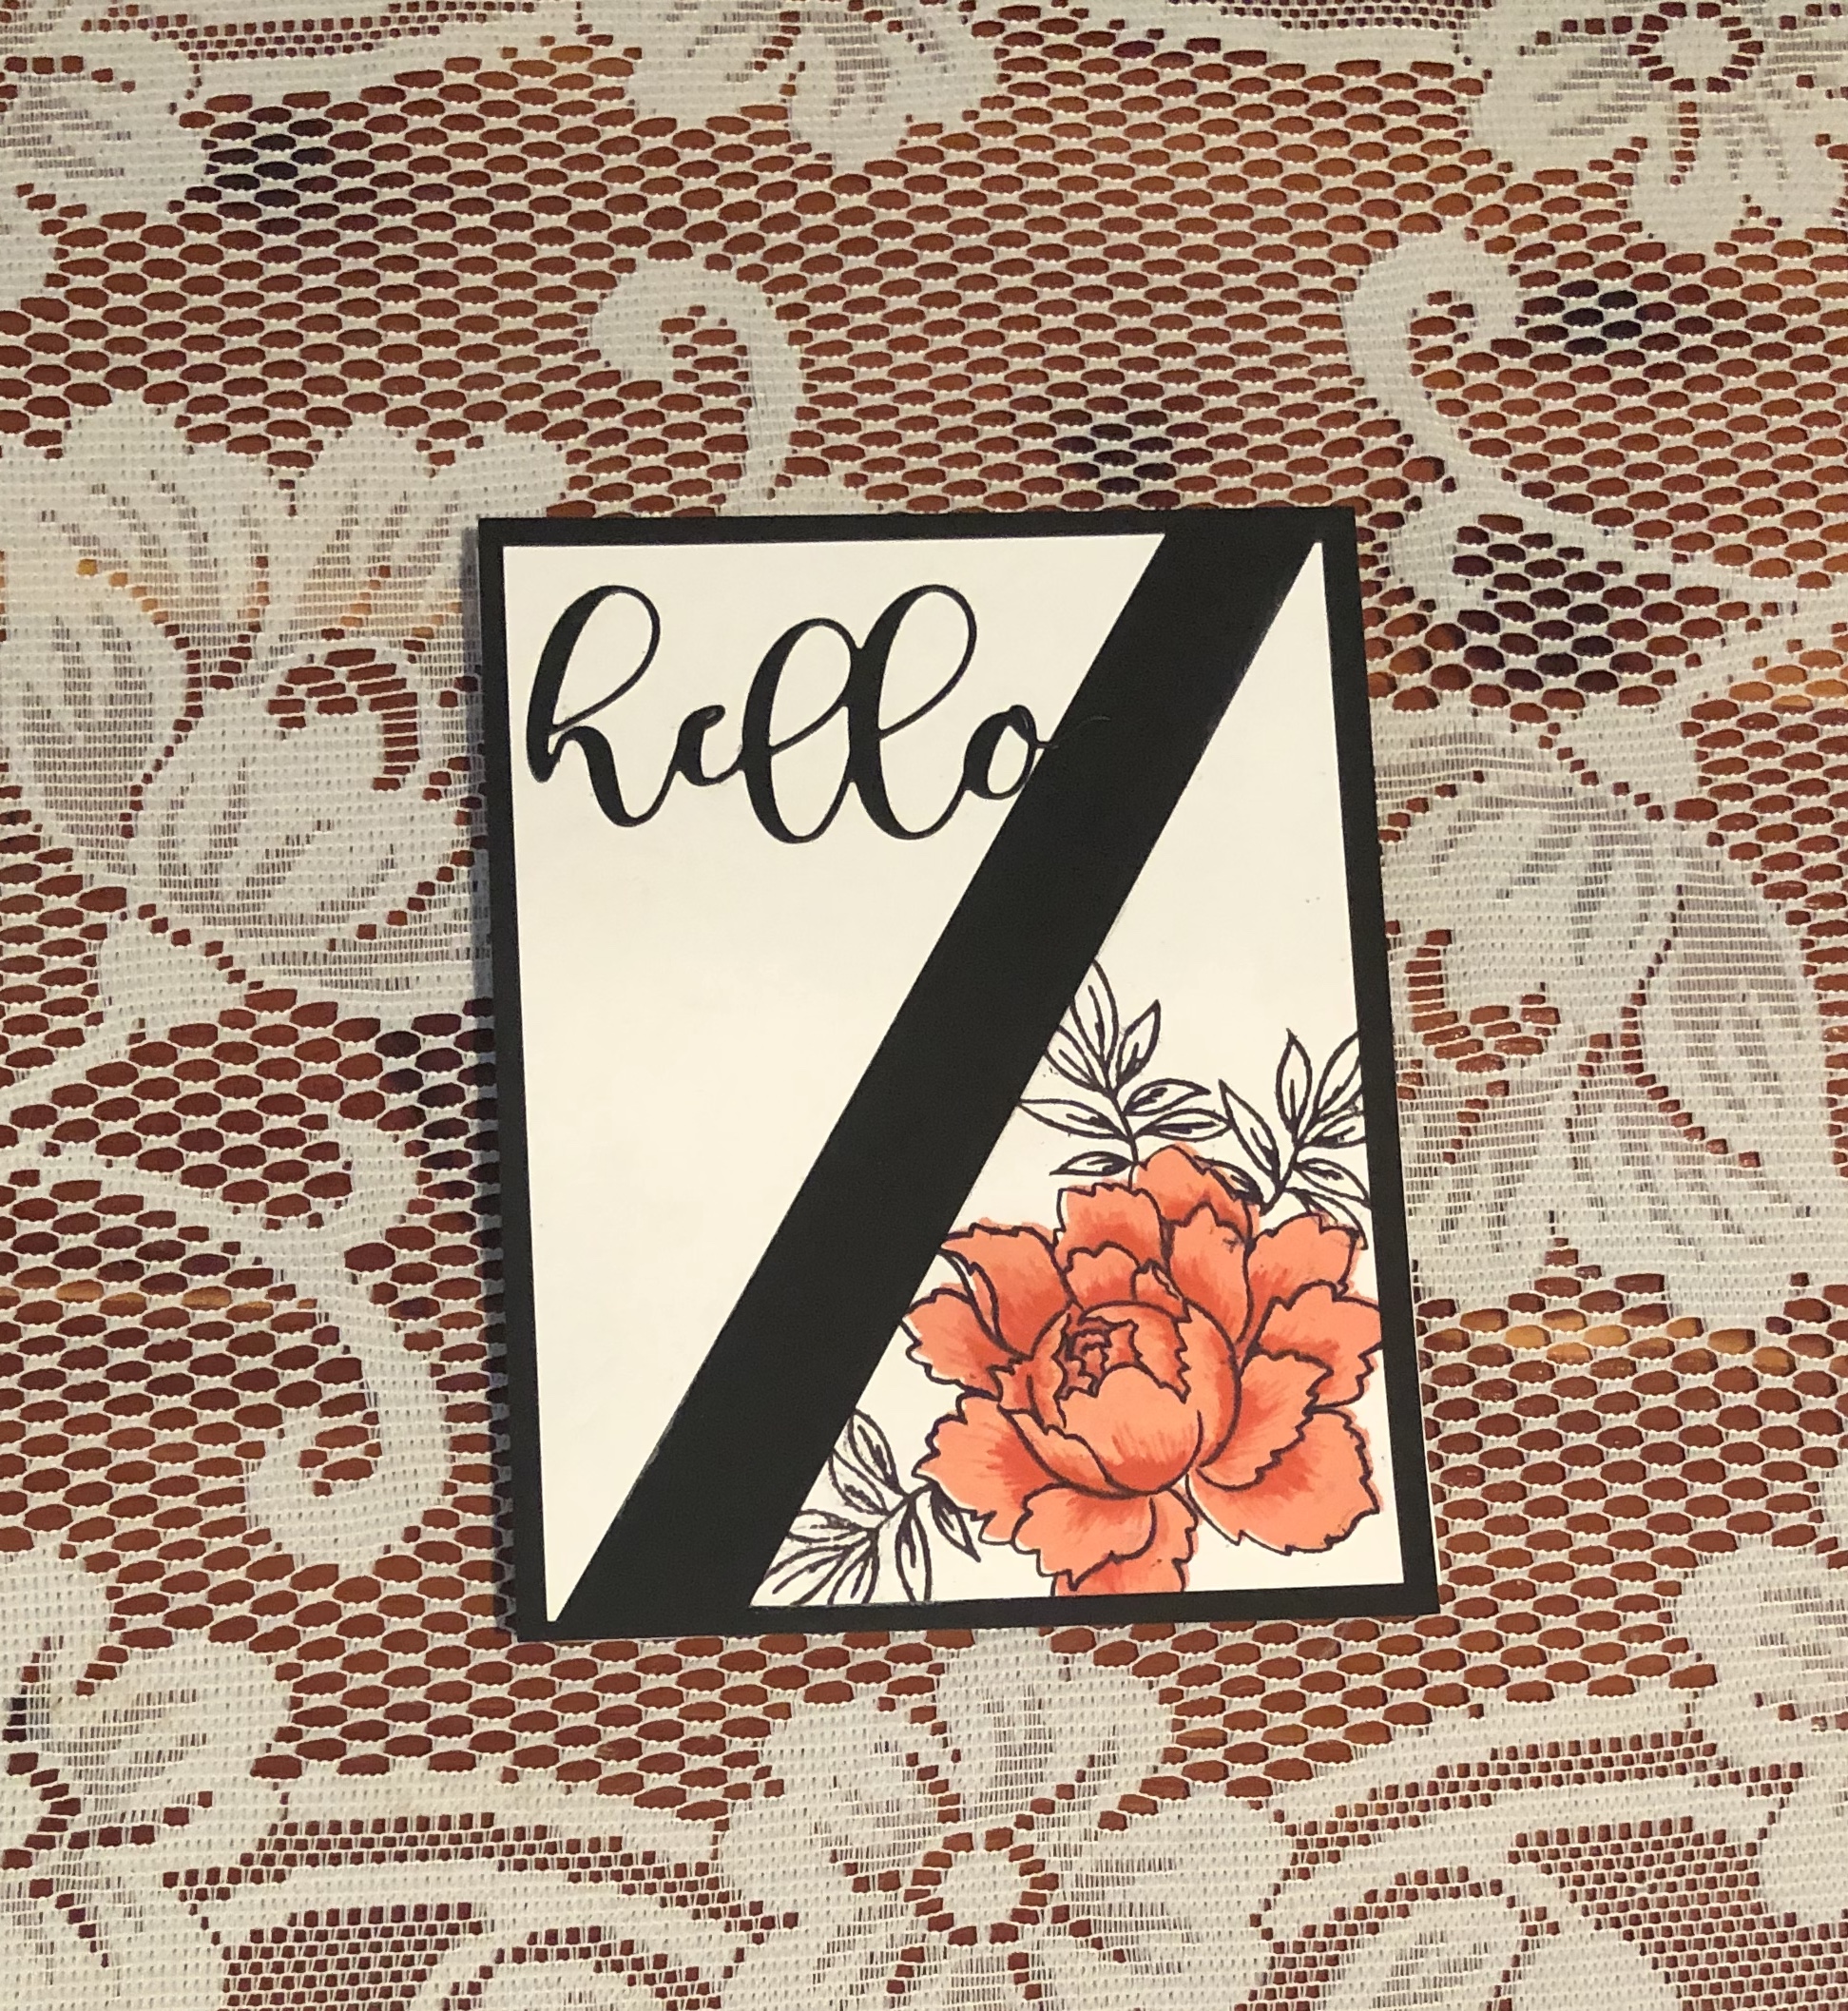
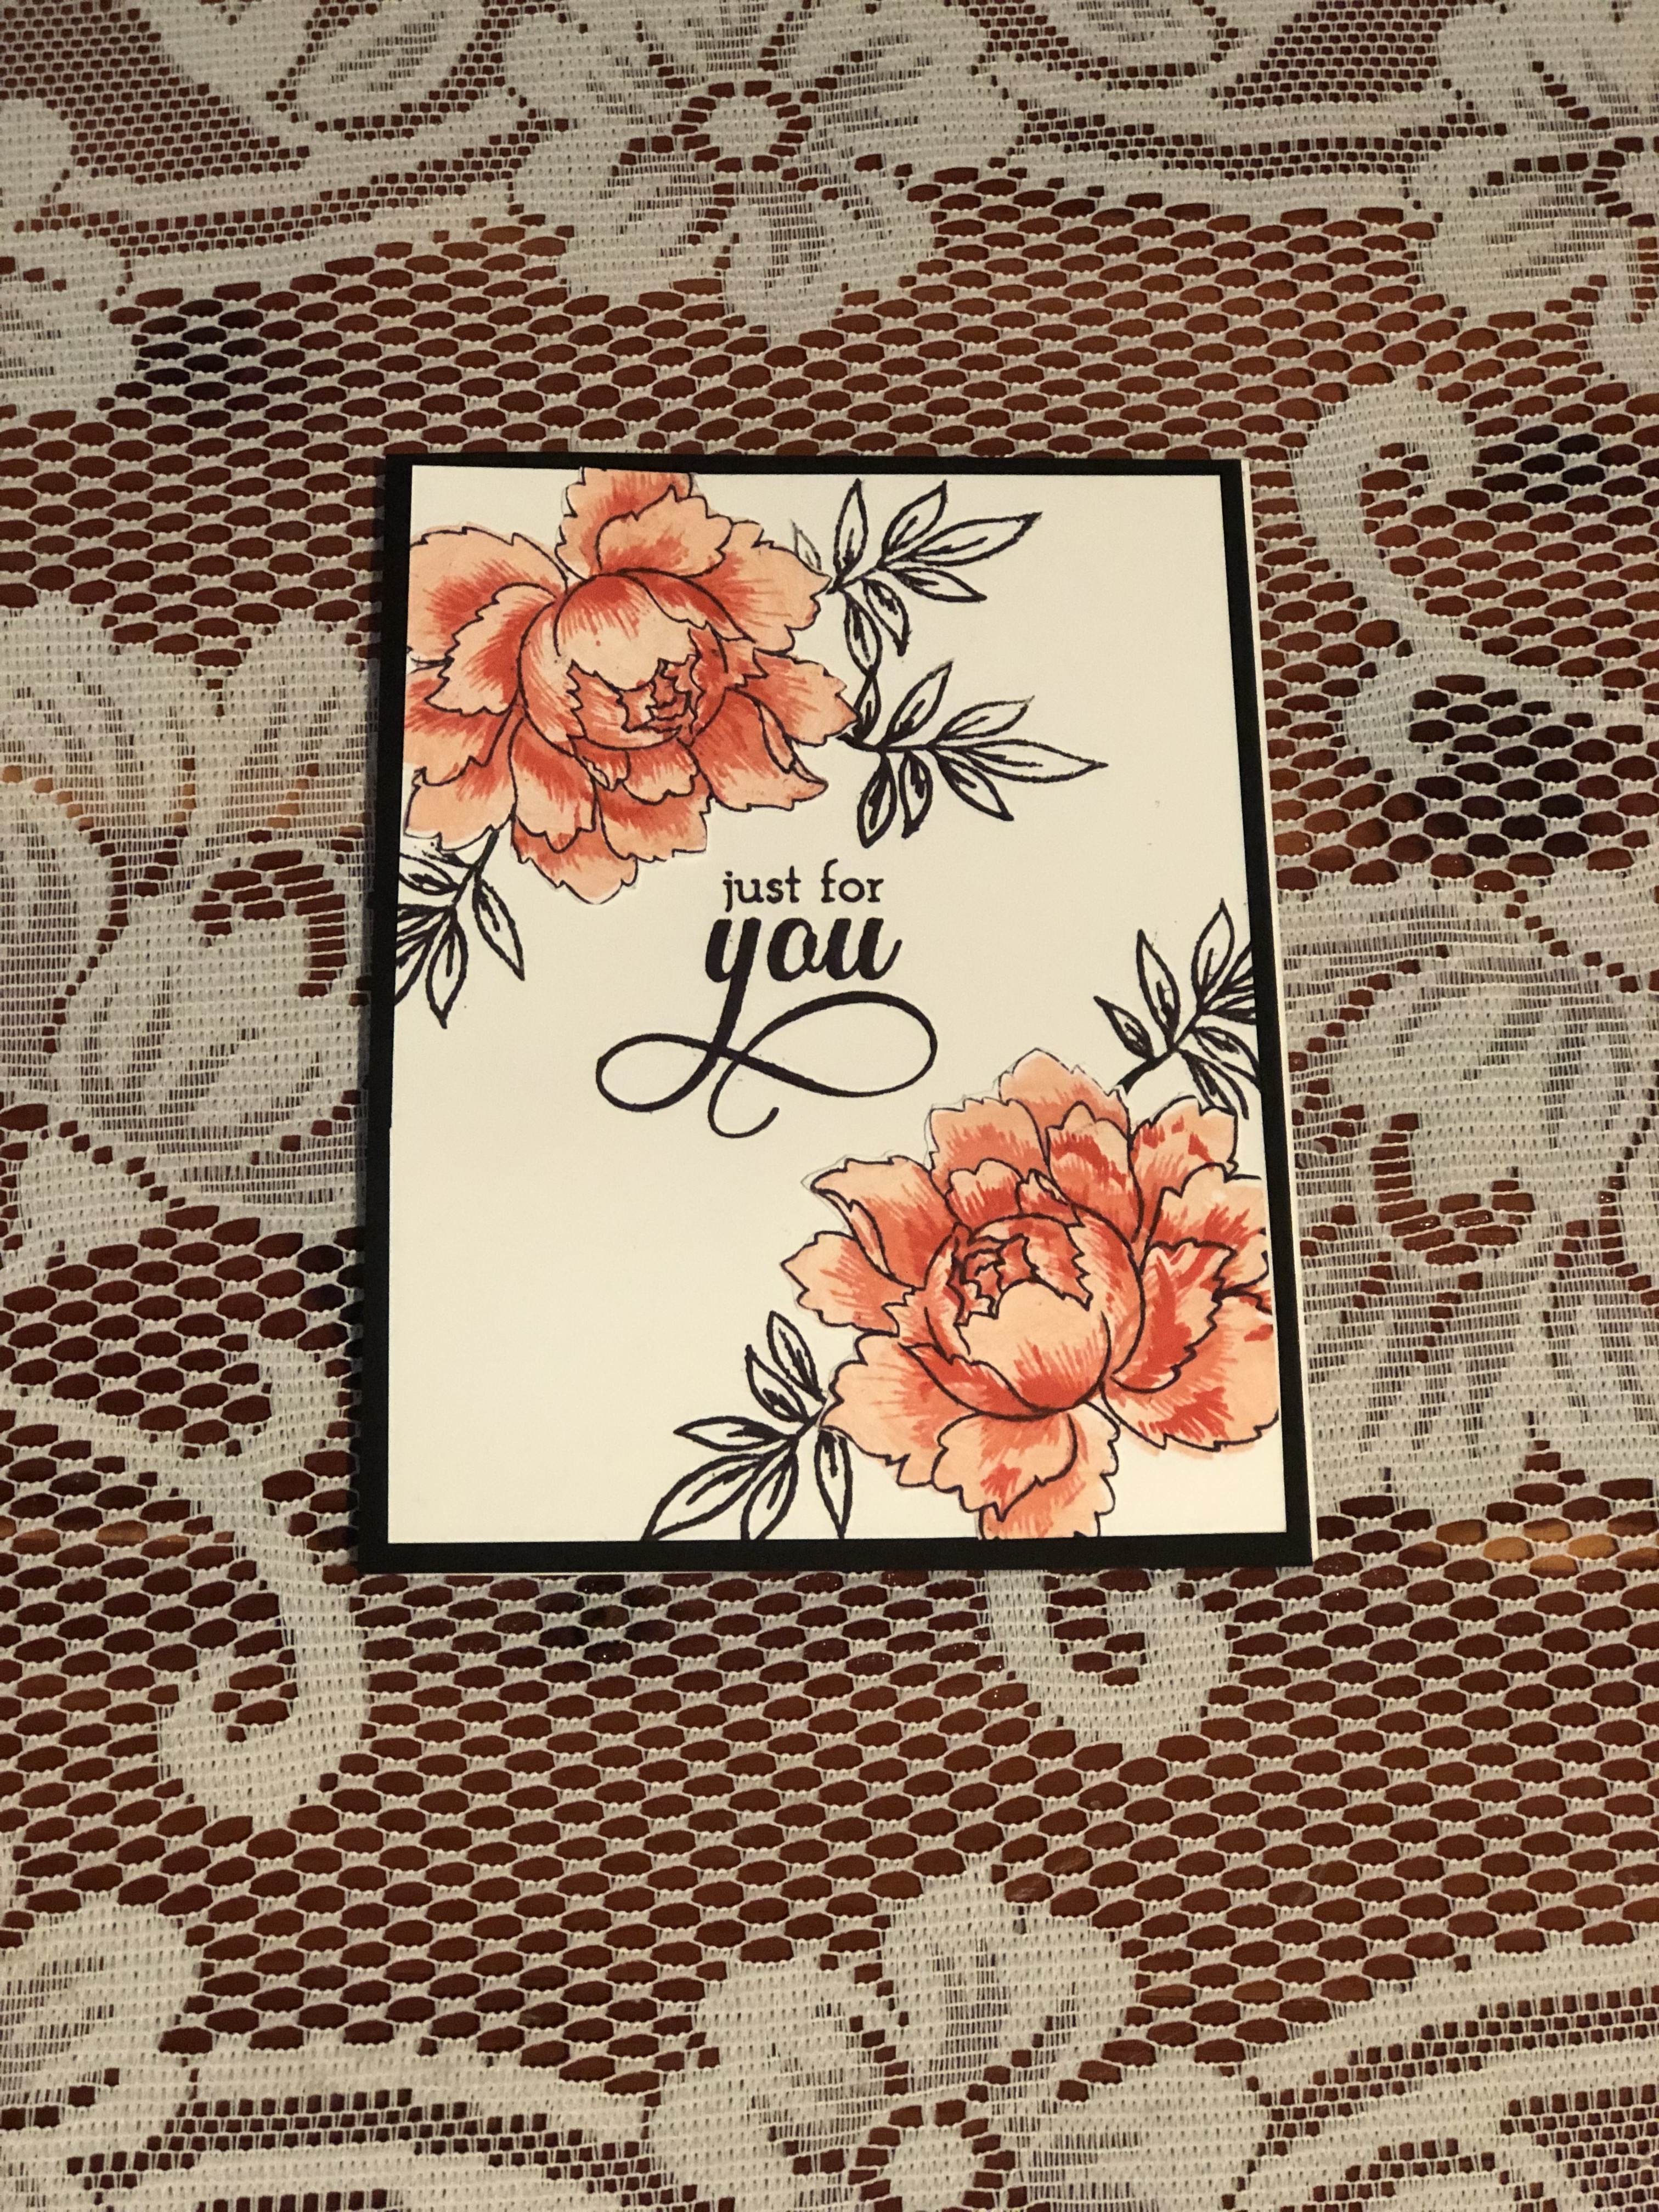
Today I am sharing my girl cards.
Out of my ten classes I have completed I chose- All about Layer 1, Easy Die Cutting, and Clean and Simple Boutique cards for my three components. In The All About Layering class, I learned how beautifully the stamps all fit together to get a wonderful stamped image. In the Simple Boutique class, I learned to make cards that “WOW!” And, in the Easy Die Cutting class, I learned to use reverse images and make frames.


Here is a slide show of my six cards.

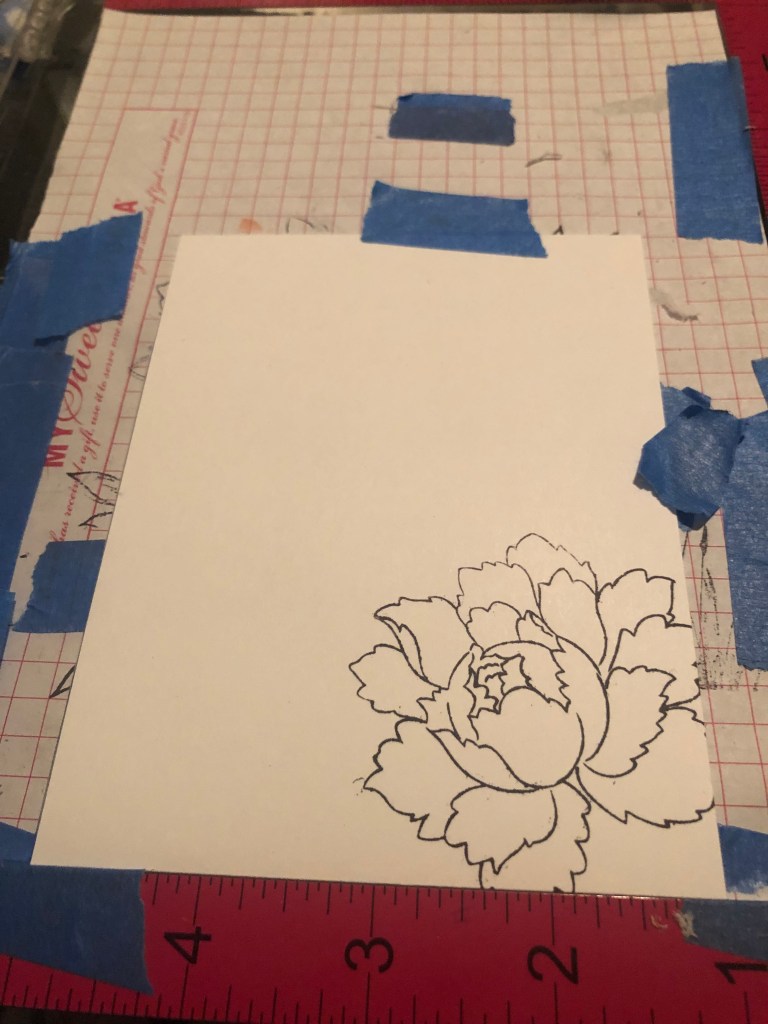
First thing I did was to take a white piece of 4 1/4 x 51/2 paper and stamp a flower background image. I am using the Altenew’s Peony bouquet.
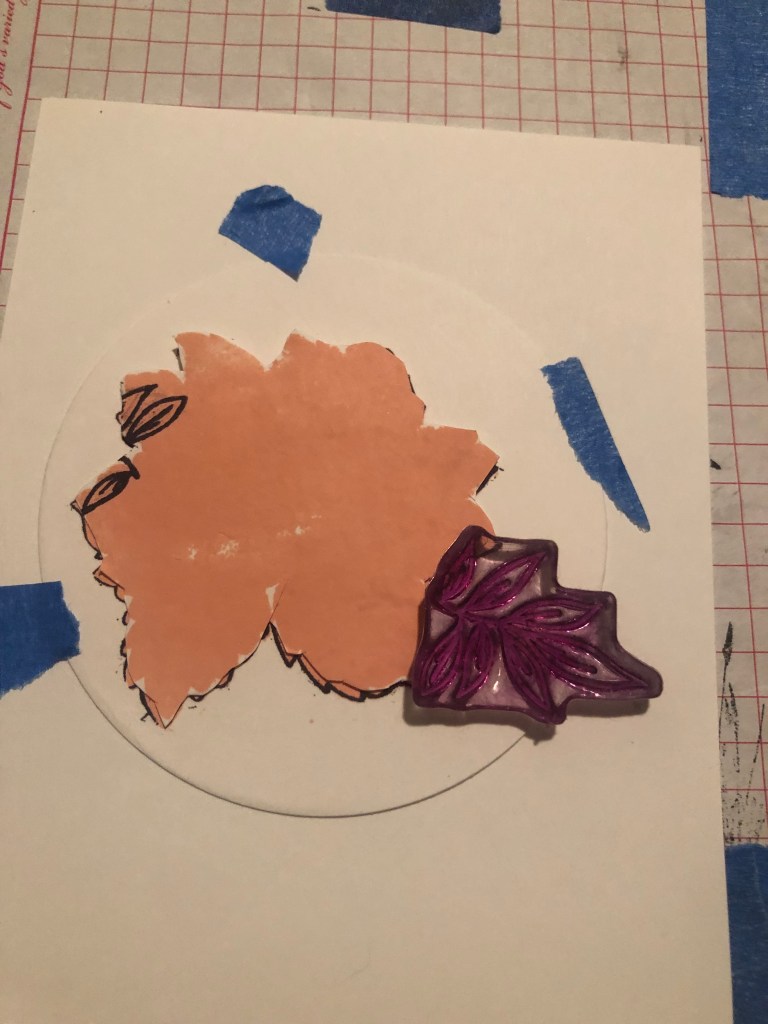
Then I cut out image and got a new piece of pre cut white. I then added my circle image and the leaf stamp to look at placement.
Next, I began stamping my flower images. For me, I find its easier to stamp black first, I also do the best a night with over head light to see placements. With practice I am getting better at these beautiful flowers. I decided to make my cards all a bit different.

I like to use my Misti stamping positioning tool and stamp one image. Then flip around and do the next one.
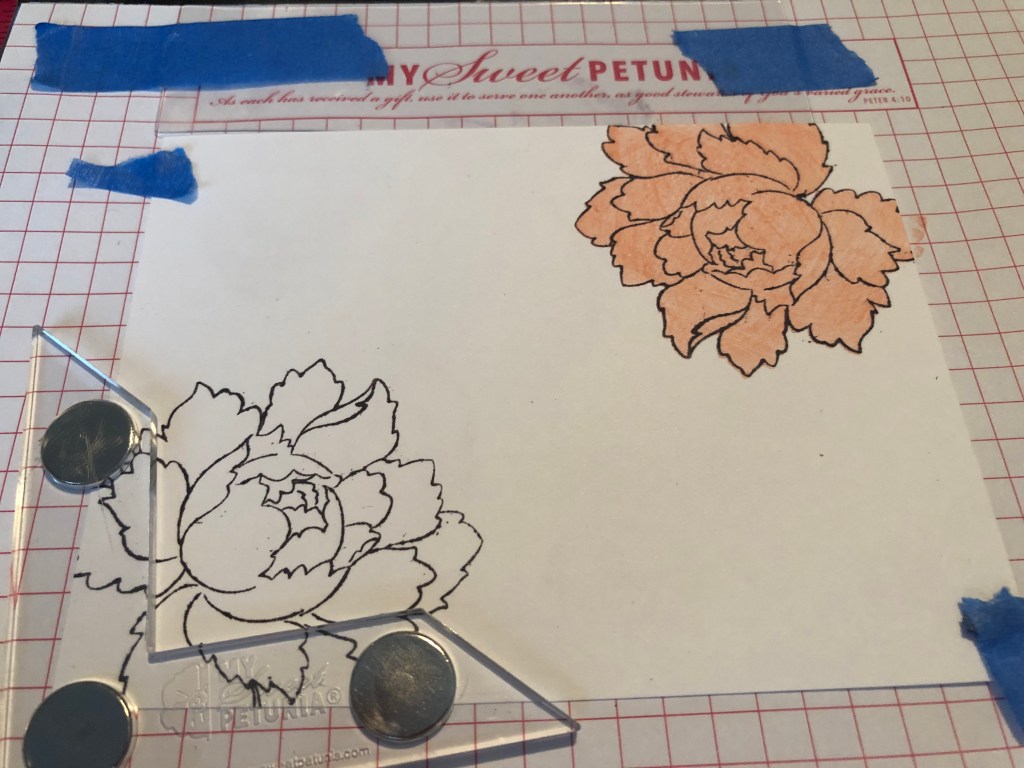
Here I added the background color.

Once I have the base color, I stamped the next layer. At this point, I’ve used three different stamps-the outline stamp, the background stamp, and one color detail stamp.
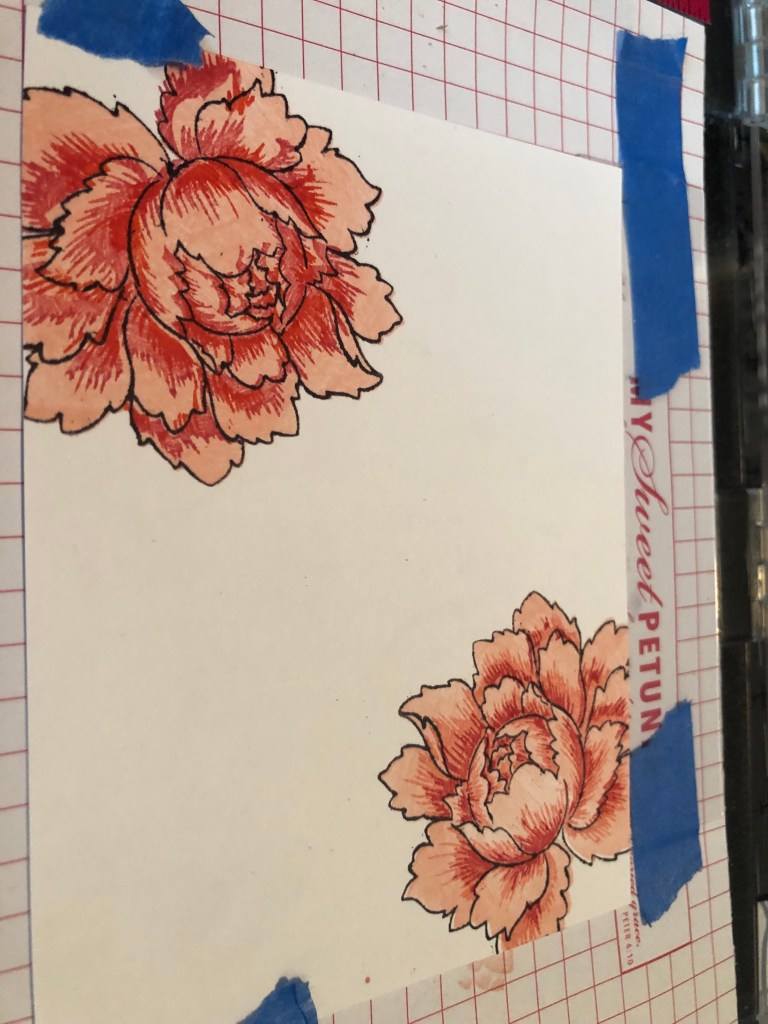
Just for fun, I thought you would like to look at difference, the top image is complete the bottom image needs its fourth stamp. Look at the depth of the top flower vs the bottom one.

Next, I decide to add my greeting.

I decide to add a black boarder. To attach, I used double sided tape.
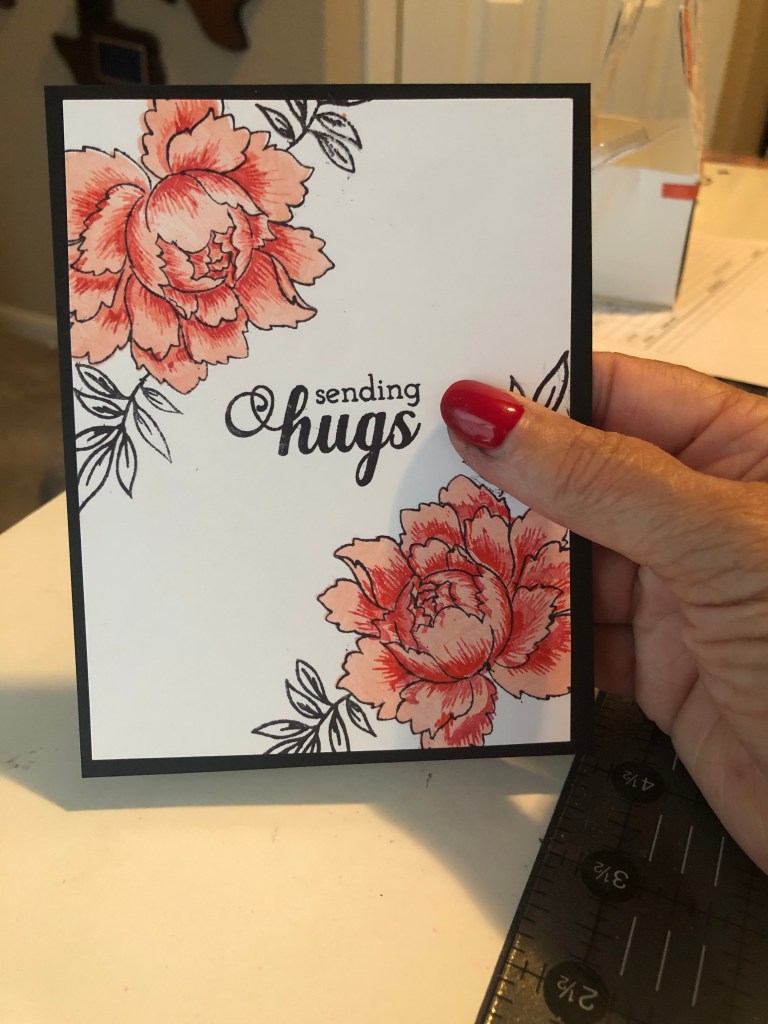
My card is now complete. A few tips I have are to keep a towel on your lap and wipe your hands often. If you get a smudge, let it dry and use your sand eraser. Its ok to practice! In the end this card, was not part of the set- I ended up smudging it-oops!

For my packaging, I reused box I used at Easter to put gifts for my grand-daughters. It was not practical for a five year old to play with.
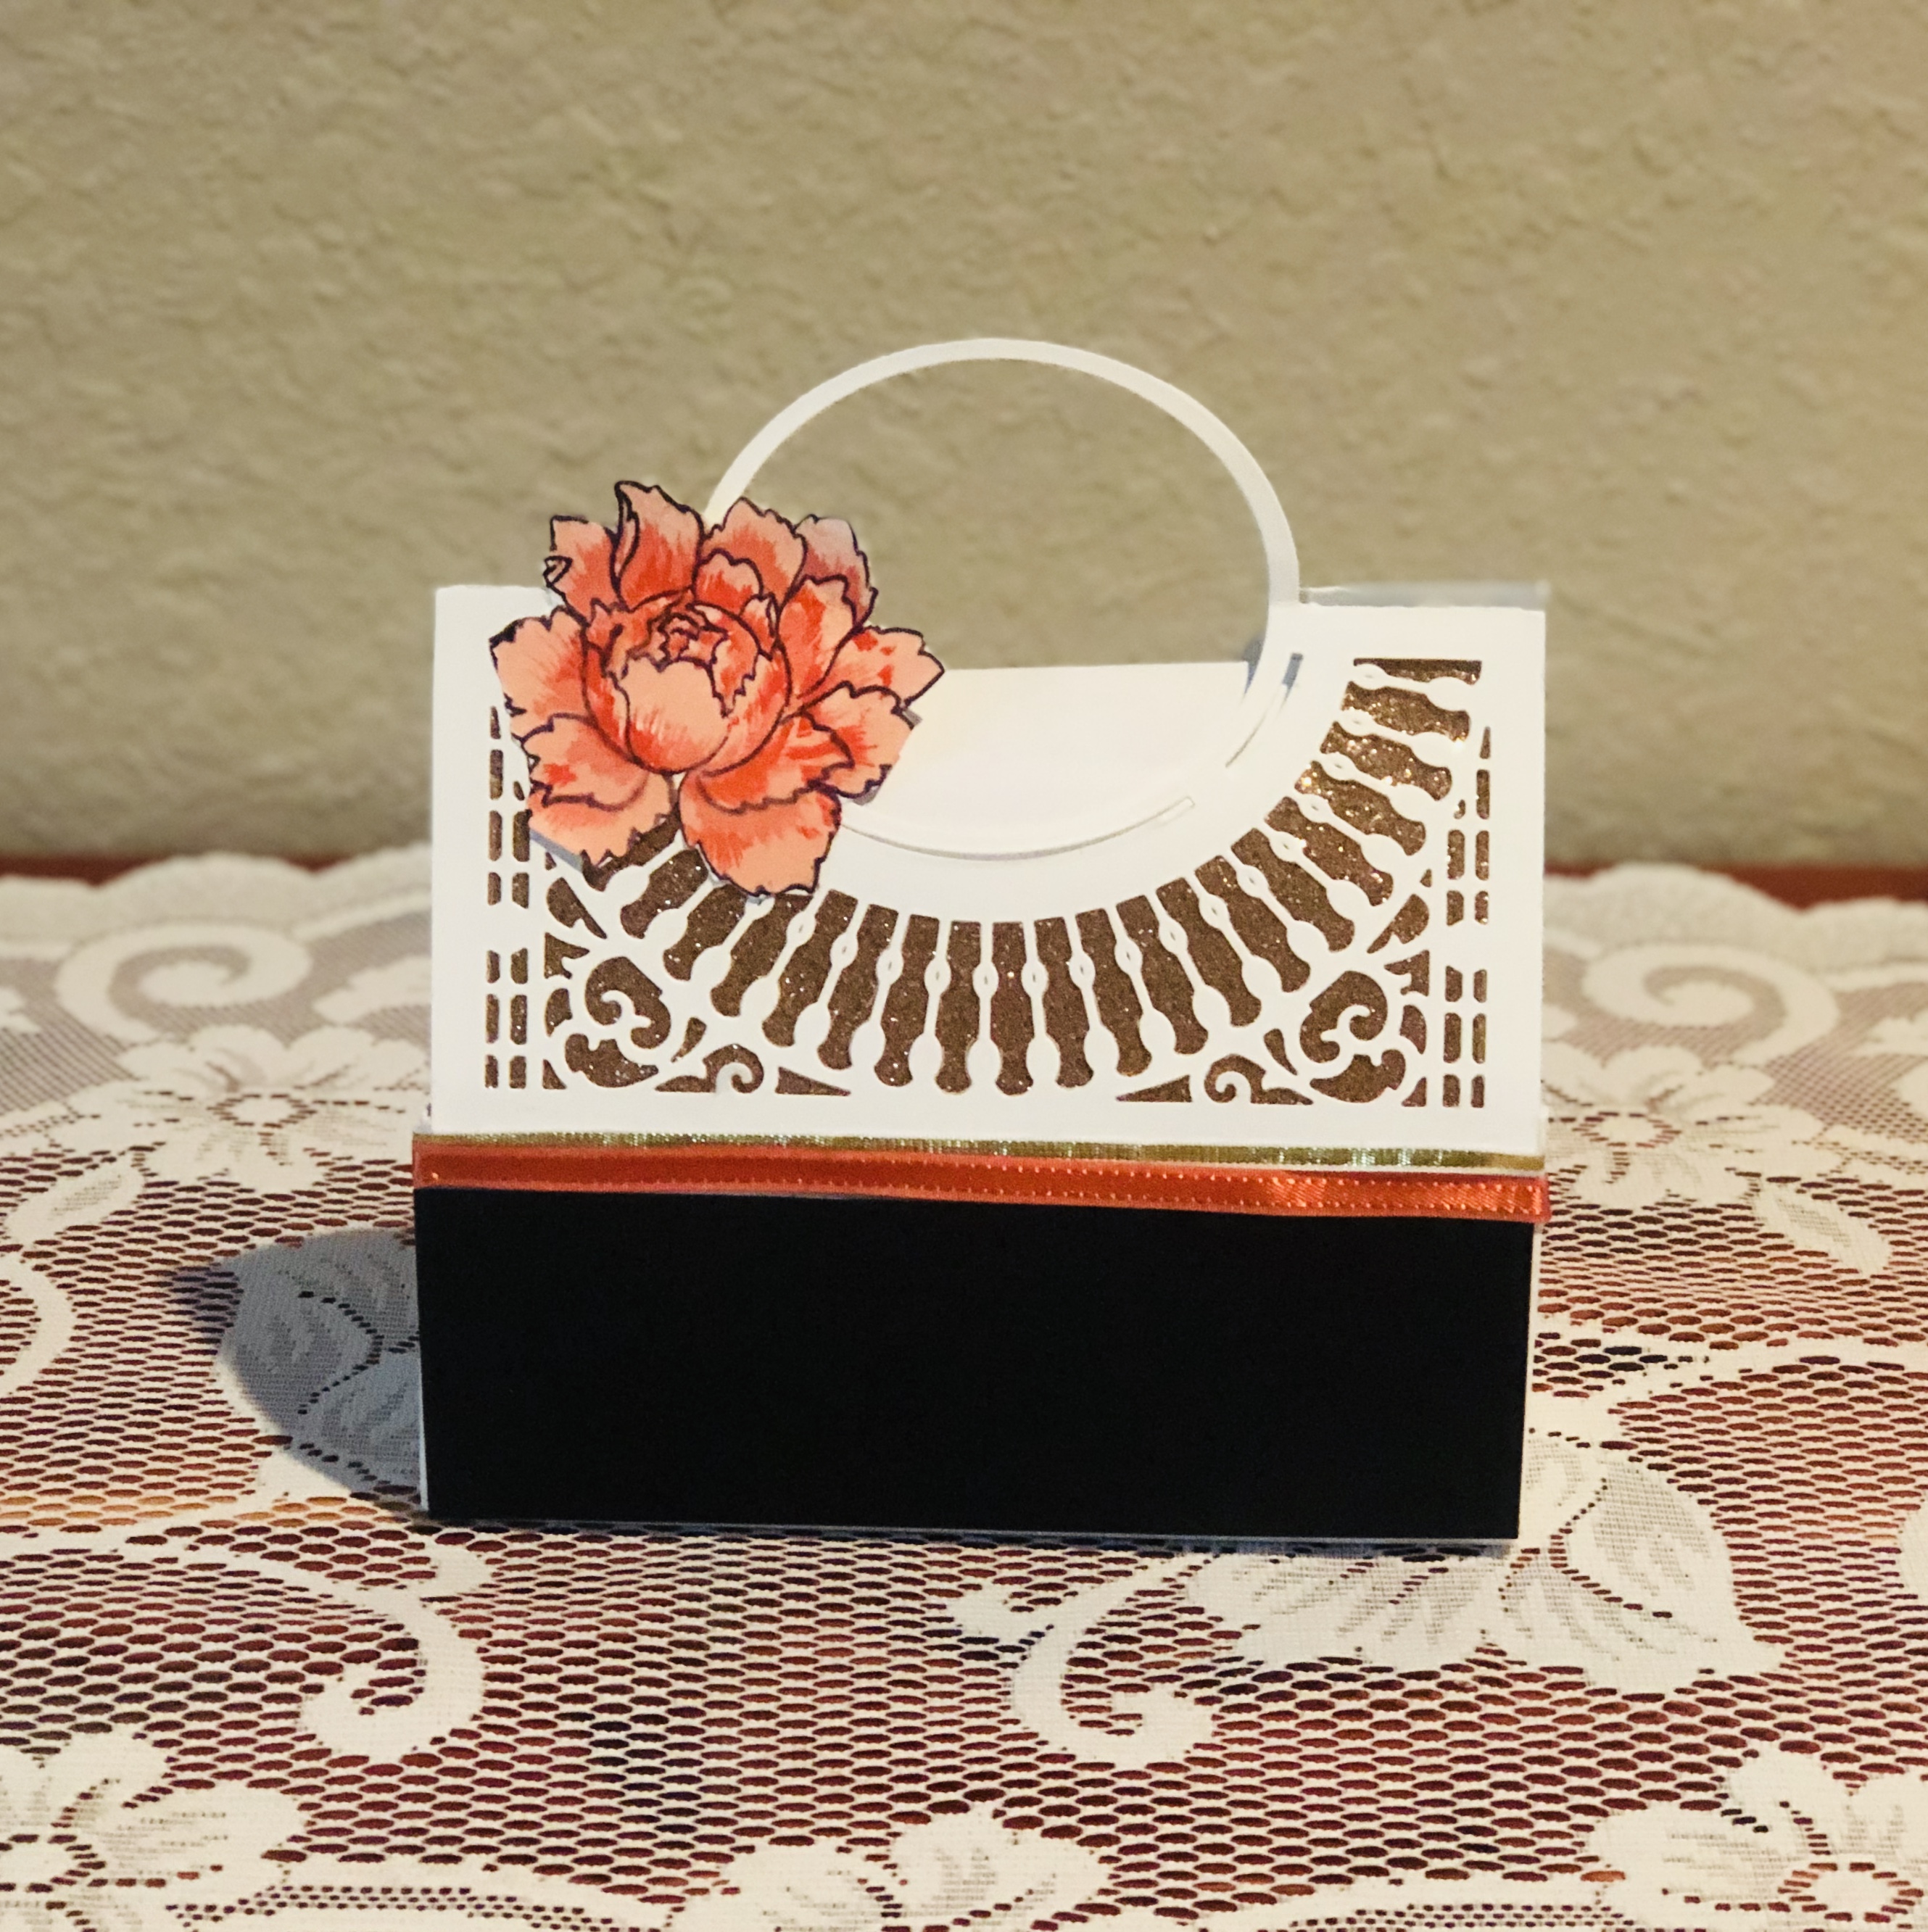
I removed the bow added black paper to bottom, ribbon, and a flower that matches all the cards.
I hope you have enjoyed seeing this project. It was a blast to make and I am going to give it to a teacher friend that is retiring! Till next time happy stamping!


Love your feminine card sets and packaging! Your process photos and write-ups are excellent! You poured in a lot of thoughts and attention in this project and it shows! I am so glad that you enter your beautiful work in Altenew AECP assignment Gallery. Awesome details and design! Super work!
LikeLike
Love this card set and gift basket!
LikeLike
Aww look at that packaging!! Perfect and feminine! I love the card set Teri! I feel so proud 🙂 Love all the additional photos and just like your last post, you have explained everything very well!
Keep it up 🙂 Thank you for entering your amazing work to the AECP gallery.
LikeLike