Altenew Level 2 Challenge
Thanks for joining me today! I am submitting my final project for Level 2 courses for Altenew teacher certification. Here is what my challenge is:
*Select any 3 components from the classes in level 1 or 2 classes and explain the 3 components that you’ve chosen for the projects.
*share any design tips.
*make 4 Masculine cards.
*Altered Item /Upcycled Project.
I had a great time doing this project final. Here is my warning that this is going to be a extra long blog, I hope you enjoy it!
For my three components I choose Clean and Simple Boutique Cards, Easy Die Cutting and Let it shine.
Clean and Simple Boutique Cards have a minimal look that create a wow effect. In the lessons, I learned about using Luxury paper and making amazing back grounds. I also learned that a little white space can be a good thing.
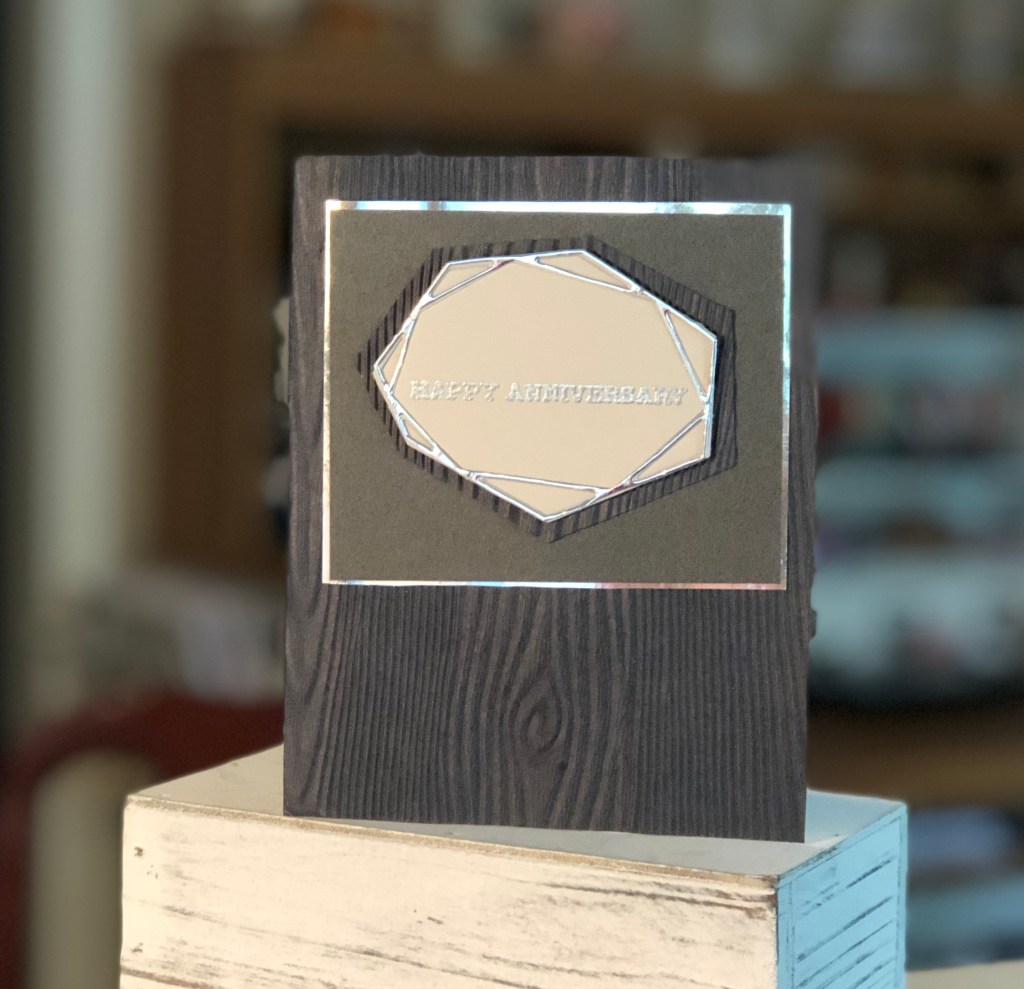
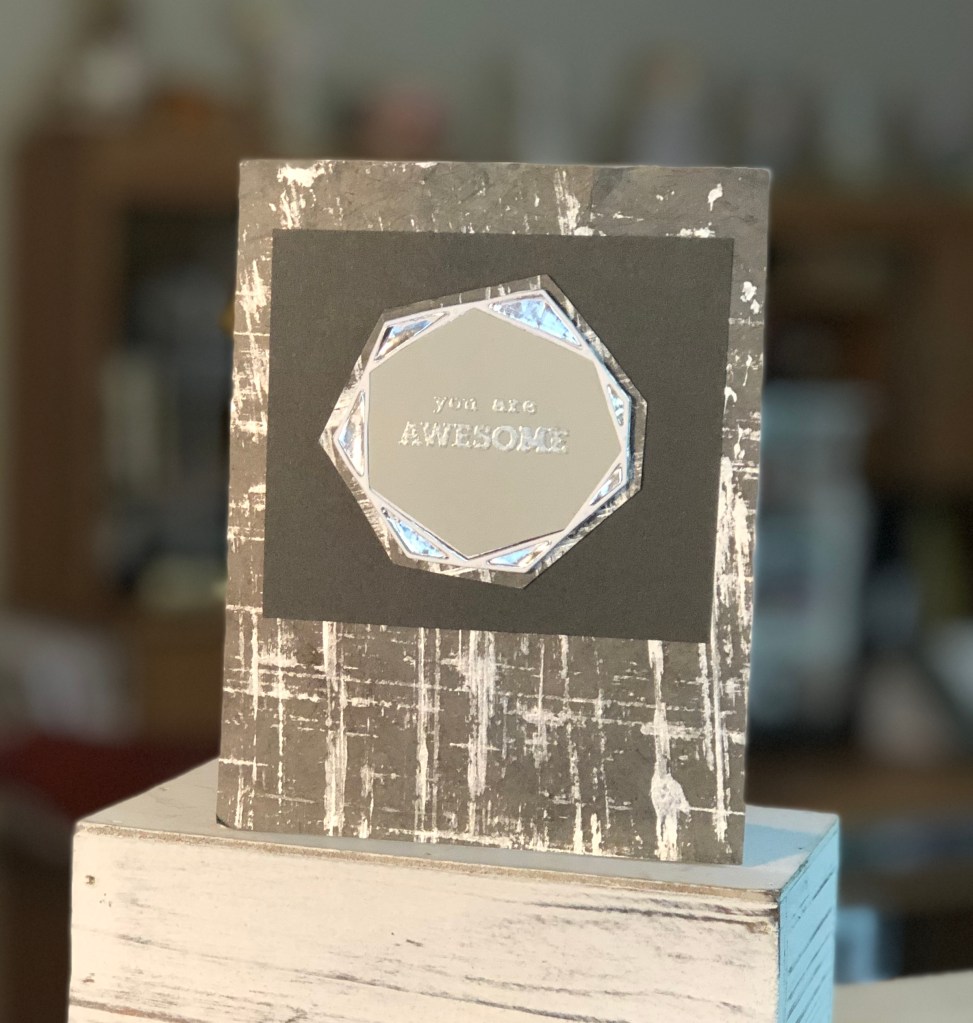
The Easy Die Cutting class teachings die cutting techniques. The class had a lot of great ideas. The idea I tried in a few of my cards was inlaid dies. It reminds me of putting together a puzzle.
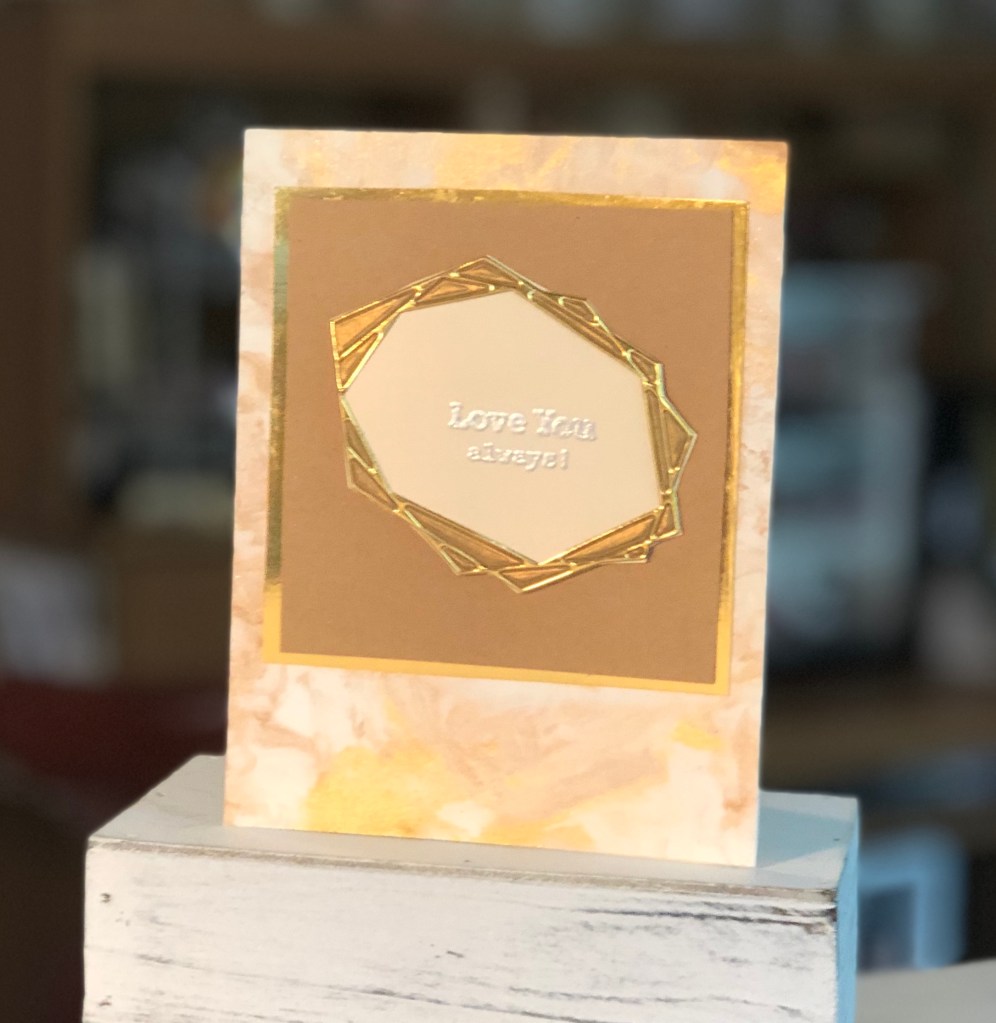
In the Let it shine class, I learned how to use metallic paper and embossing powder to add a little shine to my cards. Who doesn’t love a little sparkle?
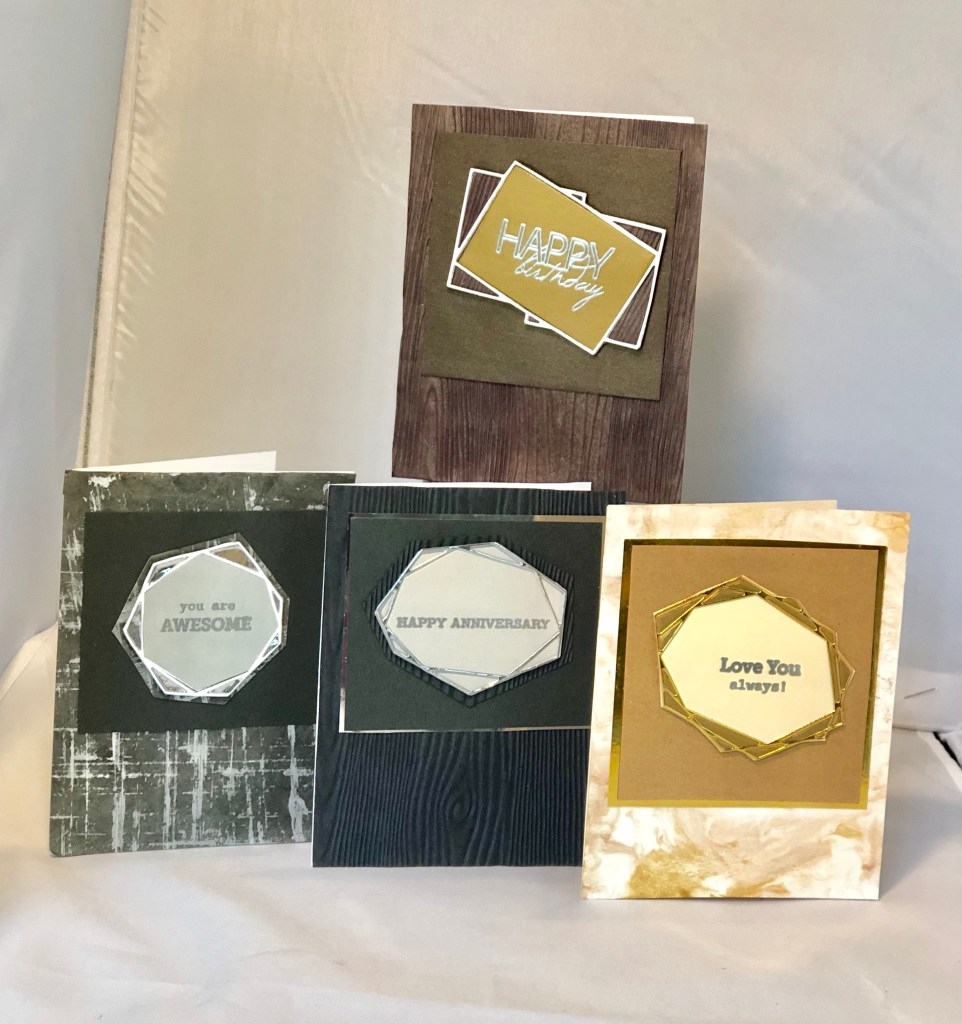
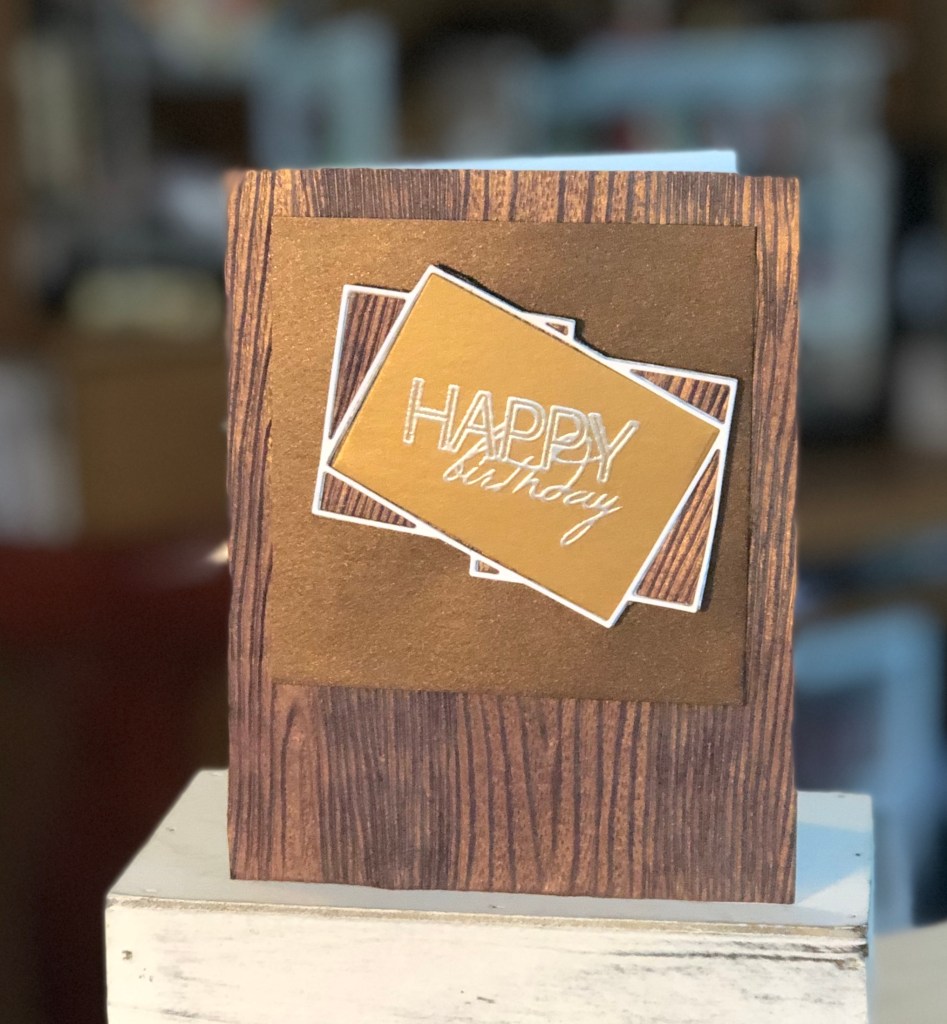
For my masculine cards, I used Altenew crystal frames and Stamps. I decided to use some of the art papers I bought some time ago for the backgrounds, with the exception of the light card. I will add a video of how I made this back ground next.
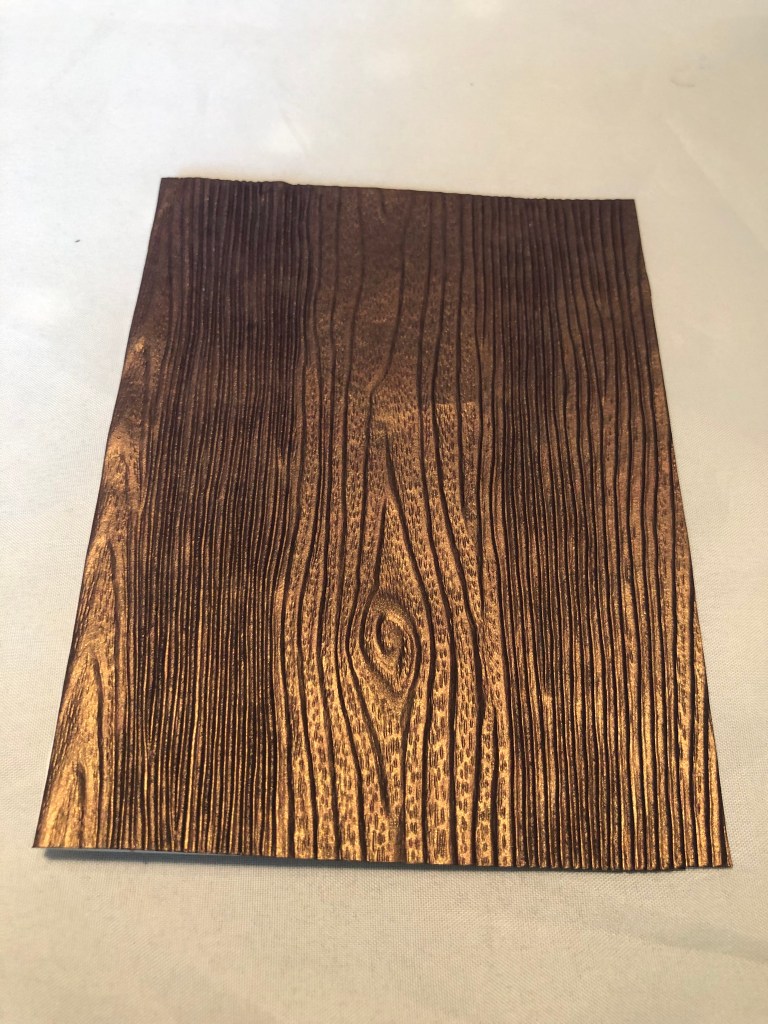
I began making my card by choosing my backgrounds. I cut them out to 51/2 x 4 1/4 and glued them on to a folded white card.
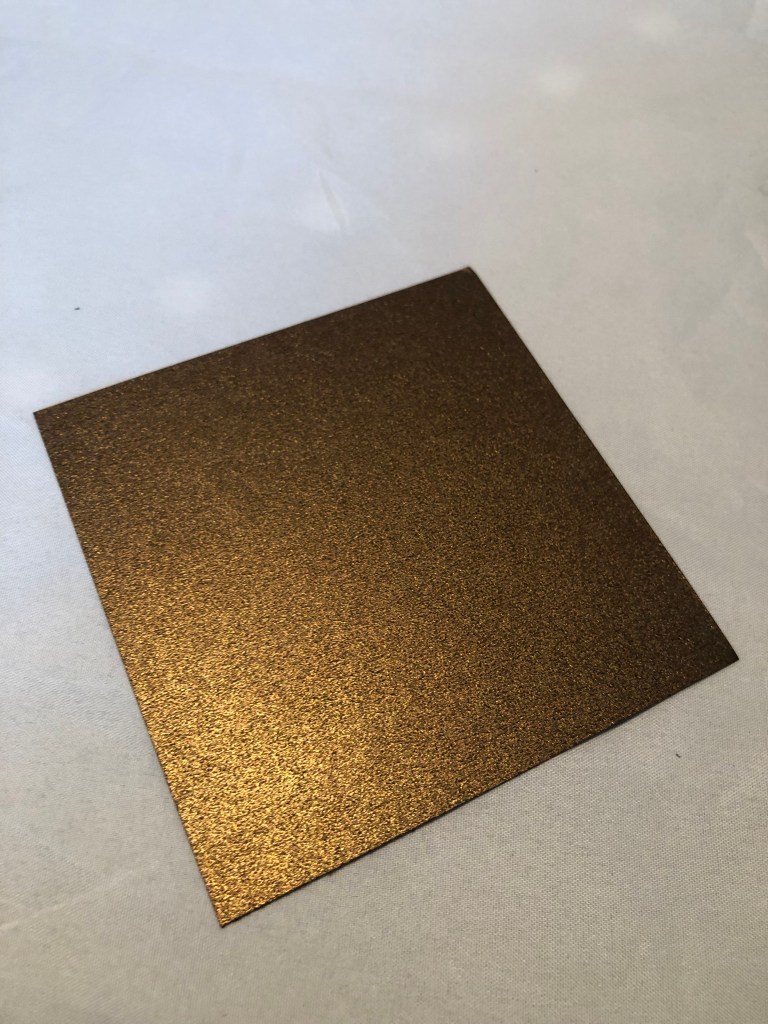
Next I cut a 3 3/4 inch square to use for the middle layer.


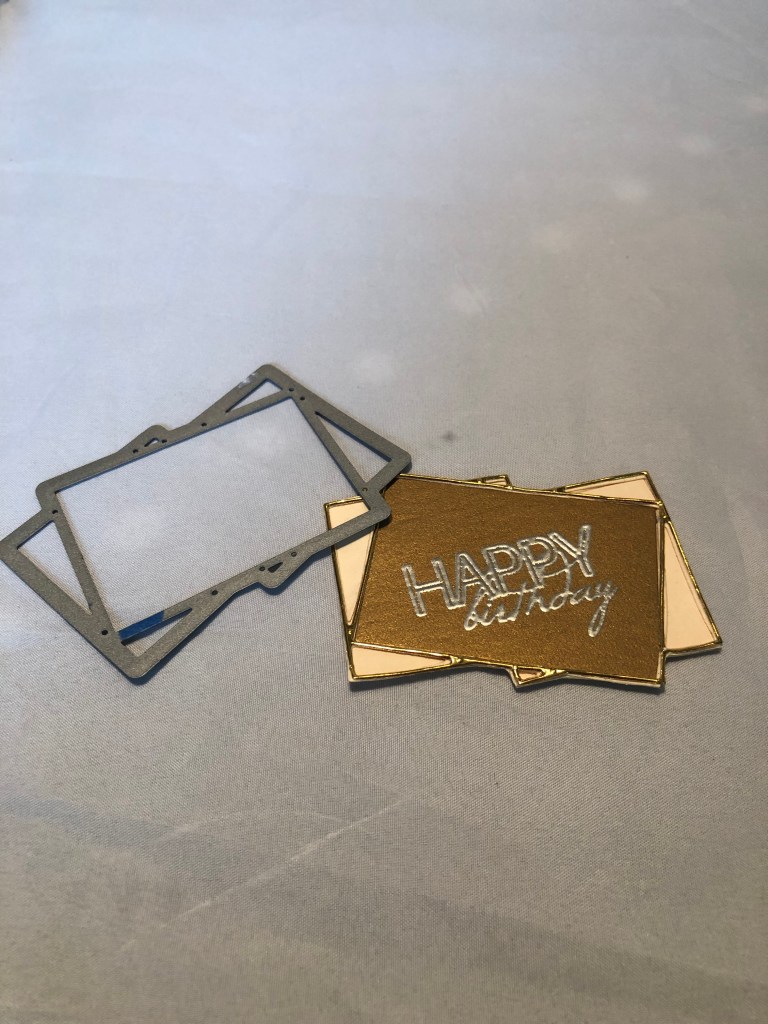
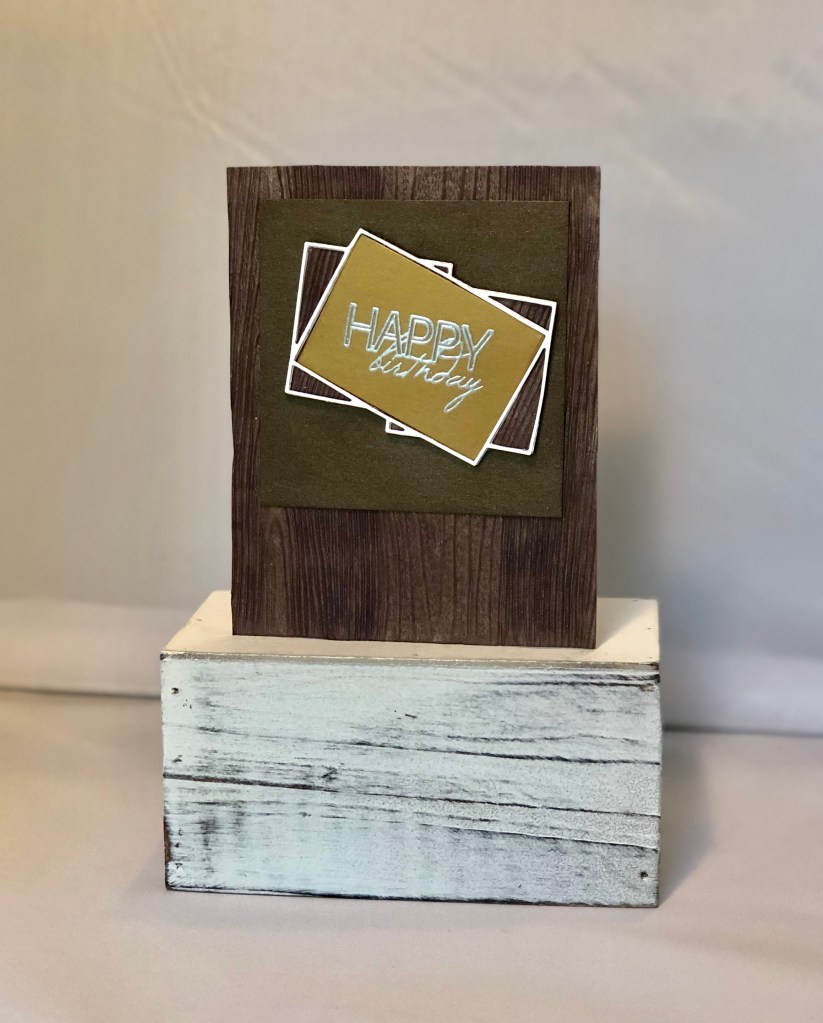
After that, I used my dies and die cutter and cut out several colors! The outer layer of the die made a very thin frame. I saved all the pieces. What was really fun, is they can go back in the frame several ways. The photo on the top right is a example. When I made the final birthday card, I decide to use the wood background that matched the base of the card.
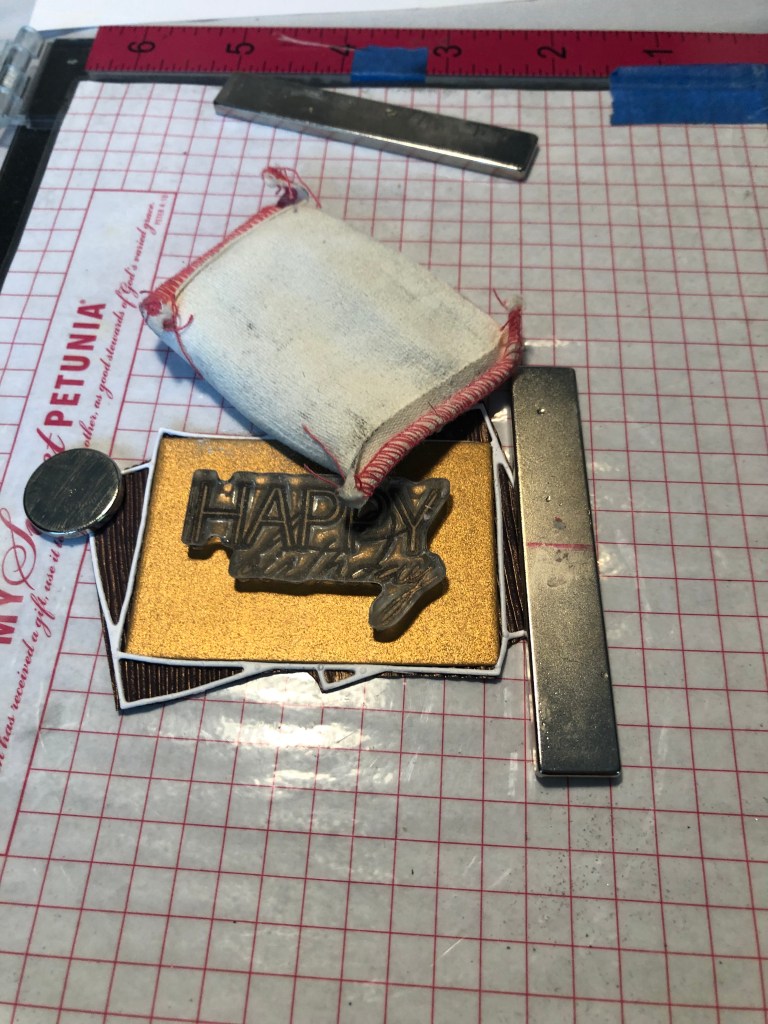
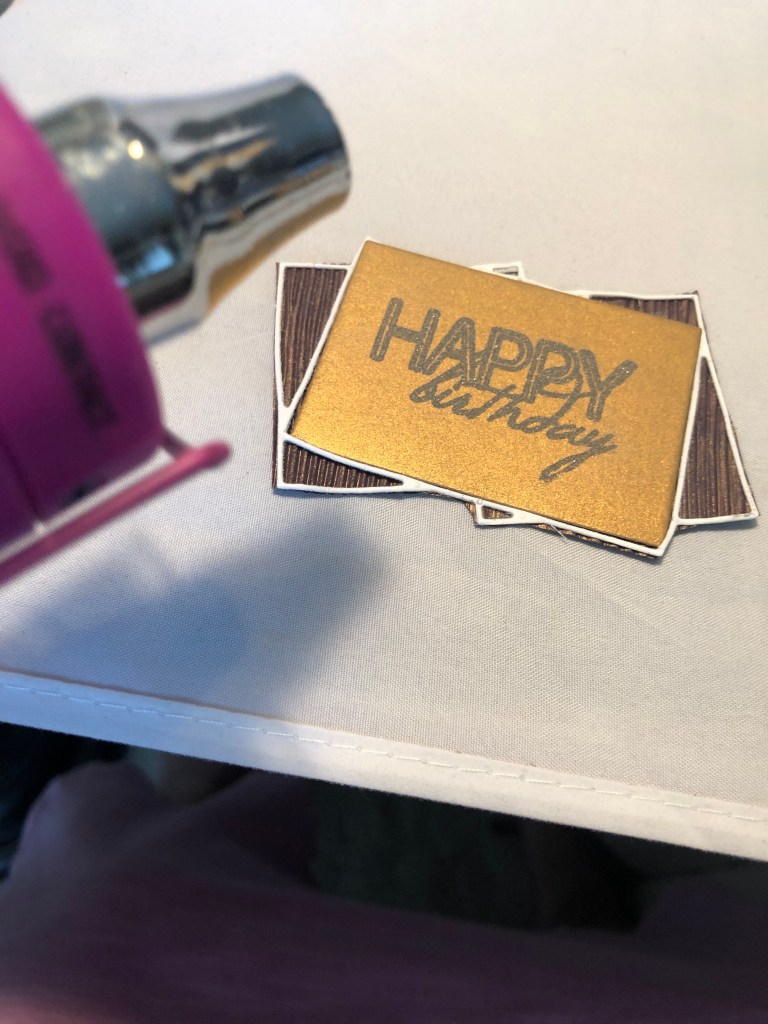
To make the greeting, I used my misty stamp tool and a stamp from the Altenew’s Chrystal Frames stamp set. I first used my pouch of powder to prep the surface. Next, I used my versa mark ink and antique gold embossing powder.
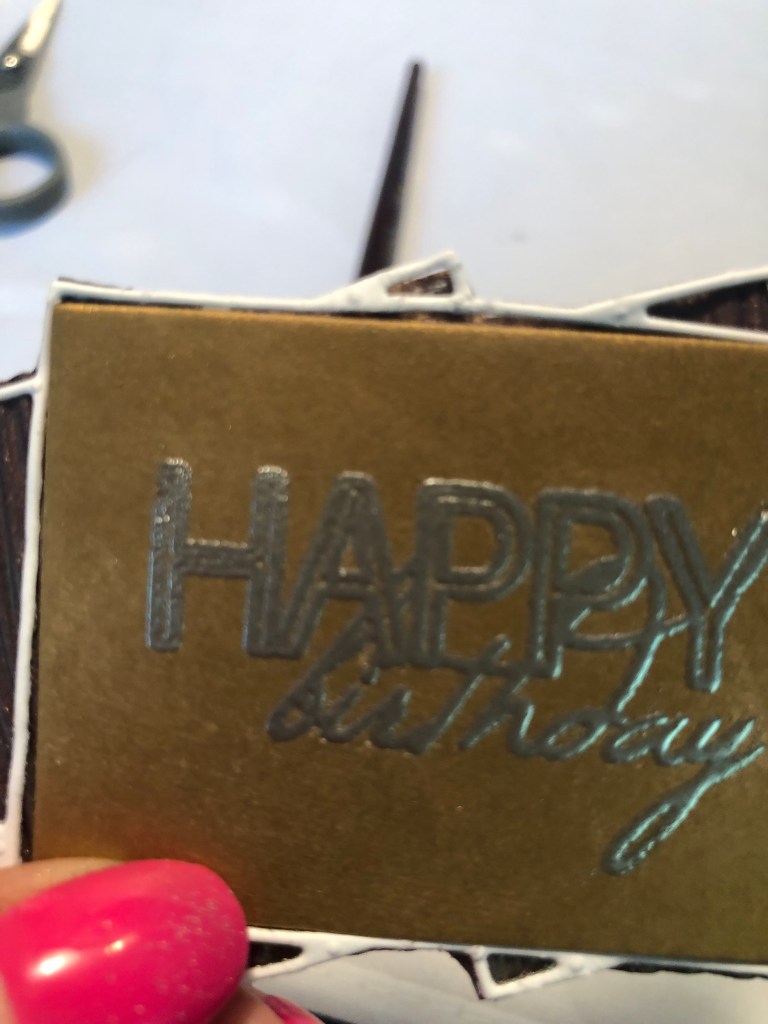
Here is a tip; see how the H looks done but not smooth. The embossed image needs just a wee bit more heat.

The above embossing image is finished nicely.
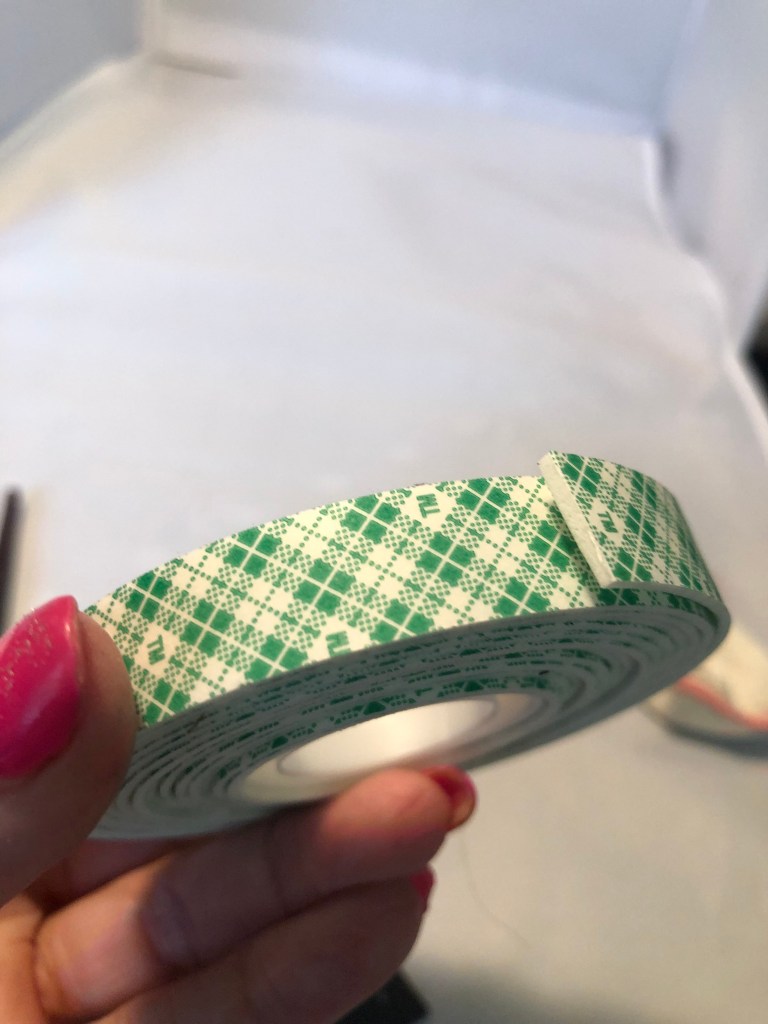
To finish my card I used 3 m mounting tape and raised up my greeting. I finished gluing every thing together and now my card is complete.
I hope you enjoyed my cards. I have one last tip. I had taken pictures of all 4 cards in my photo box. I played around a bit and decided I like the result with the portrait setting on my camera. Be willing to play with your photos take them different times of day and in different lighting. Photographing with a little shine can be a challenge!
Upscale project:
I had a total blast making my upscale project. I absolutely love to crafting. I have the best memories of crafting with my grandma. For this final project I had so many ideas to make. I made a list and it was hard to limit to just six. I really wanted to upscale something that would be useful! I live in Houston, Texas and we have one of the best cancer centers in Around. For the last two years I have a monthly house guest, that drives 6 hours to receive her treatment. So I decided to make her welcome box. I’m going to give her what’s inside the box and keep the box and every month when she comes put something fun in it. I think next time I will put bubble bath and her favorite tea. You get the idea!
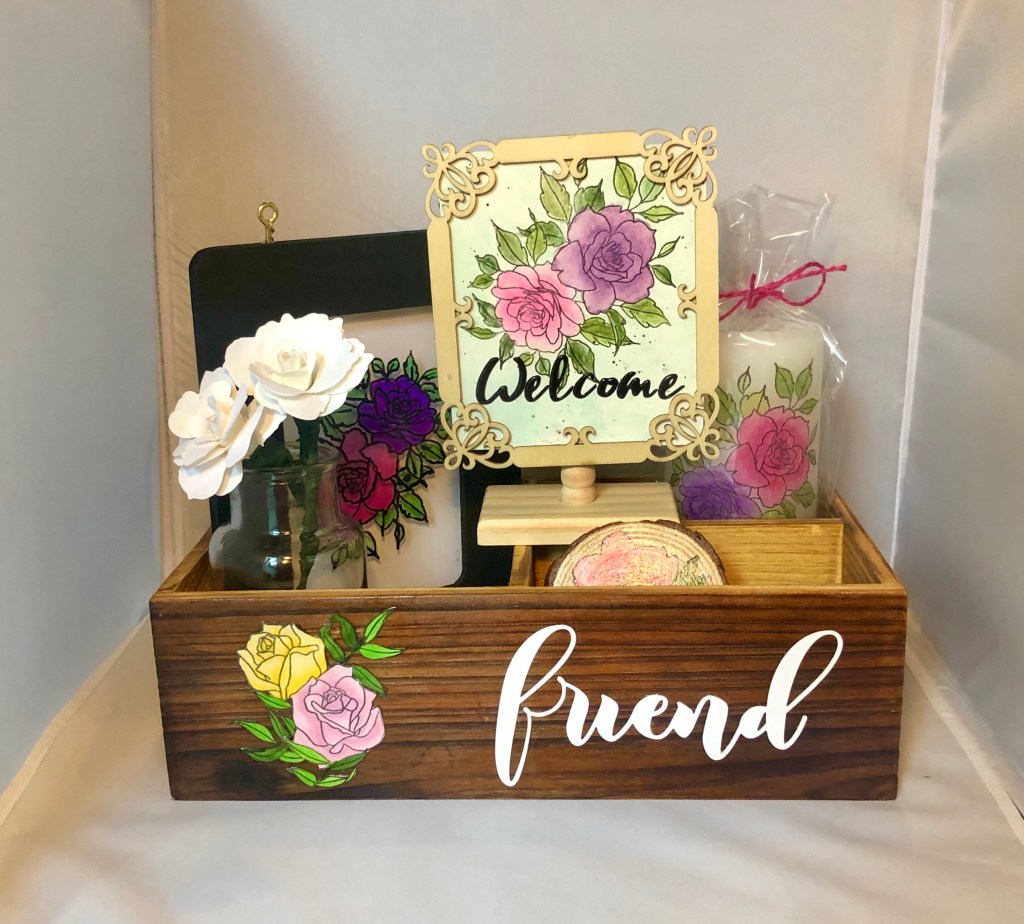

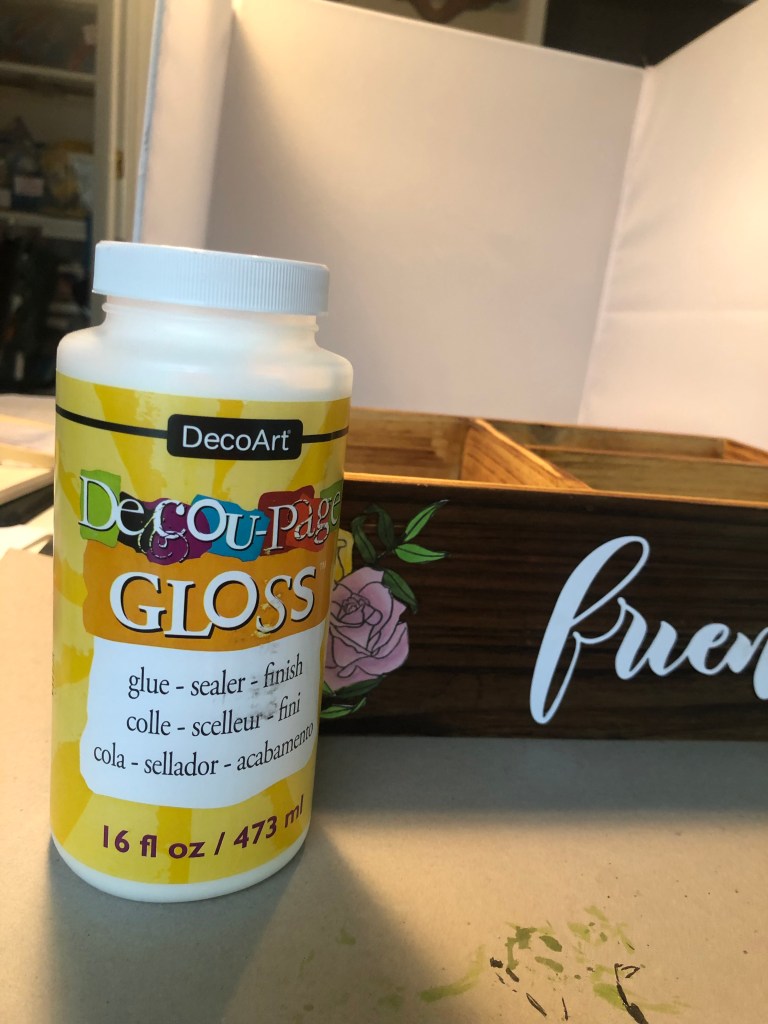
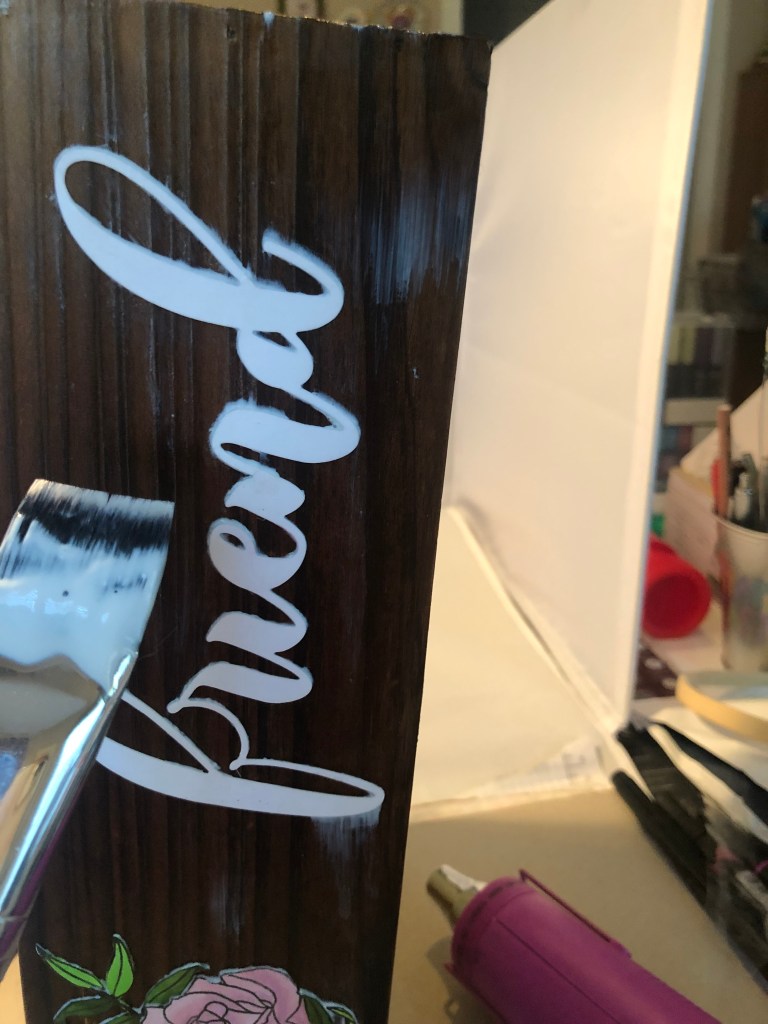
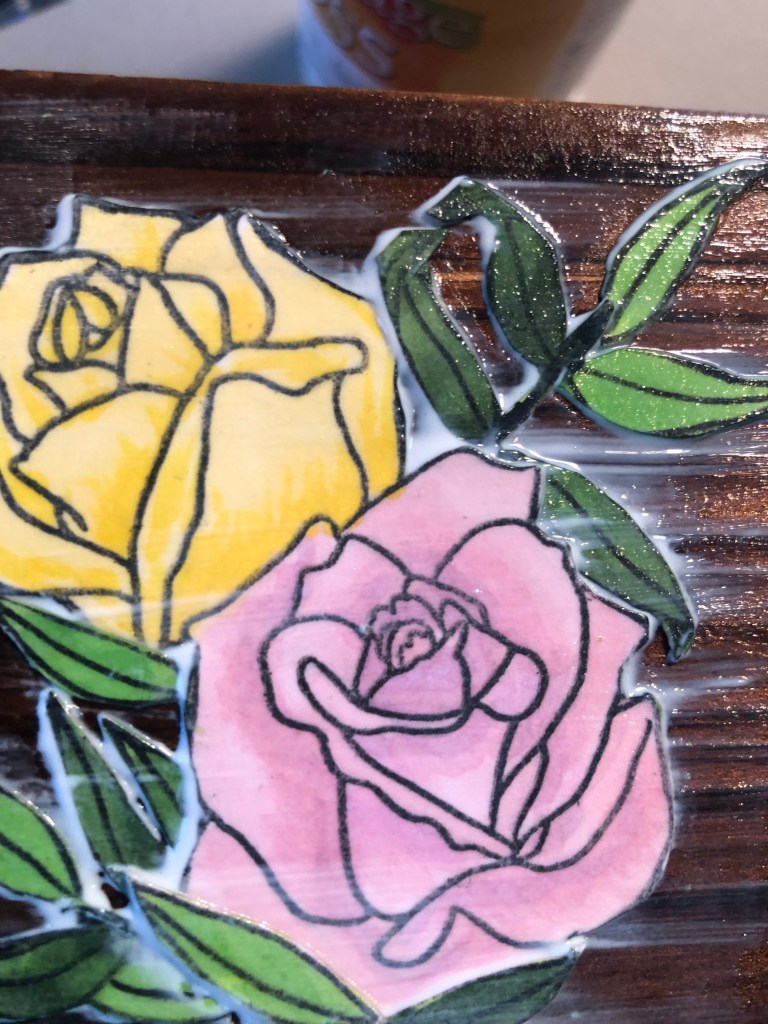
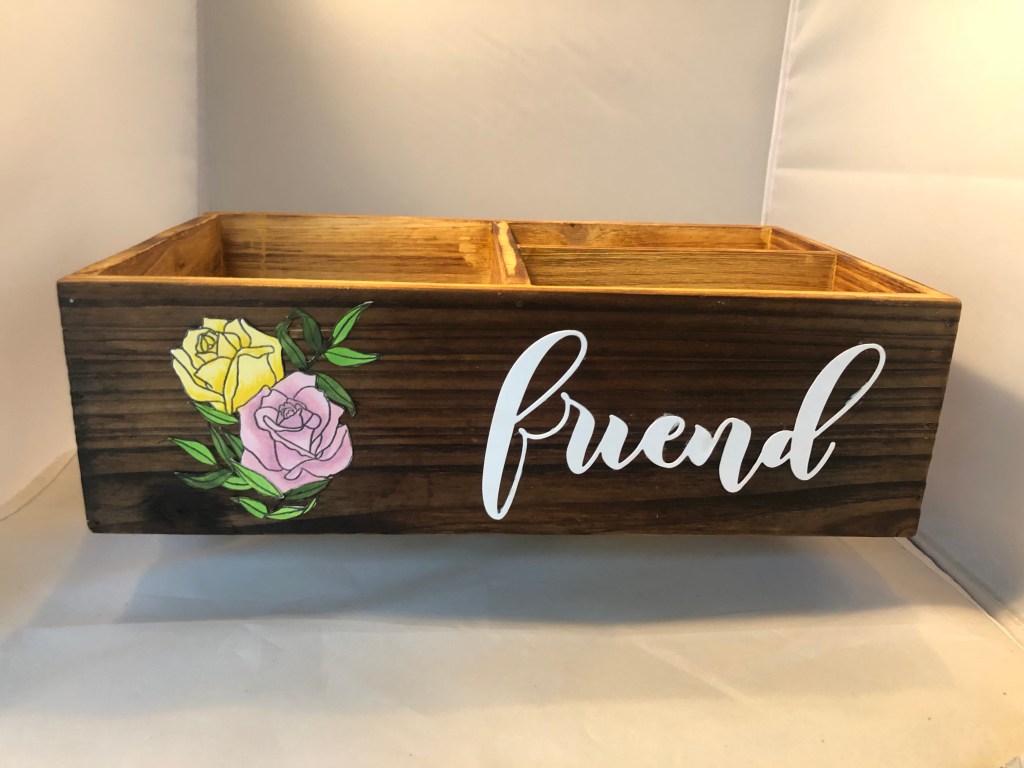
I took a box that I used for that napkins and forks and knives go in and made it the container for my project. In this project I used Altenew’s Forever in Love Stamp set. I stamped on white card stock and colored in with copic markers. I cut out Friend Mega die out of white card stock. I glued the Images on the box then I used Deco Art Gloss and decoupage the side of box.
This is a step by step on how I made the wired flowers.
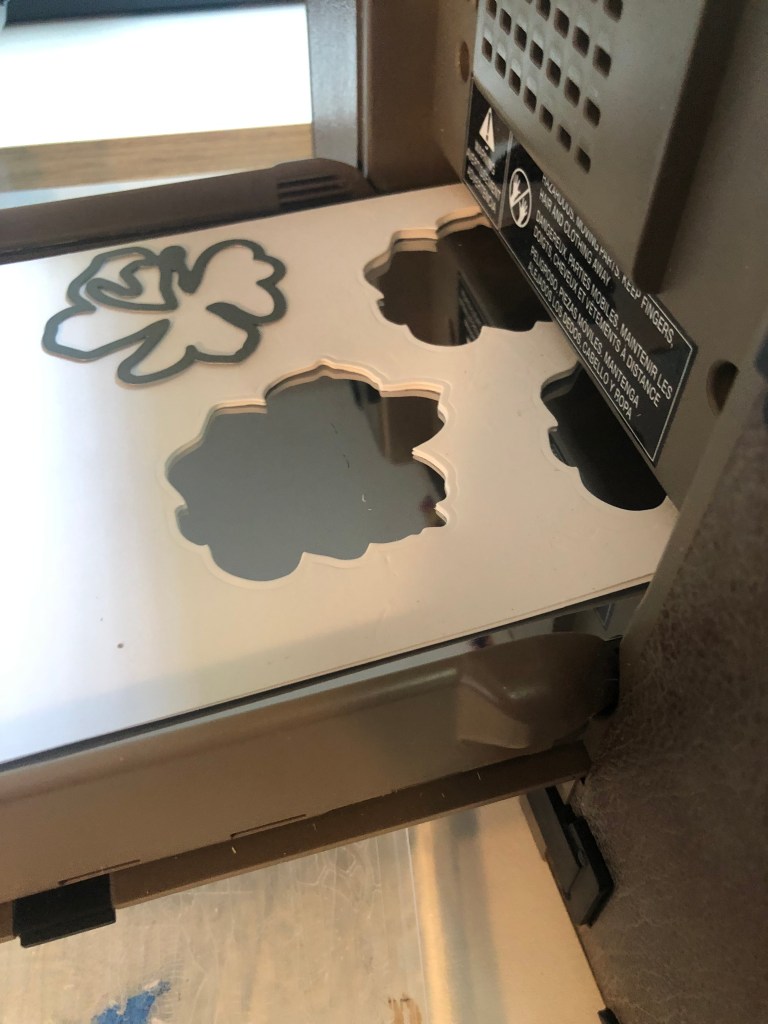
I used Altenew’s Virginia Rose Die set and cut out lots white pieces.
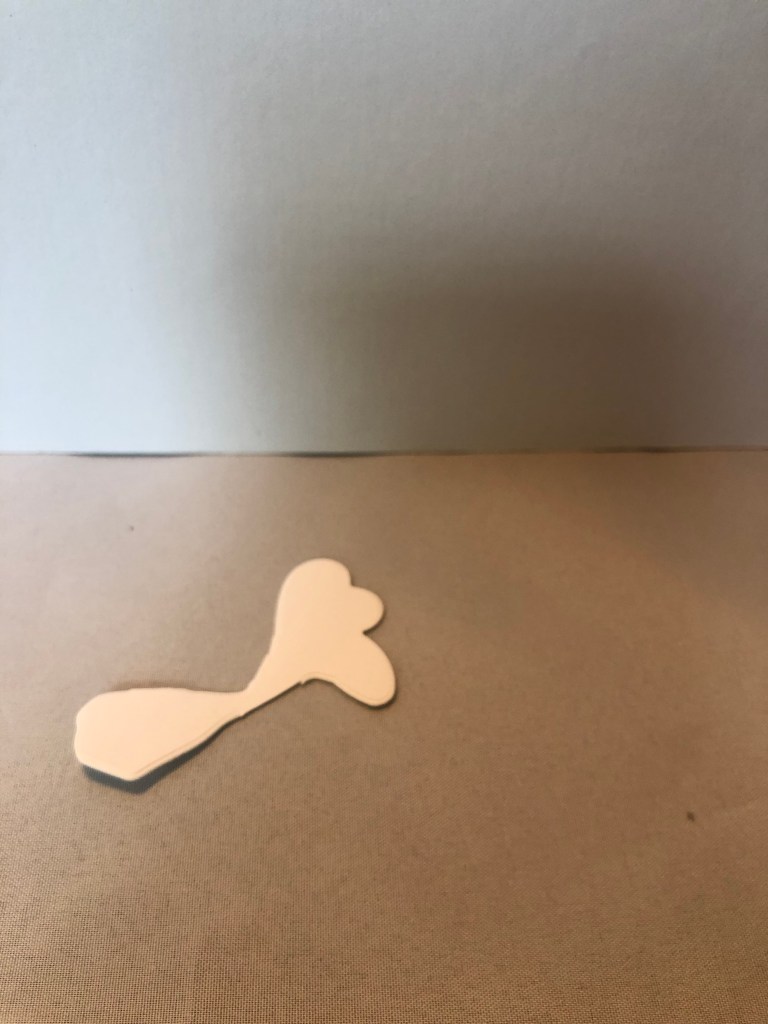
Before I began I cut the piece, as shown above!
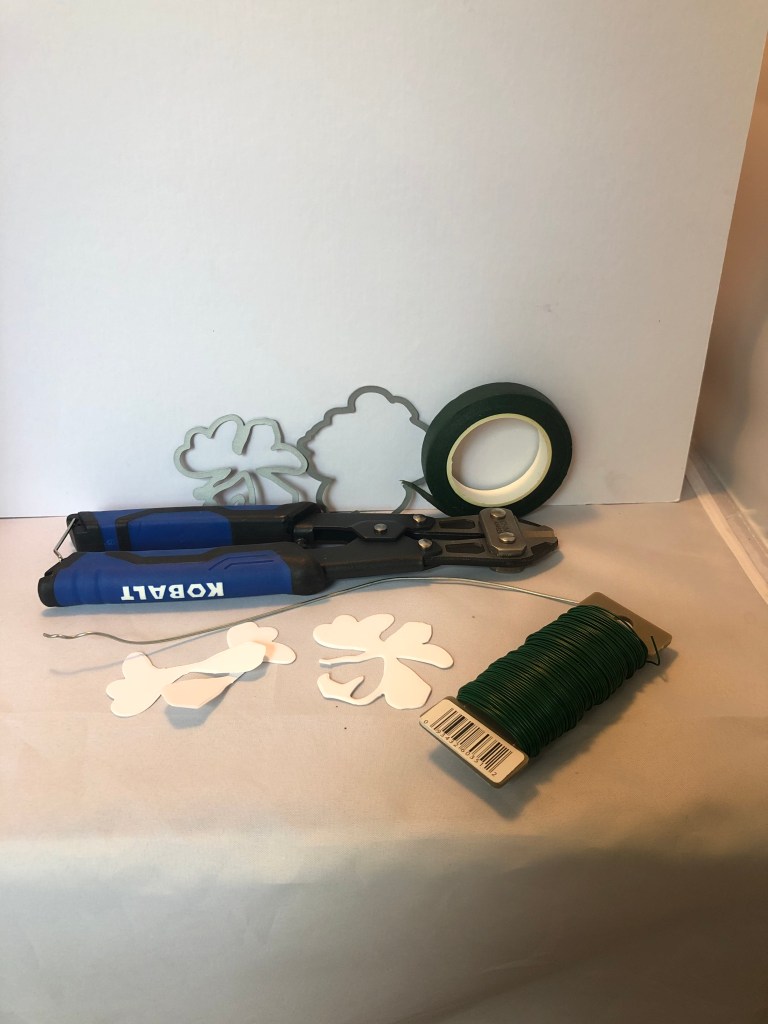
I usually make wired balloon flowers this is just a bit different. The tools I used while making flowers are floral wire, wire cutters and floral tape.

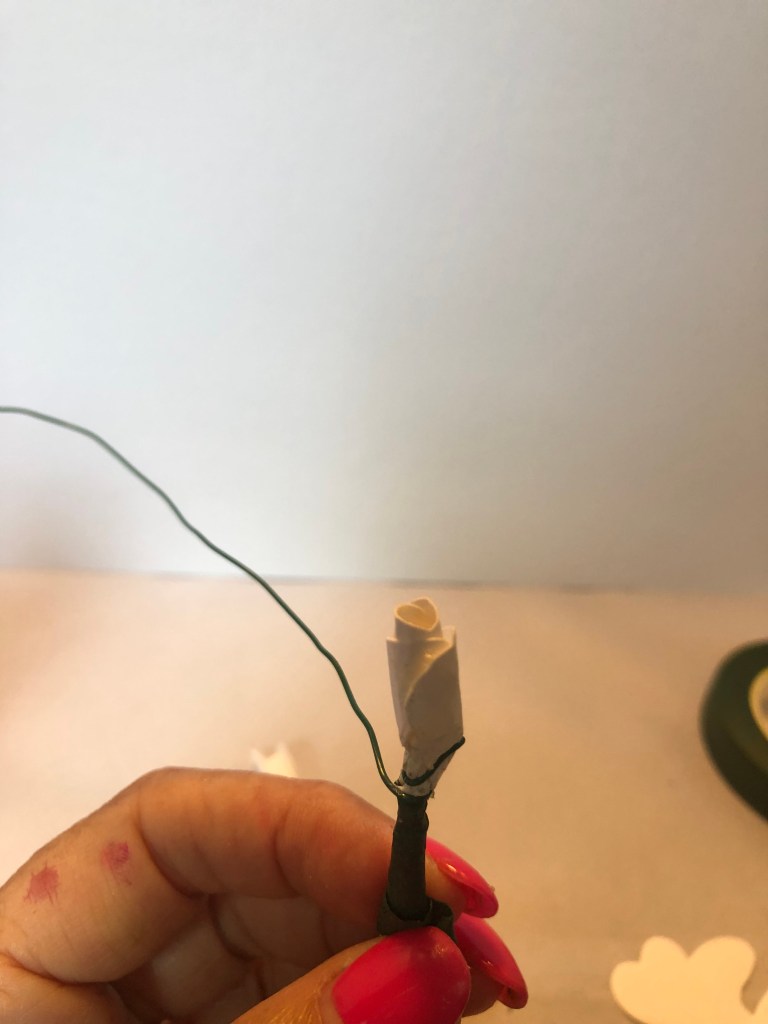
I begin by rolling the paper. On the first roll, I use rubber bond to make sure it stays tight; then, I wrap wire around the bottom of flower.
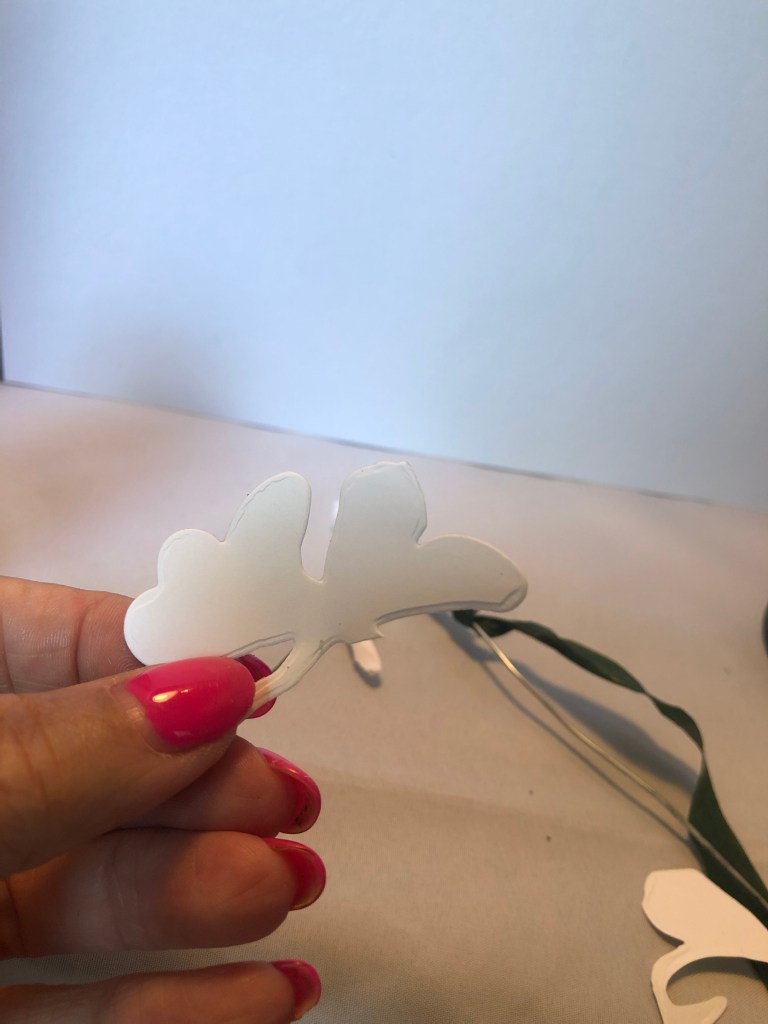
Next, I cut my pieces like shown above! Having the long piece on the bottom really helps with getting the flower tight.
I take the newly cut piece and place it on the flower and wrap it with the wire.
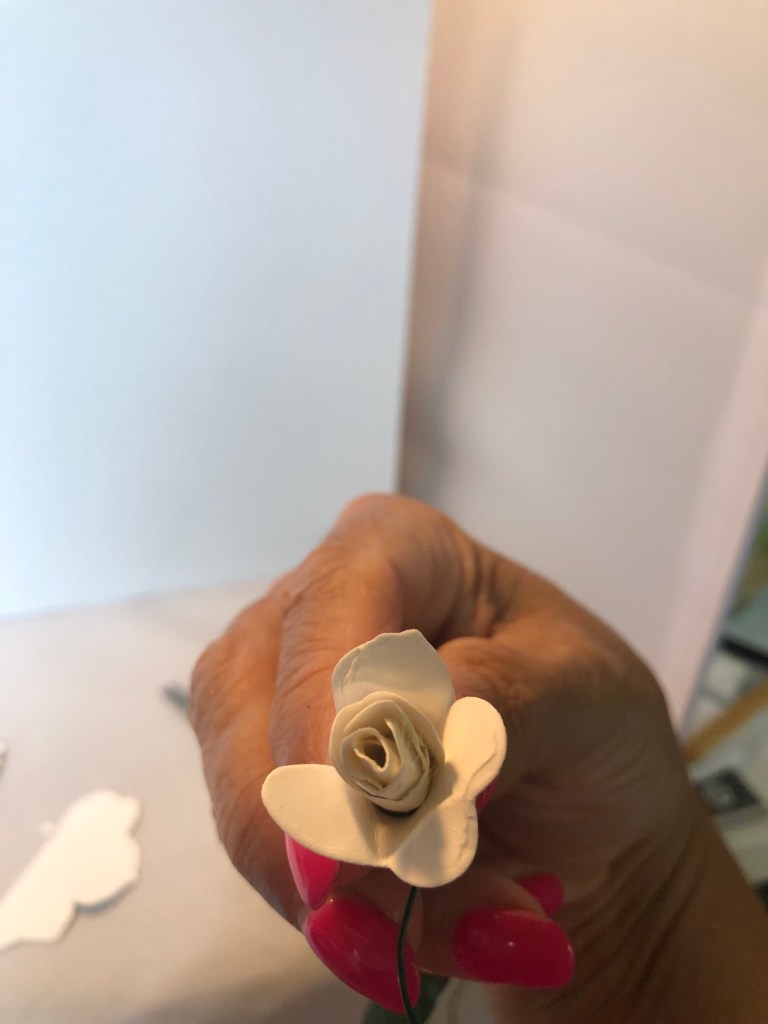
I do the same step several times.
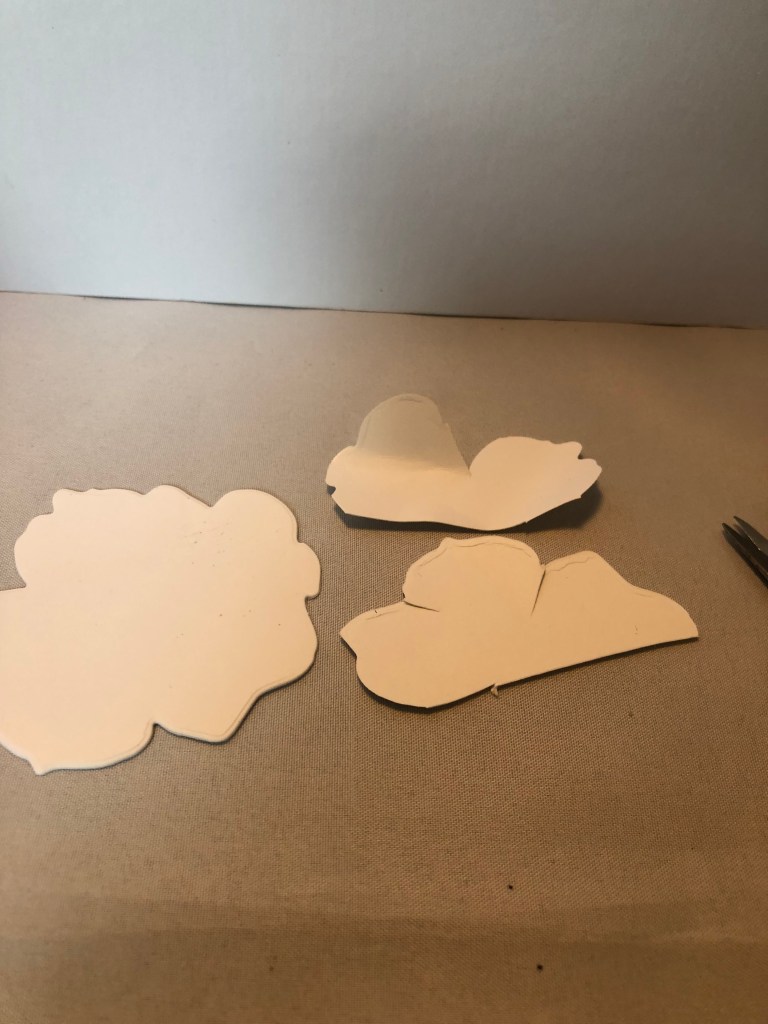
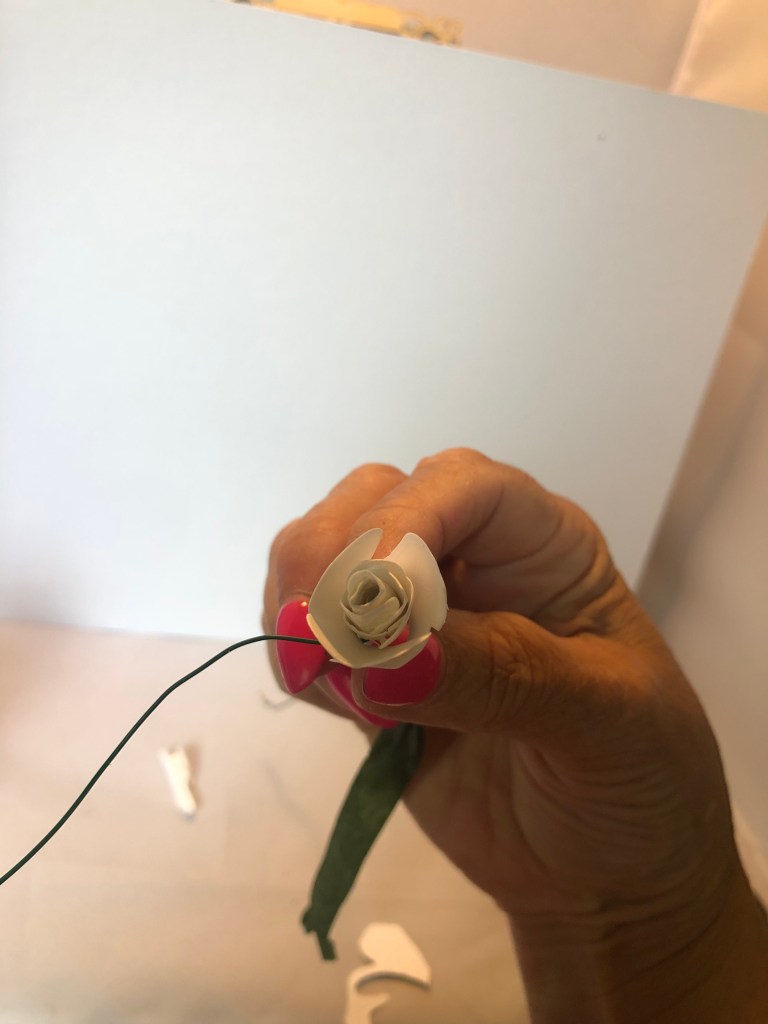
I am finally ready to use the bigger pieces. I cut them as shown above!

I wrap the larger pieces on the stem and wrap with wire and also tightly wrap with floral tape.

Continue to add pedals till its full and to your liking. Look how pretty the finished flower looks. I placed the flowers in a small glass vase.

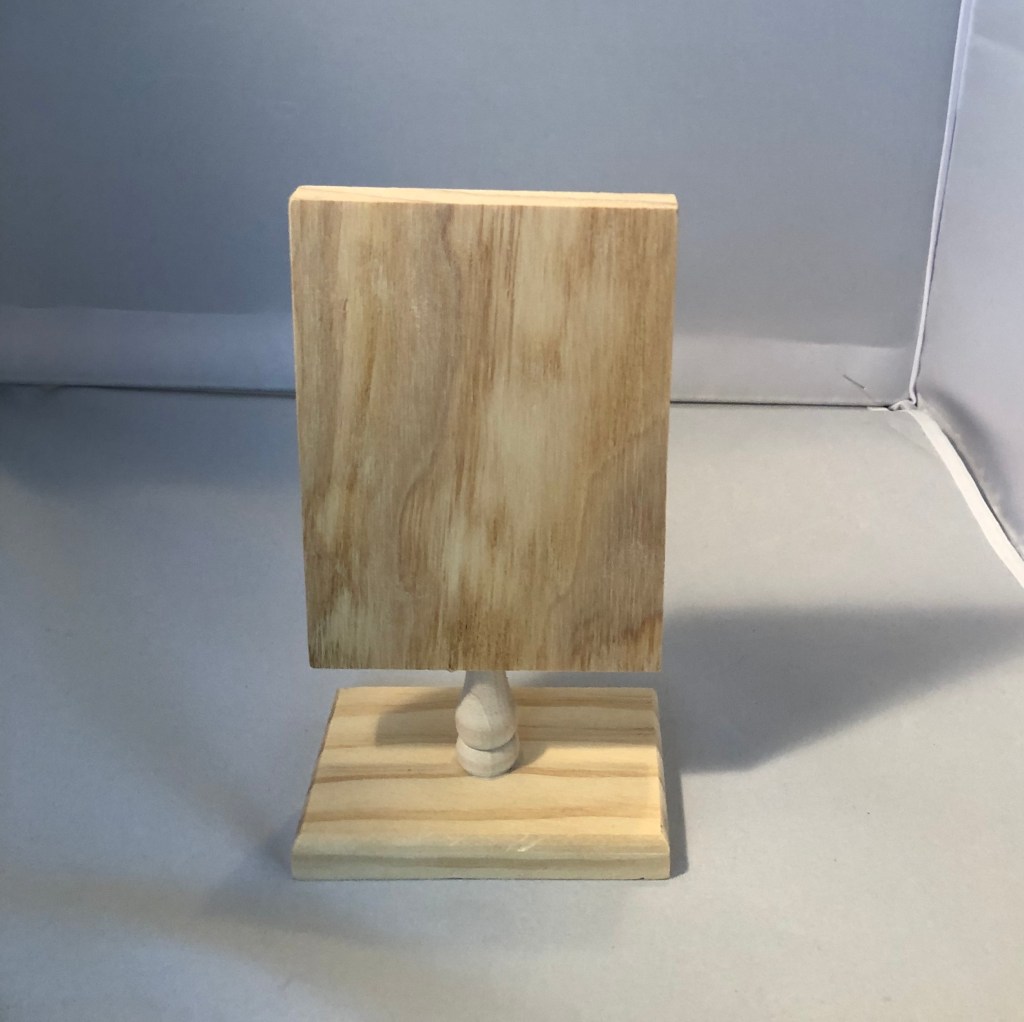
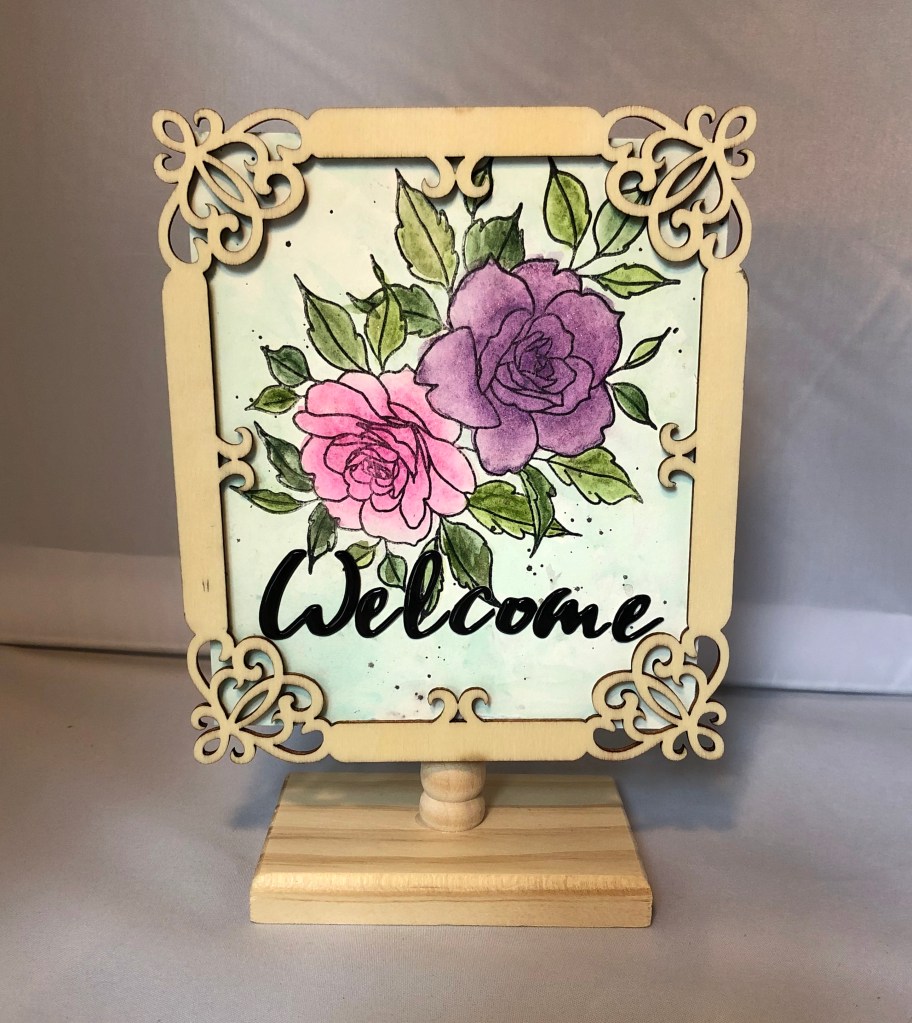
I found this cute little pedestal and frame at the local craft shop. I bought stain to finish it . While I was putting my project together I decided I loved the raw wood look. I put velcro on the frame and pedestal to hold the card into place. I made the card using the forever in love stamp set, I then watercolored it. The lettering is from Altenew’s live your dream scrap book collection.
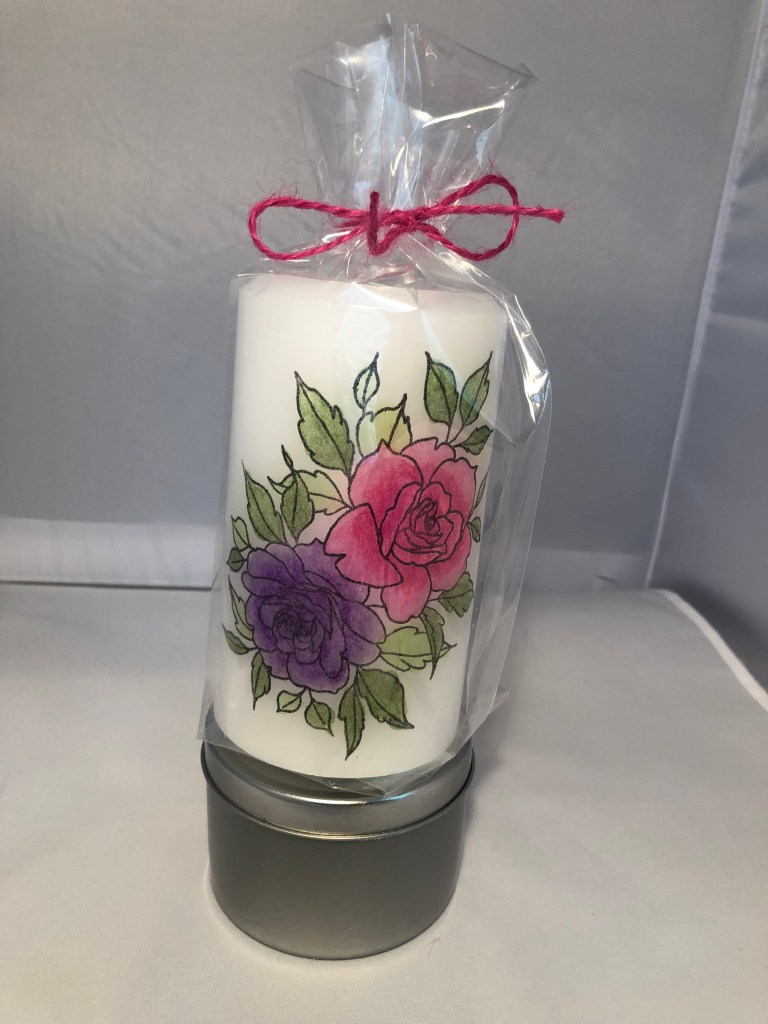
I love making the stamped images on candles! They look so pretty.


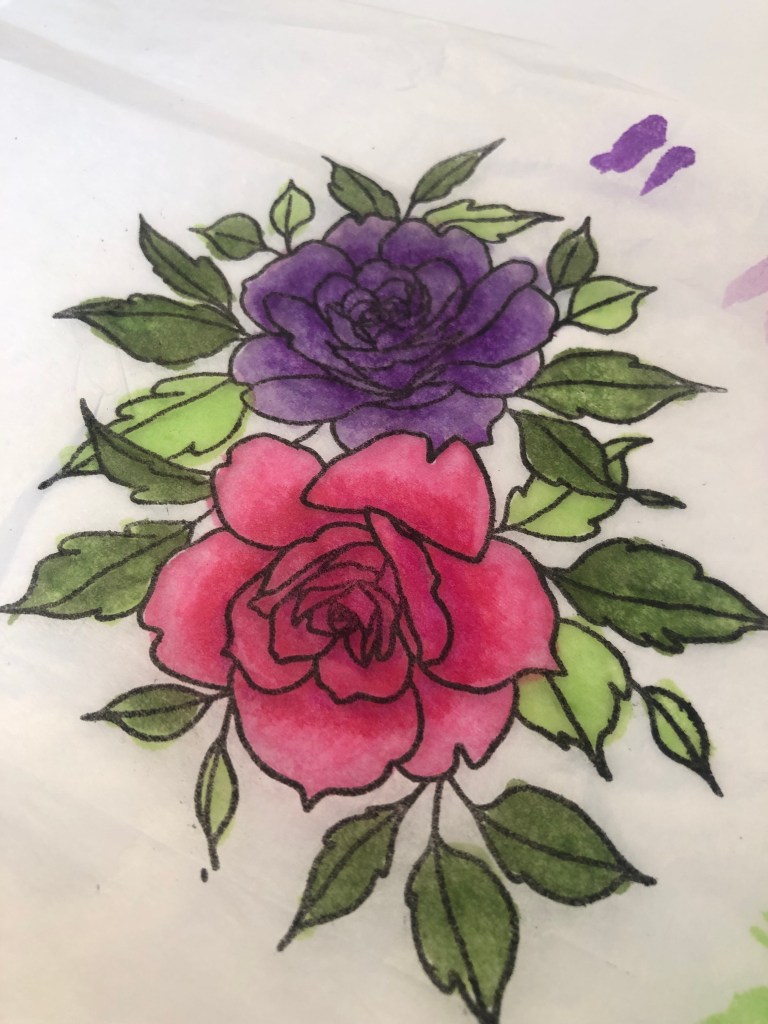
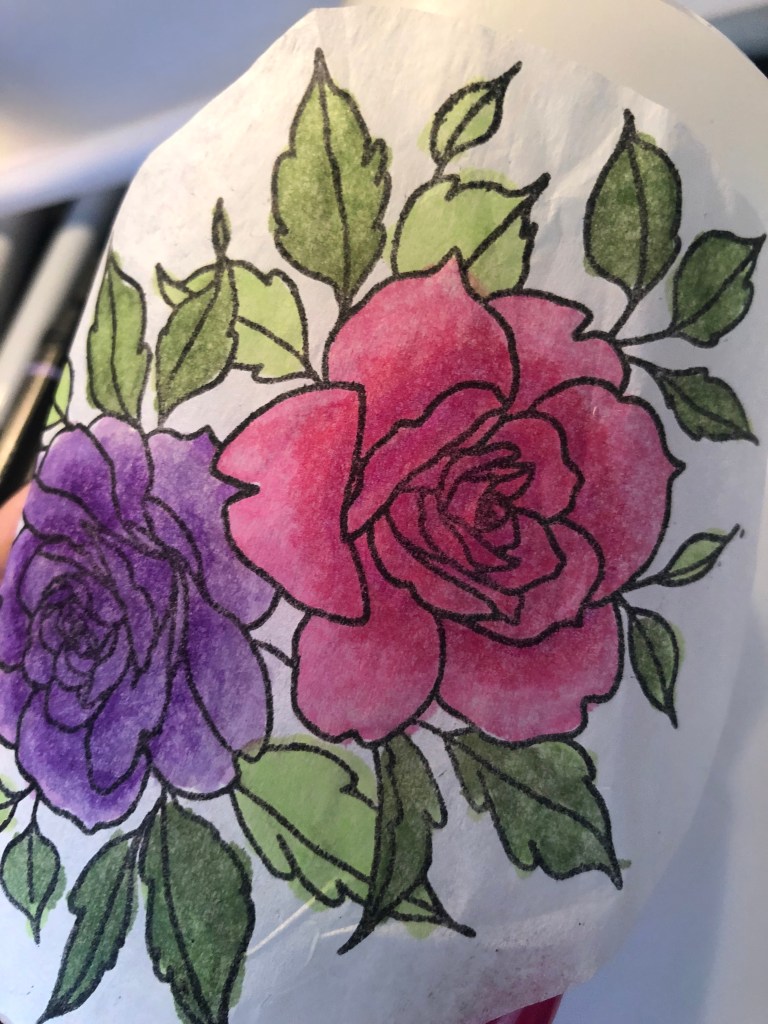
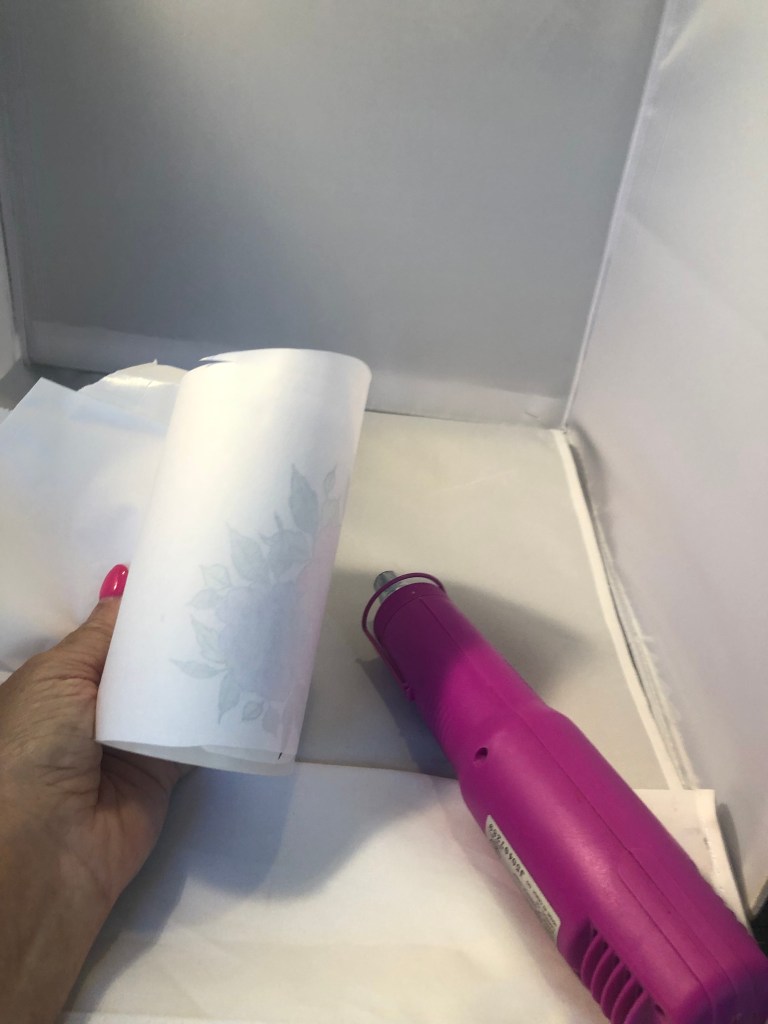


Start by stamping on white tissue paper, and color in with copic markers. When coloring make sure that you have a piece if card stock underneath the tissue paper or it will bleed thru. Next, cut a piece of freezer paper to hold candle and place the image where you would like it to be on candle and then wrap with the paper. Use your heat gun and melt in to candle. Be careful to take it slow and check your progress!
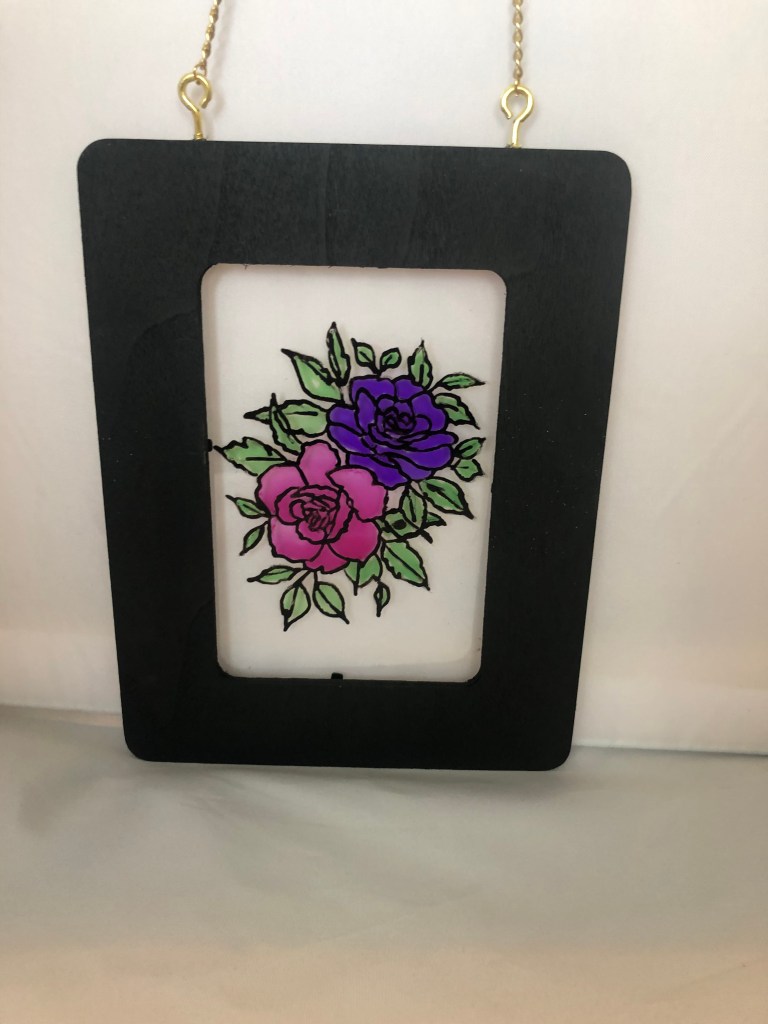
Next I made a pretty sun catcher.
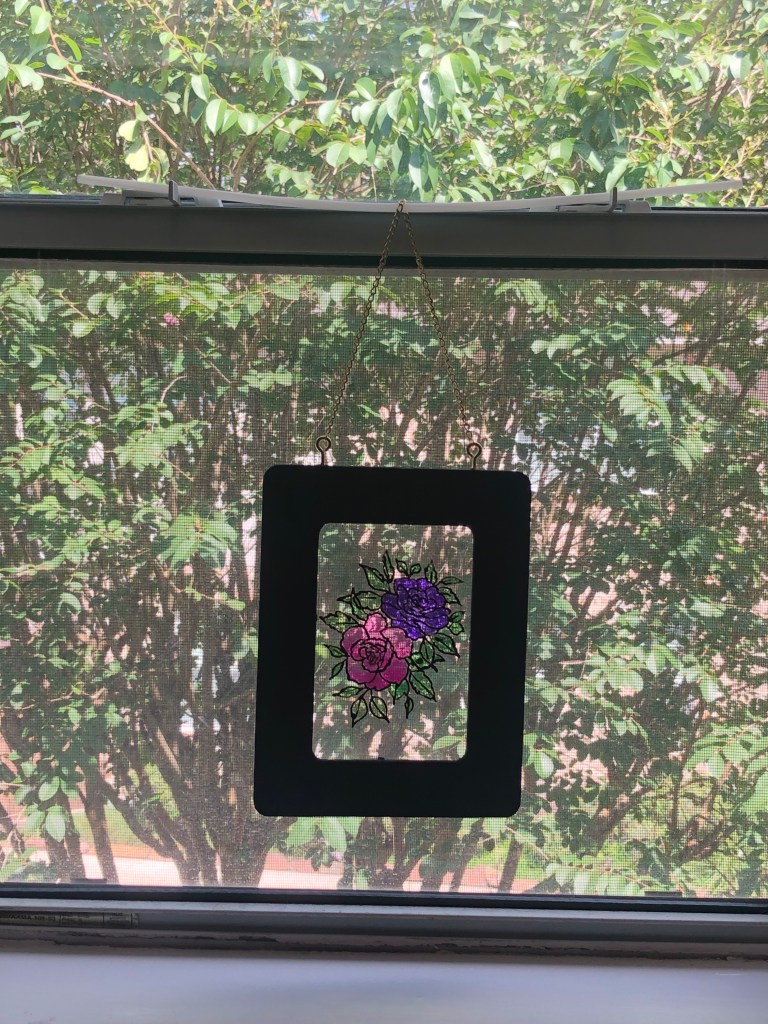
Could not resist putting this in my bathroom window to see how pretty it looks! It’s even prettier in person!


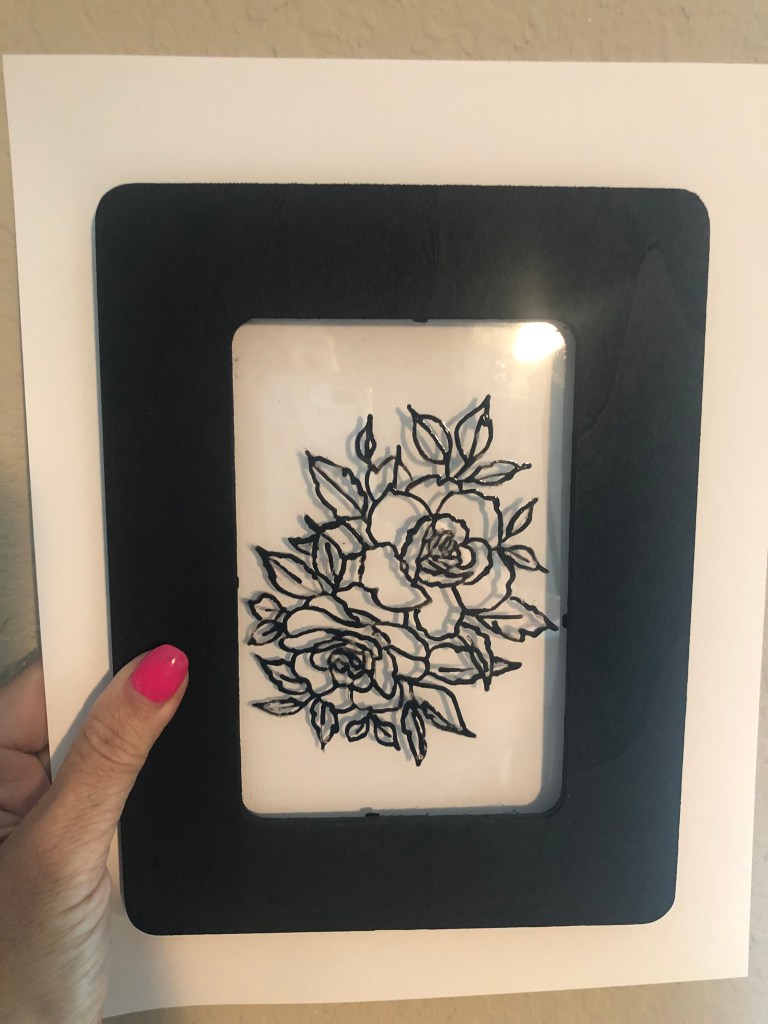
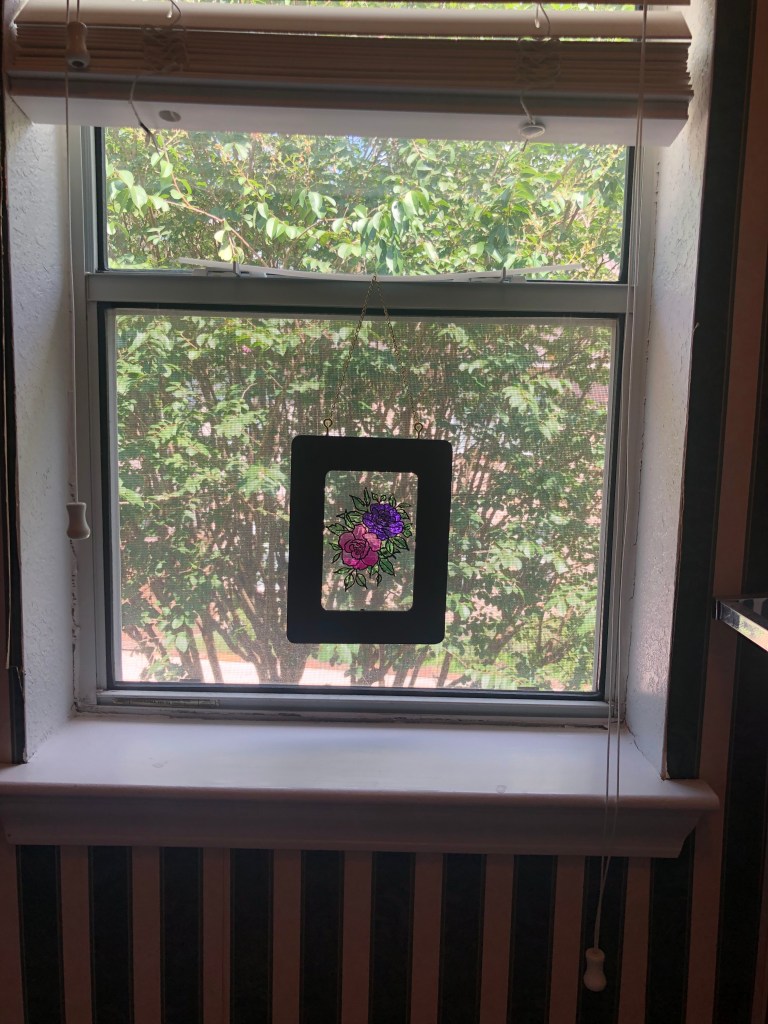
Here are my instructions:
- I stamped Forever Love Stamp Set on thick plastic acetate.
- Be sure to let dry overnight.
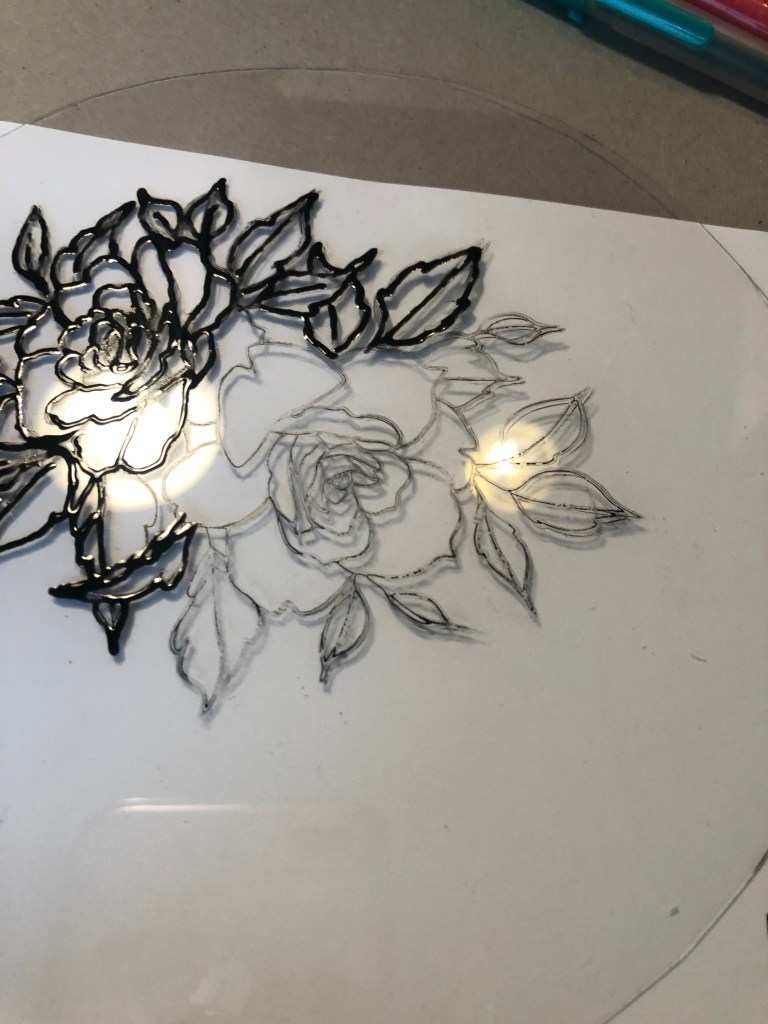
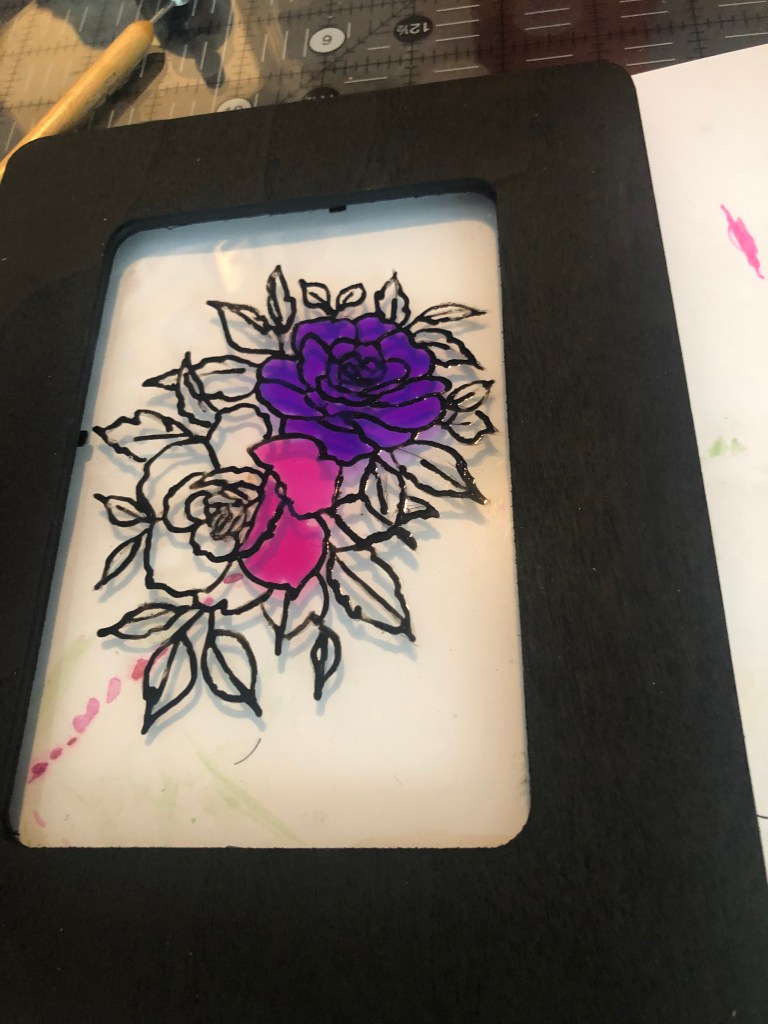
- Following the outline color in with a black gel pen.
- Let the project dry for at least a hour.
- Color in the image gel pens.
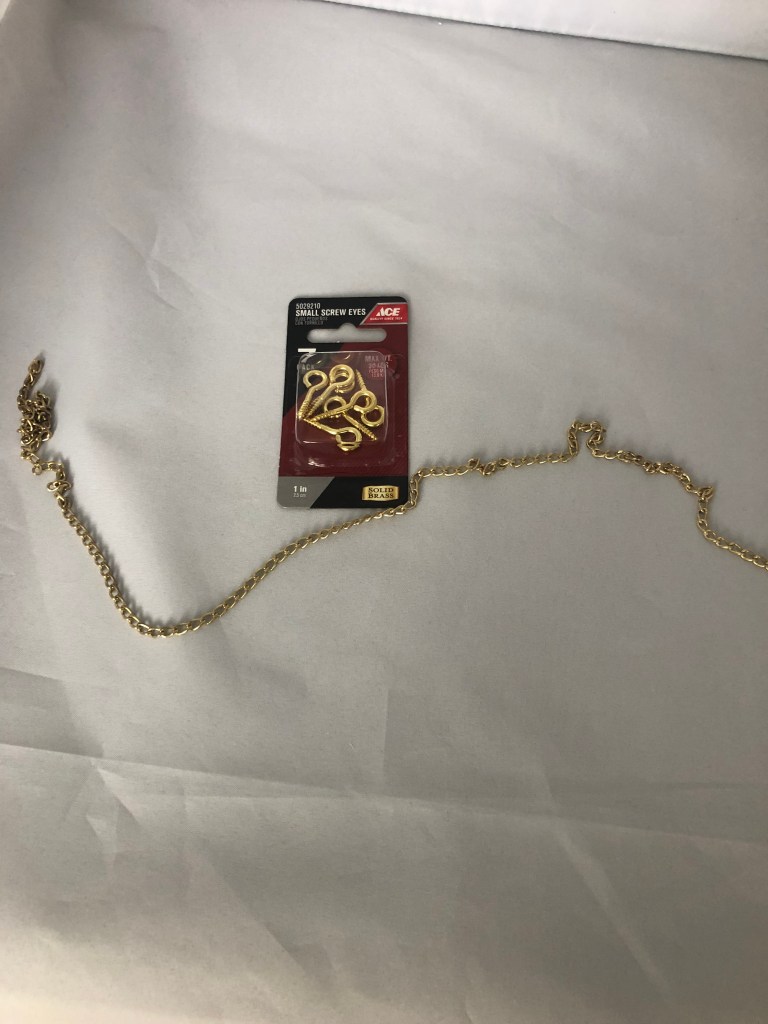
- Carefully put the hooks into the picture.
- If you haven’t already added the picture in the frame go ahead and do that now!
- For the finishing touch, hook on the chain to the frame.
Beautiful wood coasters:
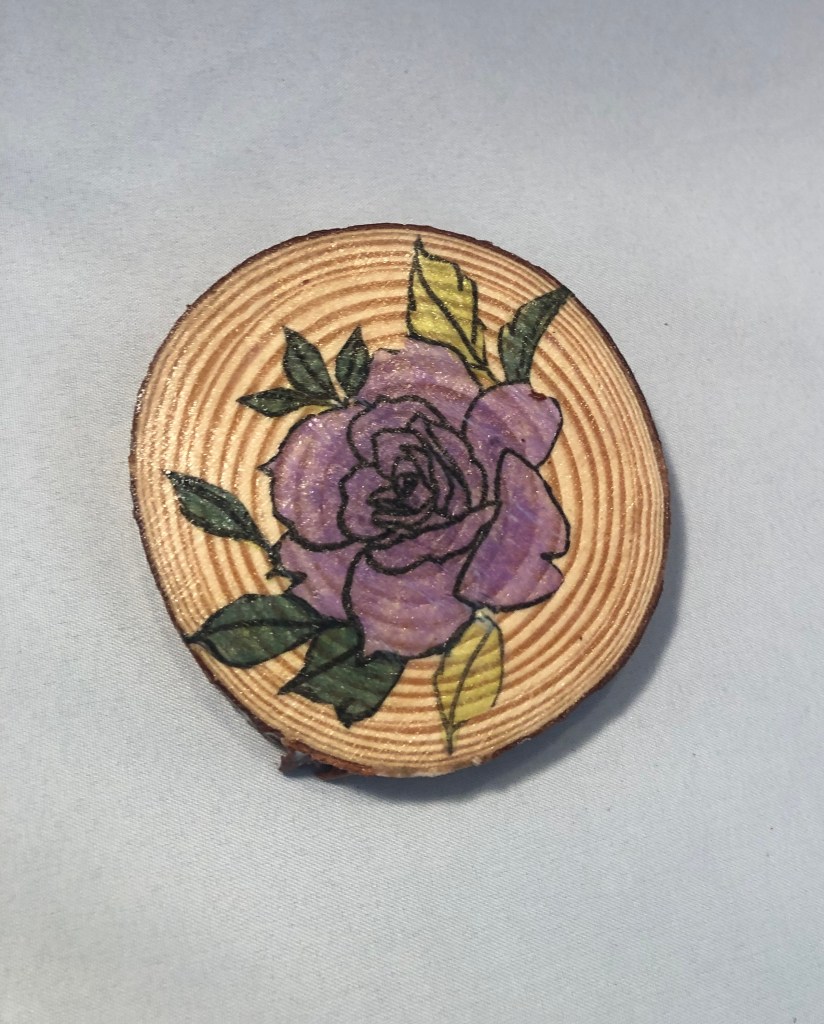
These coasters make fabulous birthday gifts. Enjoy the YouTube video.
I bought these wood pieces a while ago and they were sitting in my craft closet. As I began the project, I had a colored image left from making the candle and I decided to try making a coaster. They were a good way to round out the box. I loved digging in my craft closet and fiquring out new ways to used things I already have. It helps that I have my own balloon decor business and have lot of supplies!
Thanks for joining me while I shared about my projects. Till next time happy stamping!


Oh me oh my….where do I even begin, Teri! Your masculine card sets are SO spot on and HANDSOME!! I am loving each and everyone of them. The way you tackled the textures and metallic is absolutely creative and thoughtful! I also love how you utilized the dies! Your rolled- up flowers are simply gorgeous! I believe that you that you are first one to roll up these Altenew dies (definitely wowed here!). The candle design is lovely and the coaster is darling! Your detailed post about this challenge is outstanding! Thanks so much for entering your beautiful work in Altenew AECP assignment Gallery. I love your write-up and descriptions! Please keep up with your excellent work!
LikeLike
Thanks so much Virginia. I am delighted you liked it.
LikeLike
TERI!!!! My girl! Look at you rocking the challenge!! You have done such a tremendous job! From the amazing masculine cards to the decor! Everything rocks. I especially like how detailed the post is, I also love the flowers you made, the incredible shimmer and texture of your cards!
Brilliant work. Thank you for entering your gorgeous work to the AECP gallery. Well done!
LikeLike